Bridal Shower

DIY Silk & Wooden Flower Tea Cup Centerpieces

DIY Silk & Wooden Flower Tea Cup Centerpieces

Anybody care for a spot of tea? While tea is usually my winter warmer of choice, with the start of my collection of tea cups I wanted to see what other uses I could put them to in the warmer months while still having them for serving future tea parties and brunches. Enter these Teacup Mini Centerpieces, a perfect petite floral addition to my myriad of party decorations!

Read More

DIY Gold Foil Crescent Moon Candles

DIY Gold Foil Crescent Moon Candles

I love cleverly crafted candles and experimenting with new methods of making them as gifts for my friends! So while I was thinking of fun additions to my Galentine’s gift boxes last year, it was the perfect time to try putting pretty gold foil accents into my candle crafting and thus these gorgeous Crescent Moon Candles came to be!

Read More

DIY "Spot of Tea" Window Bag Tea Favors

DIY "Spot of Tea" Window Bag Tea Favors

For a foodie favor with British flair, there’s nothing like a spot of tea for going with your morning scones! When I was creating my Tea and Scones Breakfast Boxes for Vintage Victorian Cocktail Party, I began knowing I wanted to include loose tea but what was missing was a pretty and not too pricey way to pack it! So with the help of my printer and trusty craft cutter, I took to designing a festive favor bag that could be used for everyone’s favorite flavor, and these Spot of Tea Favor Bags came to be!

Read More

DIY Wax Seal Magnet Favors

DIY Wax Seal Magnet Favors

I love magnets as an inexpensive and useful party favor, but even more for how many creative options I’ve found in the past. From wooden magnets to photos to wine corks or bottle caps, there’s so many creative ways to design them and make them unique to your own event! When I was experimenting with ways to use sealing wax in my party projects for my Vintage Victorian Cocktail Party, as soon as I thought of making these Wax Seal Magnet Favors, I knew that they were going to be my favorite form of magnet yet!

Read More

DIY Ribbon Tied Honey Stick Favors

DIY Ribbon Tied Honey Stick Favors

For sweetening your tea or enjoying as a farmer’s market treat, honey sticks are one of my favorite old school snacks, in fact my man buys me a couple anytime he sees them for sale! So when I was making Tea and Scones Breakfast Boxes to give away at my Vintage Victorian Cocktail Party, I knew that they just had to have some Ribbon Tied Honey Stick Favors!

Read More

DIY Hexagon Paper Tags & Favor Cards

DIY Hexagon Paper Tags & Favor Cards

In any season that flowers are blooming, you better bee-lieve I love some honeycomb themed accents at my parties and events, so when I was designing the favors for my take home gifts for my Vintage Victorian Cocktail Party, I knew I wanted to design some bee themed paperie that I could use for all sorts of future favor fun too! Some simple designing and cardstock cutting later, these Honeycomb Hexagon Favor Tags and Cards were ready to bedeck all my favors while being an adorable and easy project for anyone looking to give away bee themed gifts to their guests!

Read More

DIY Vinyl Bottle Labels

DIY Vinyl Bottle Labels

When it comes to keeping all my cocktails in order for my parties and events, my favorite method has to be these Vinyl Bottle Labels. If you’ve read any of my party posts you’ve seen them make an appearance, from my Goddess of Spring 30th Birthday to my most recent Karaoke & Cards Vintage Victorian Party, I always use these to label my various cocktails, making it easy for guests to find what drink the are looking for, while being able to remove them when the party's over and the bottles are being cleaned out for the next event. So for those that are new to the craft cutter lifestyle, I’m making this simple tutorial for making bottle labels, with the sizing, fonts, tips and tricks I use when creating them and other vinyl decals.

Read More

DIY Tissue Paper Circle Photo Booth

DIY Tissue Paper Circle Photo Booth

Every great party needs a photo booth! Whether it's a wedding, bachelorette party, bridal shower, baby shower or anything in between, having a decorated wall that your guests can pose in front of is always a crowd pleaser! There’s so many photo booth options out there so for my first homemade photo booth, I wanted something easy to make but that would be a fun textured backdrop that could be used for a variety of events. Enter this tissue paper circle photo booth, with its layers of inexpensive tissue paper turning my blank wall into a light and bright backdrop for fabulous photos!

Read More

DIY Glitter Metallic Flake Self Adhesive Wax Seals

DIY Glitter Metallic Flake Self Adhesive Wax Seals

For that extra bit of glitz and glam, nothing adds sparkle like a glittery design detail! So as I learned about the basics of wax seal making as I created my Simple Self Adhesive Wax Seals and my Marbled Self Adhesive Wax Seals,  I started experimenting with other details to add to my seals to give them some extra pizazz, starting with some metallic flake rose gold glitter. I gathered a bunch of my favorite bold and blank wax stamps, started sprinkling glitter everywhere, and from my fun a variety of metallic flake covered Glitter Self Adhesive Wax Seals were created for my future holiday and birthday stationary projects!

Read More

DIY Ombre Heart Shaped Mini Soap Favors

DIY Ombre Heart Shaped Mini Soap Favors

If there's a favor I love to give for baby or bridal showers, it has to be shower and spa themed goodies! So when I was done making bath bombs and bath salts, the next favor in my lineup had to be another of my favorite spa themed favors to give with a fun mini sized twist, these Ombre Pink Heart Shaped mini soaps!

Read More

DIY Essential Oils Fizzy Floral Bath Salt Favors

DIY Essential Oils Fizzy Floral Bath Salt Favors

There is nothing like a hot bath to soak away the troubles of the day, and giving fun spa themed goodies for them as favors is surely one of my favorite things! When I was done making a new set of Mini Bath Bomb Trios for my friendcation in Florida, I still had plenty of bath bomb supplies left, so I chose to vary the charm and help one of my at home besties with some favors for her teen’s spa party, these Floral Fizzy Bath Salts!

Read More

Easy Essential Oils Mini Bath Bomb Favor Trios

Easy Essential Oils Mini Bath Bomb Favor Trios

I love giving away bath supplies as Bridal Shower and Baby Shower Favors, but they are great gifts for any variety of events, so I returned to this tutorial to create a new trio of bath bombs for my latest trip to the beach to visit and catch up with some college friends! This pretty trio was the perfect finishing touch to the Spa Sleepover Gift Boxes I made for each of my friends, being easy to DIY and color customize!

Read More

DIY Pressed Flower Wall Candles

This post contains affiliate links, meaning that if you click on a link I will recieve a small comission. This costs you nothing extra and I only promote products I use and love! You can read our full disclosure here

DIY Dried Pressed Flower Wall Soy Wax Scented Candles

To finish up my Candle DIY Posts for the week, I saved my favorite for last! A couple months ago I ordered a whole slew of different pressed flowers, and when this idea came to me I had to make it happen!  I love the look of colorful pressed flowers and, with so many floral candle scents out there, having a Pressed Flower Candle was the perfect feminine way to display their pretty patterns and they came out even better than I could have hoped! These beautiful pressed flower candles were surprisingly super easy to make and are the perfect choice to DIY for holiday gifts, bridesmaid proposals, or bridal shower and baby shower prizes! 

While you can certainly press your own flowers for this project, I bought a whole selection of them for different Pressed Flower DIY Projects from the Etsy Shop My Love Meadow, and they were the perfect choice for me! They have a variety of different pressed flowers that change based on what they have currently, and all the ones I received were both affordable and perfect for all my projects, so I would highly recommend them if you don’t want to press flowers yourself! I used Blue Larkspur Delphinium Flowers for one of my candles and a beautiful set of Multicolored Pansies for my other Candles, which the shop was nice enough to include as a bonus with my other flowers!

DIY Dried Pressed Flower Wall Soy Wax Scented Candles

For these fun floral candles, I wanted a light floral scent so I went with a mix of jasmine and lemongrass and they came out smelling and looking gardentastic! I loved the colorful flowers against the natural color of the wax, so I chose not to dye it like I did for my  Wooden Wick Candles and Color Striped Candles, but I bet they would look beautiful in different pastel colors too!

DIY Dried Pressed Flower Wall Soy Wax Scented Candles

Supplies:
- Soy Wax and Cotton Wicks
- Lidded Candle Jars or Glass Candle Jars
- Candle Pouring Pot
- Candle Dye
- Fragrance Oils or Essential Oils
- Pressed Flowers
- Paintbrush and Bowl of Water
- Silicone Whisk or Spatula
- Hot Plate or Burner

DIY Dried Pressed Flower Wall Soy Wax Scented Candles

1. Start by weighing out your candle wax for the candles you wish to make into your pot or candle pouring pot. I used 16 oz per for each candle, the full volume of the jars I used, so that I had a little extra wax to work with and top them with at the end. For the bits of extra wax I used in these projects I made myself a couple of little candle in favor jars to burn in my office! You can make up to four candles if you are using a melting pot like I am, but I liked melting 16 oz at once so I could color and scent each candle uniquely, which is super fun for personalizing them for your friends, bridesmaids, or yourself!

 
DIY Dried Pressed Flower Wall Soy Wax Scented Candles

2. Now, prep your jars with the dried flowers. Using a paint brush with water, paint the inside of your jar to create a wet layer to attach the dried flowers to. Using tweezers with the jar on its side, lay the flowers in the design you want inside the jar, using the water to adhere them to the side. Once complete, position your jars upright with their lids removed and prepare the wax.

DIY Dried Pressed Flower Wall Soy Wax Scented Candles
 
DIY Dried Pressed Flower Wall Soy Wax Scented Candles

3. Melt the wax over medium low heat until the wax is 150 F. In this case, I didn’t want to add any dyes to my waxing prior to adding fragrance, because I wanted the dried flowers to be the central focus, but if you want to add dyes, follow the wax dying steps in our Wooden Wick Candles post to see how! 

Add the fragrance or essential oil of your choice to the melted wax, continuously stirring with a silicone whisk or spatula to bond the fragrance The fragrance I chose for my candles were:

Per 16 oz of Wax:

Jasmine Essential Oil - 15-20 drops
Lemongrass Essential Oil - 7-10 drops

Continue to stir to cool the wax. When it has cooled to about 120 F, it is ready to pour into the jars.

DIY Dried Pressed Flower Wall Soy Wax Scented Candles
 
DIY Dried Pressed Flower Wall Soy Wax Scented Candles

4. While the wax is cooling, prepare your wicks and jars. Taking a cotton wick, dip the stand end into the melted wax and place into the candle jar, using the wax to seal it to the bottom of the jar. Once the wicks are dry, thread the wick through the metal centering device (or a little piece of cardstock with a hole) to secure it in place for wax pouring. Once the wicks are dry, use your candle pourer to fill your candles just below the lip of the jar, reserving any extra wax to finish the candle. Now let the candle cool completely.

DIY Dried Pressed Flower Wall Soy Wax Scented Candles

5. Once the candle is cooled, check the top to see if there are any divots or imperfections in the top of the candle, which can happen during cooling. If needed, remelt the remaining wax to 120 F and “top off” any imperfections on the top of the candle, again allowing it to cool completely. Trim the wooden wick with nail clippers, cuticle cutters, or small scissors and you’re done!

DIY Dried Pressed Flower Wall Soy Wax Scented Candles
 

Looking for more DIY Candle Inspiration?

SEE MORE CANDLE PROJECTS HERE


OUR PINS FOR THIS POST:

DIY Color Striped Soy Wax Candle

This post contains affiliate links, meaning that if you click on a link I will recieve a small comission. This costs you nothing extra and I only promote products I use and love! You can read our full disclosure here

WS-41-PIN-17txt (1).jpg

I absolutely love candles as Bridal Shower Favors, so in addition to the Wooden Wick Candles that I made for my bestie’s Bridal Shower, I wanted to experiment with other candle making ideas so that guests had a variety of different candle prizes to choose from. An idea I’ve had for a while that I’ve always been too nervous to try was to make candles with different stripes of colors, and this was the perfect opportunity to try it. So I took out my Candle Dyes and made my first attempt at Color Striped Candles, and they turned out to be way easier and cuter than I could have imagined! 

While they may look difficult, in reality they consist of nothing more than heating the candle wax to color it, then letting it cool, and remelting and scenting it based on what colored stripe you are doing. The hardest part of this project was merely storing the wax after it was colored, which I used my set of Rectangular Soap Molds for, and it actually was the perfect choice because I could easily store 2-3 oz per cavity and then I had nice little colored blocks to remelt. It’s easiest to complete this project in two sessions, the first to color the wax, then the second once you have all your colors cooled and ready, remelting them and pouring them into candle jars.

 
WS-41-S-2txt.jpg
WS-41-S-4txt.jpg
WS-41-S-1txt.jpg

For these candles, I made a mix of Rose Color Striped and Lavender Color Striped in two types of candle jars, and they all came out so cute! I would recommend waiting a little longer and making sure each layer is set, so your stripes have nice distinct edges and don’t bleed into each other, which mine did in a couple places! I weighed the wax as I created each stripe to make sure they were all the same width, which I highly recommend; however, if you choose to do this I would also work one candle at a time, letting each layer cool on the scale and then rezeroing and pour the next stripe, some of my crisp lines got messed up because I moved them off the scale to make the next one before they cooled. Next time, I’ll be keeping them on the scale until they are completely poured! 

WS-41-S-5txt.jpg

While a little time consuming to wait for each stripe to solidify, it was well worth it for how cute they turned out! These candles are an easy project as well as a beautiful and unique gift to impress your friends and family with; whether you choose to use them for Bridesmaid Proposals, Holiday Gifts, or Bridal Shower or Baby Prizes!


Supplies:

- Soy Wax and Cotton Wicks
- Lidded Candle Jars or Glass Candle Jars
- Candle Pouring Pot
- Candle Dye
- Fragrance Oils or Essential Oils
- Soap Molds or Bowls for holding wax
- Kitchen Scale
- Burner or Hot Plate

WS-41-S-4txt.jpg

WS-41-1txt.jpg

1. Start by weighing out your wax for the candles you wish to make into your pot or candle pouring pot. I used 16 oz per for each candle, the full volume of the jars I used, so that I had a little extra wax to work with and top them with at the end. For the bits of extra wax I used in these projects I made myself a couple of little striped candles in jars to burn in my office! You can make up to four candles if you are using a melting pot like I am, but I liked melting 16 oz at once so I could color and scent each candle uniquely, which is super fun for personalizing them for your friends, bridesmaids, or yourself!


2.  To create the stripes on these candles, I chose to color and cool the lighter colors of the wax first, measuring out what I needed and then dying the remaining wax in the melting pot darker.

Start by melting all the wax over medium low heat until the wax is between 200-220 F. Once it has reached this temperature, you can add your wax coloring. Start by adding your first round of wax dye, mixing with a silicone whisk until it is completely incorporated. I tried measuring my dye in grams, but I found it easier to add a little at a time and test the color. Check the color of your wax by letting wax dry on the back of a metal spoon, until it has reached the desired shade. For the lightest shade I added just a couple chips of dye, as shown in the photos. For the pink I used a mix of white and cherry red candle dye, while the lavender was made by adding small amounts of the purple dye only.

WS-41-2txt.jpg
WS-41-3txt.jpg
WS-41-4txt.jpg

Once you have your desired light colored shade, pour 2.5-3 oz of melted wax per candle into a separate bowl or silicone mold to cool. I found the perfect thing to use was my Silicone Soap Molds for cooling the wax, each cavity is a little over three ounces so I just poured them mostly full to reserve my wax colors. Depending on the candle jar you want to use, the amount of was you reserve will vary, for my jars I reserved:

WS-41-5txt.jpg

Gold Lidded Glass Jar 

- 4 Stripes: 3 oz of wax per stripe
- 5 Stripes: 2.5 oz of wax per stripe

Glass Lidded Jars

 - 5 Stripes: 3 oz of wax per stripe

WS-41-6txt.jpg
WS-41-7txt.jpg
WS-41-8txt.jpg
WS-41-8txt.jpg

Now, make your medium shade by adding more candle dye to the melting pot, adding another 1-2 small chips of the wax coloring. Once you have reached the desired mid colored shade, pour 5-6 oz of wax per candle into a separate bowl or silicone mold to cool, just like the light colored wax. You’ll notice you reserve twice the amount of wax for these candles, that’s because you need it for two stripes!

Finally, add a final chip or two of candle dye once more to the remaining wax in the melting pot for your final darkest shade. Remove remaining wax from heat, and you now have the three shades for your striped candles! Let the wax cool in the molds, with the third color either cooling in your candle pourer pot to be scented first and the first stripe of your candle, or pour all the wax into molds and wait for each color to solidify. That makes it easier to choose what colors you want to scent and pour first or to make a rainbow of stripes for your own personalized candles! 

WS-41-9txt.jpg
 

3. While the wax is cooling, prepare your wicks and jars.  Taking a cotton wick, dip the stand end into the melted wax and place into the candle jar, using the wax to seal it to the bottom of the jar. Once the wicks are dry, thread the wick through the metal centering device (or a little piece of cardstock with a hole) to secure it in place for wax pouring. Once the wicks are dry, it's time to pour your candles!

WS-41-10txt.jpg
WS-41-11txt.jpg
WS-41-12txt.jpg
 
WS-41-14txt.jpg

4.  Melt and cool each of your colored waxes to 150 F, add the fragrance or essential oil of your choice, continuously stirring the wax with your whisk to bond the fragrance and continue to cool for pouring. I started with scenting my shades lightest to darkest, so I could use the same whisk to mix all the bowls without changing the colors noticeably in the darker shades. The fragrances I chose for my candles were:

Pink: 
Rose Fragrance - 5 drops per wax color

Lavender: 
Lavender Fragrance Oil - 5 drops per wax color

When the wax has cooled to about 120 F, it is ready to pour into the jars.

 
WS-41-15txt.jpg
WS-41-18txt.jpg
WS-41-19txt.jpg
WS-41-22txt.jpg

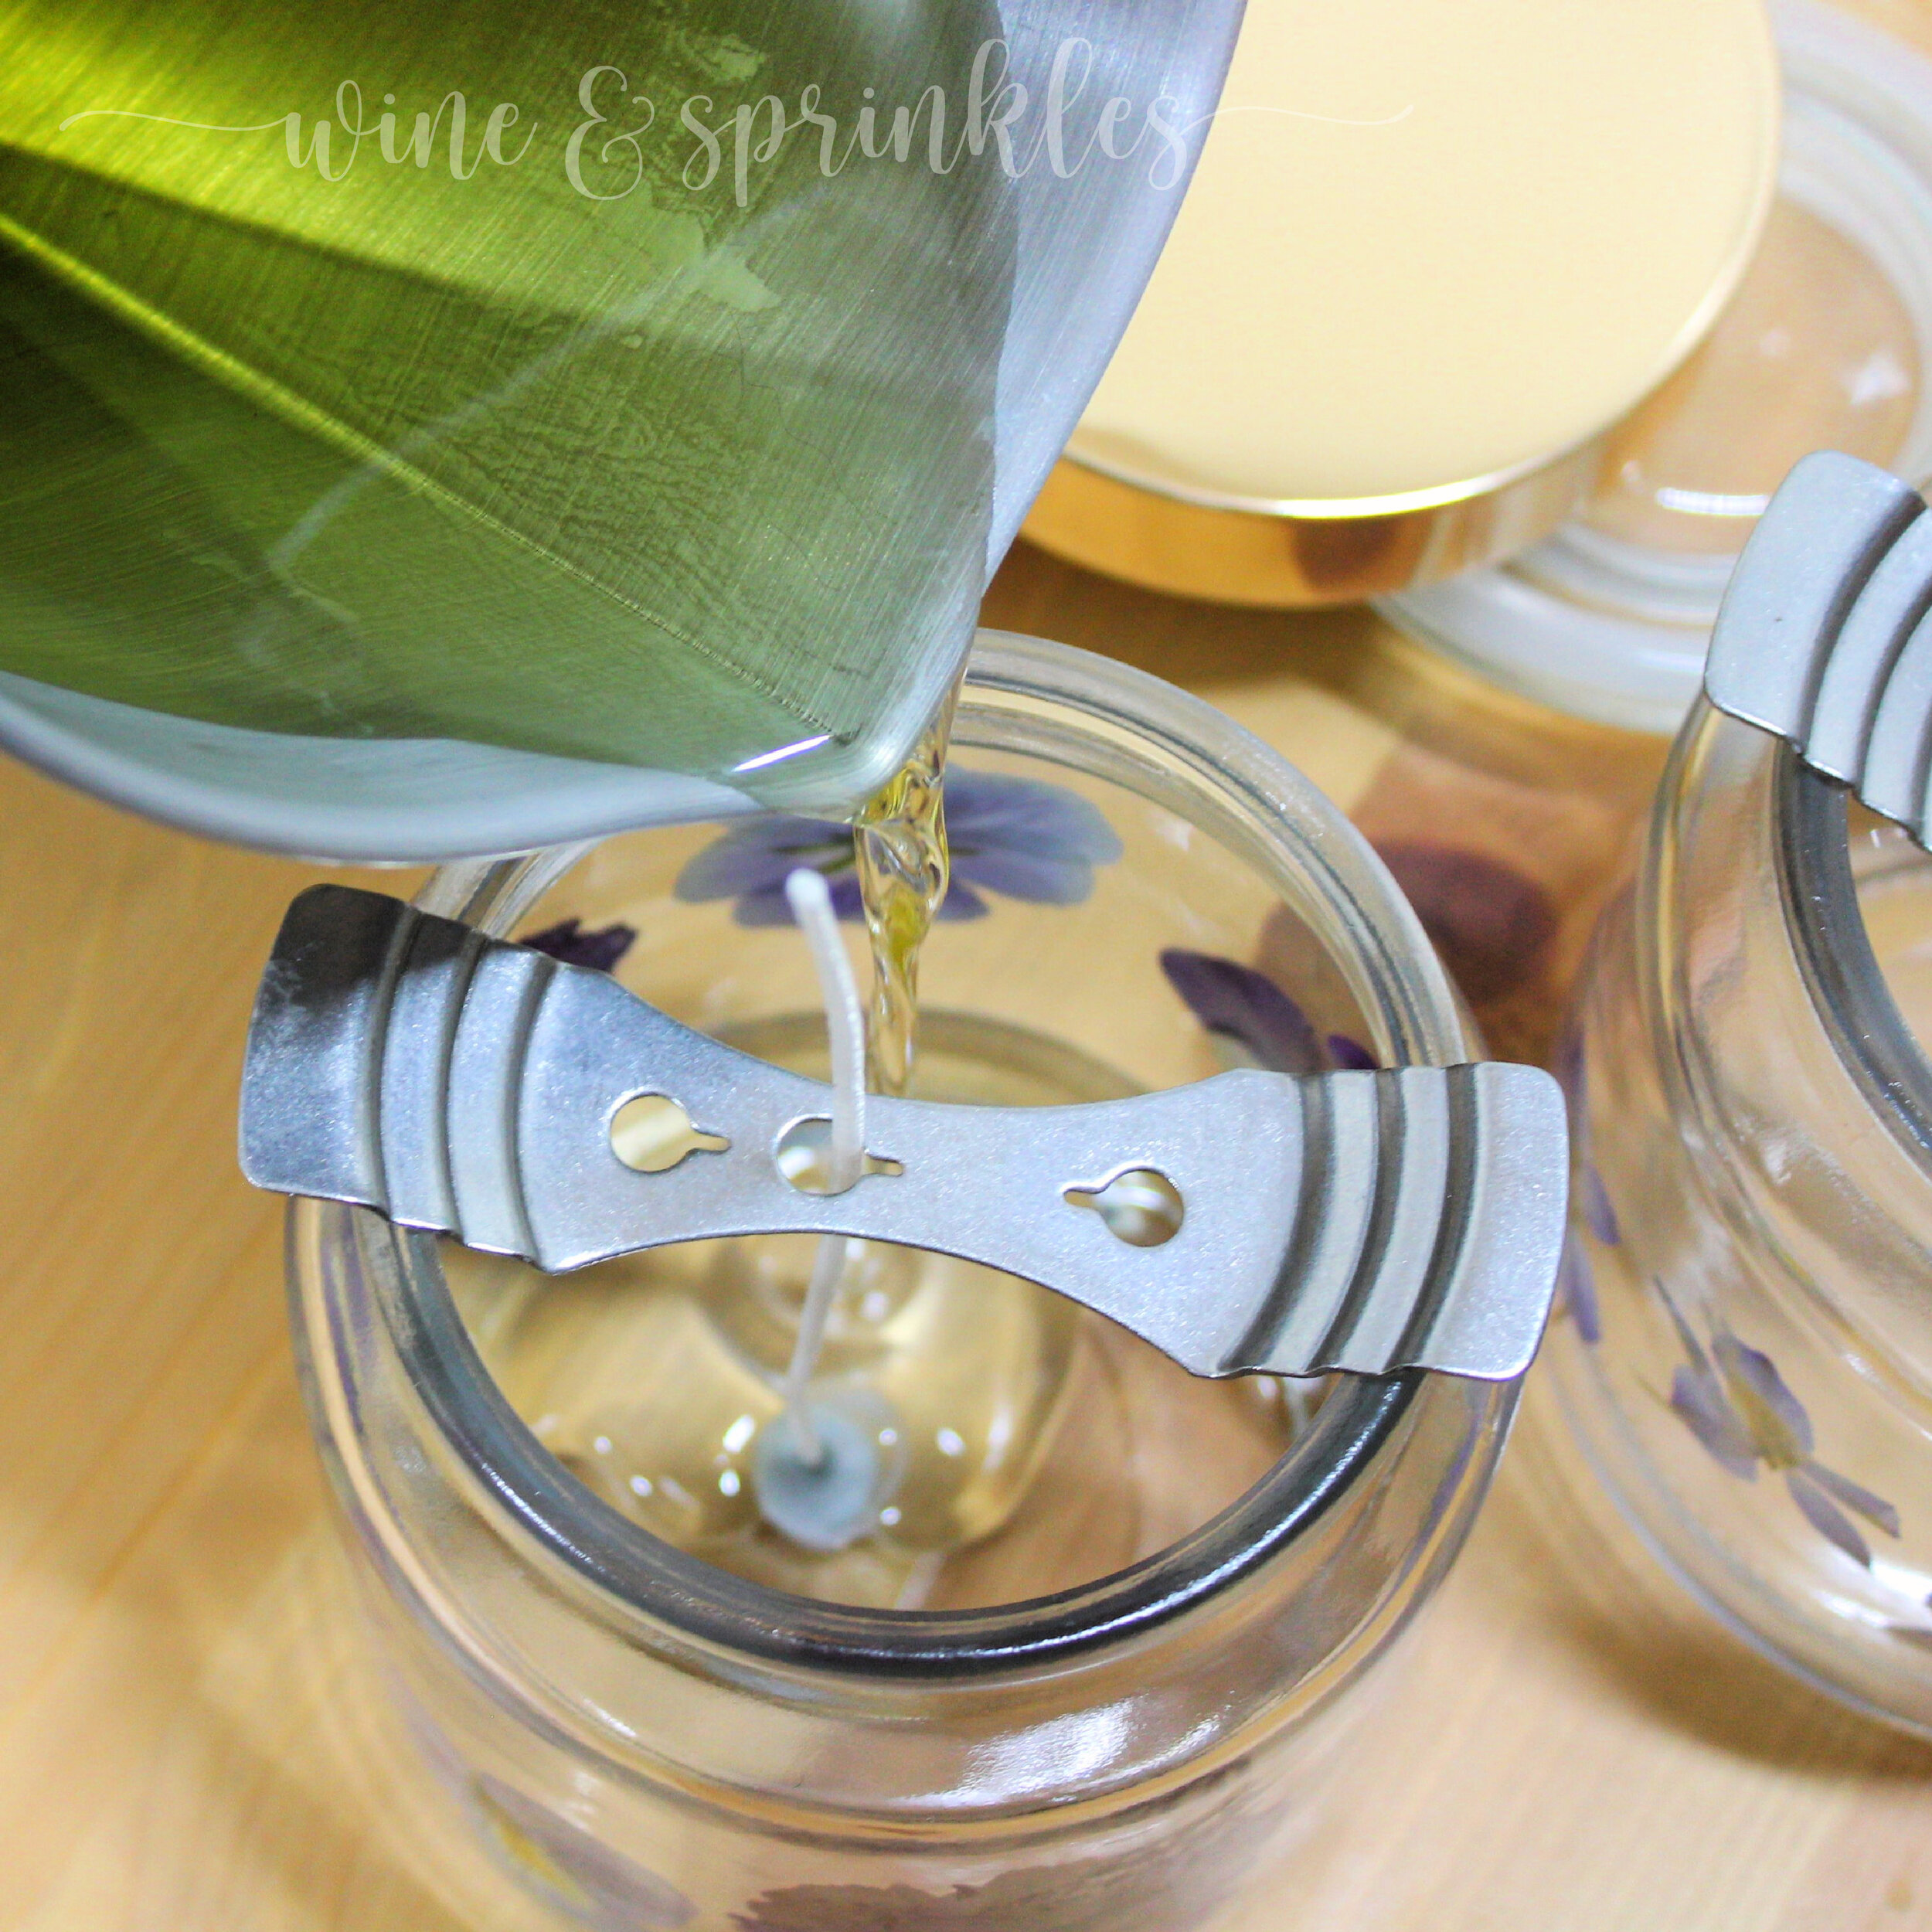
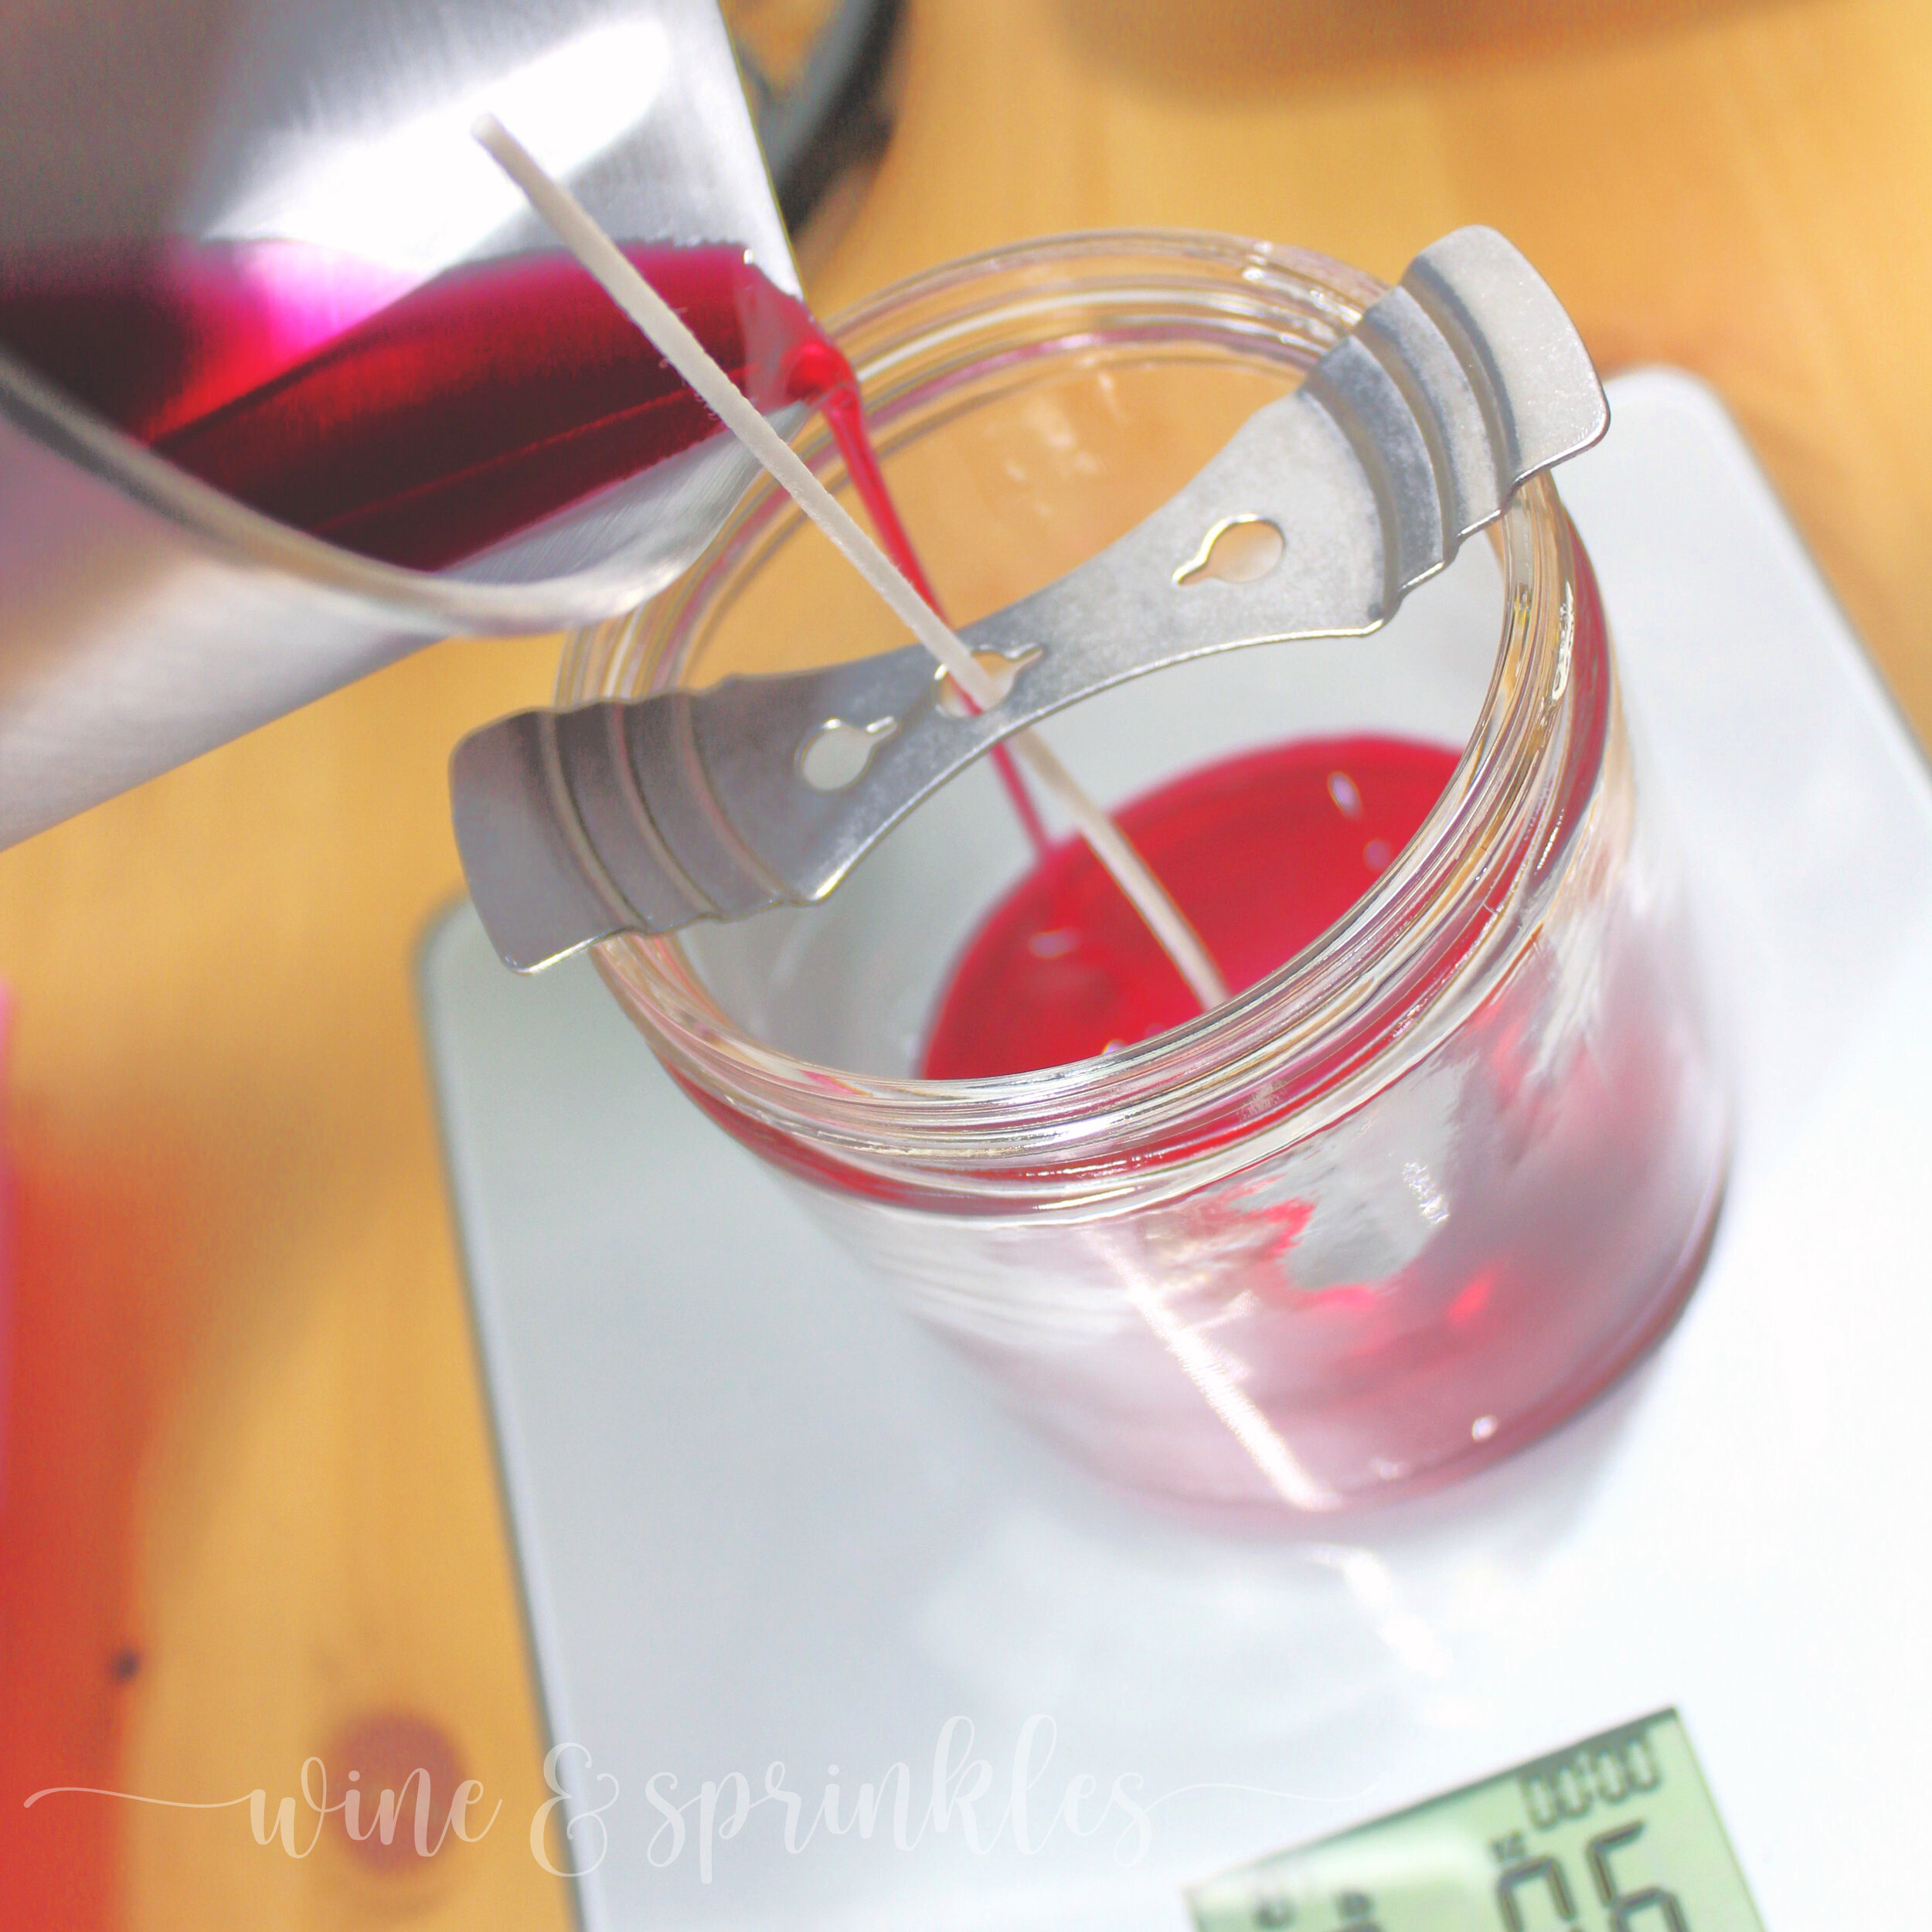
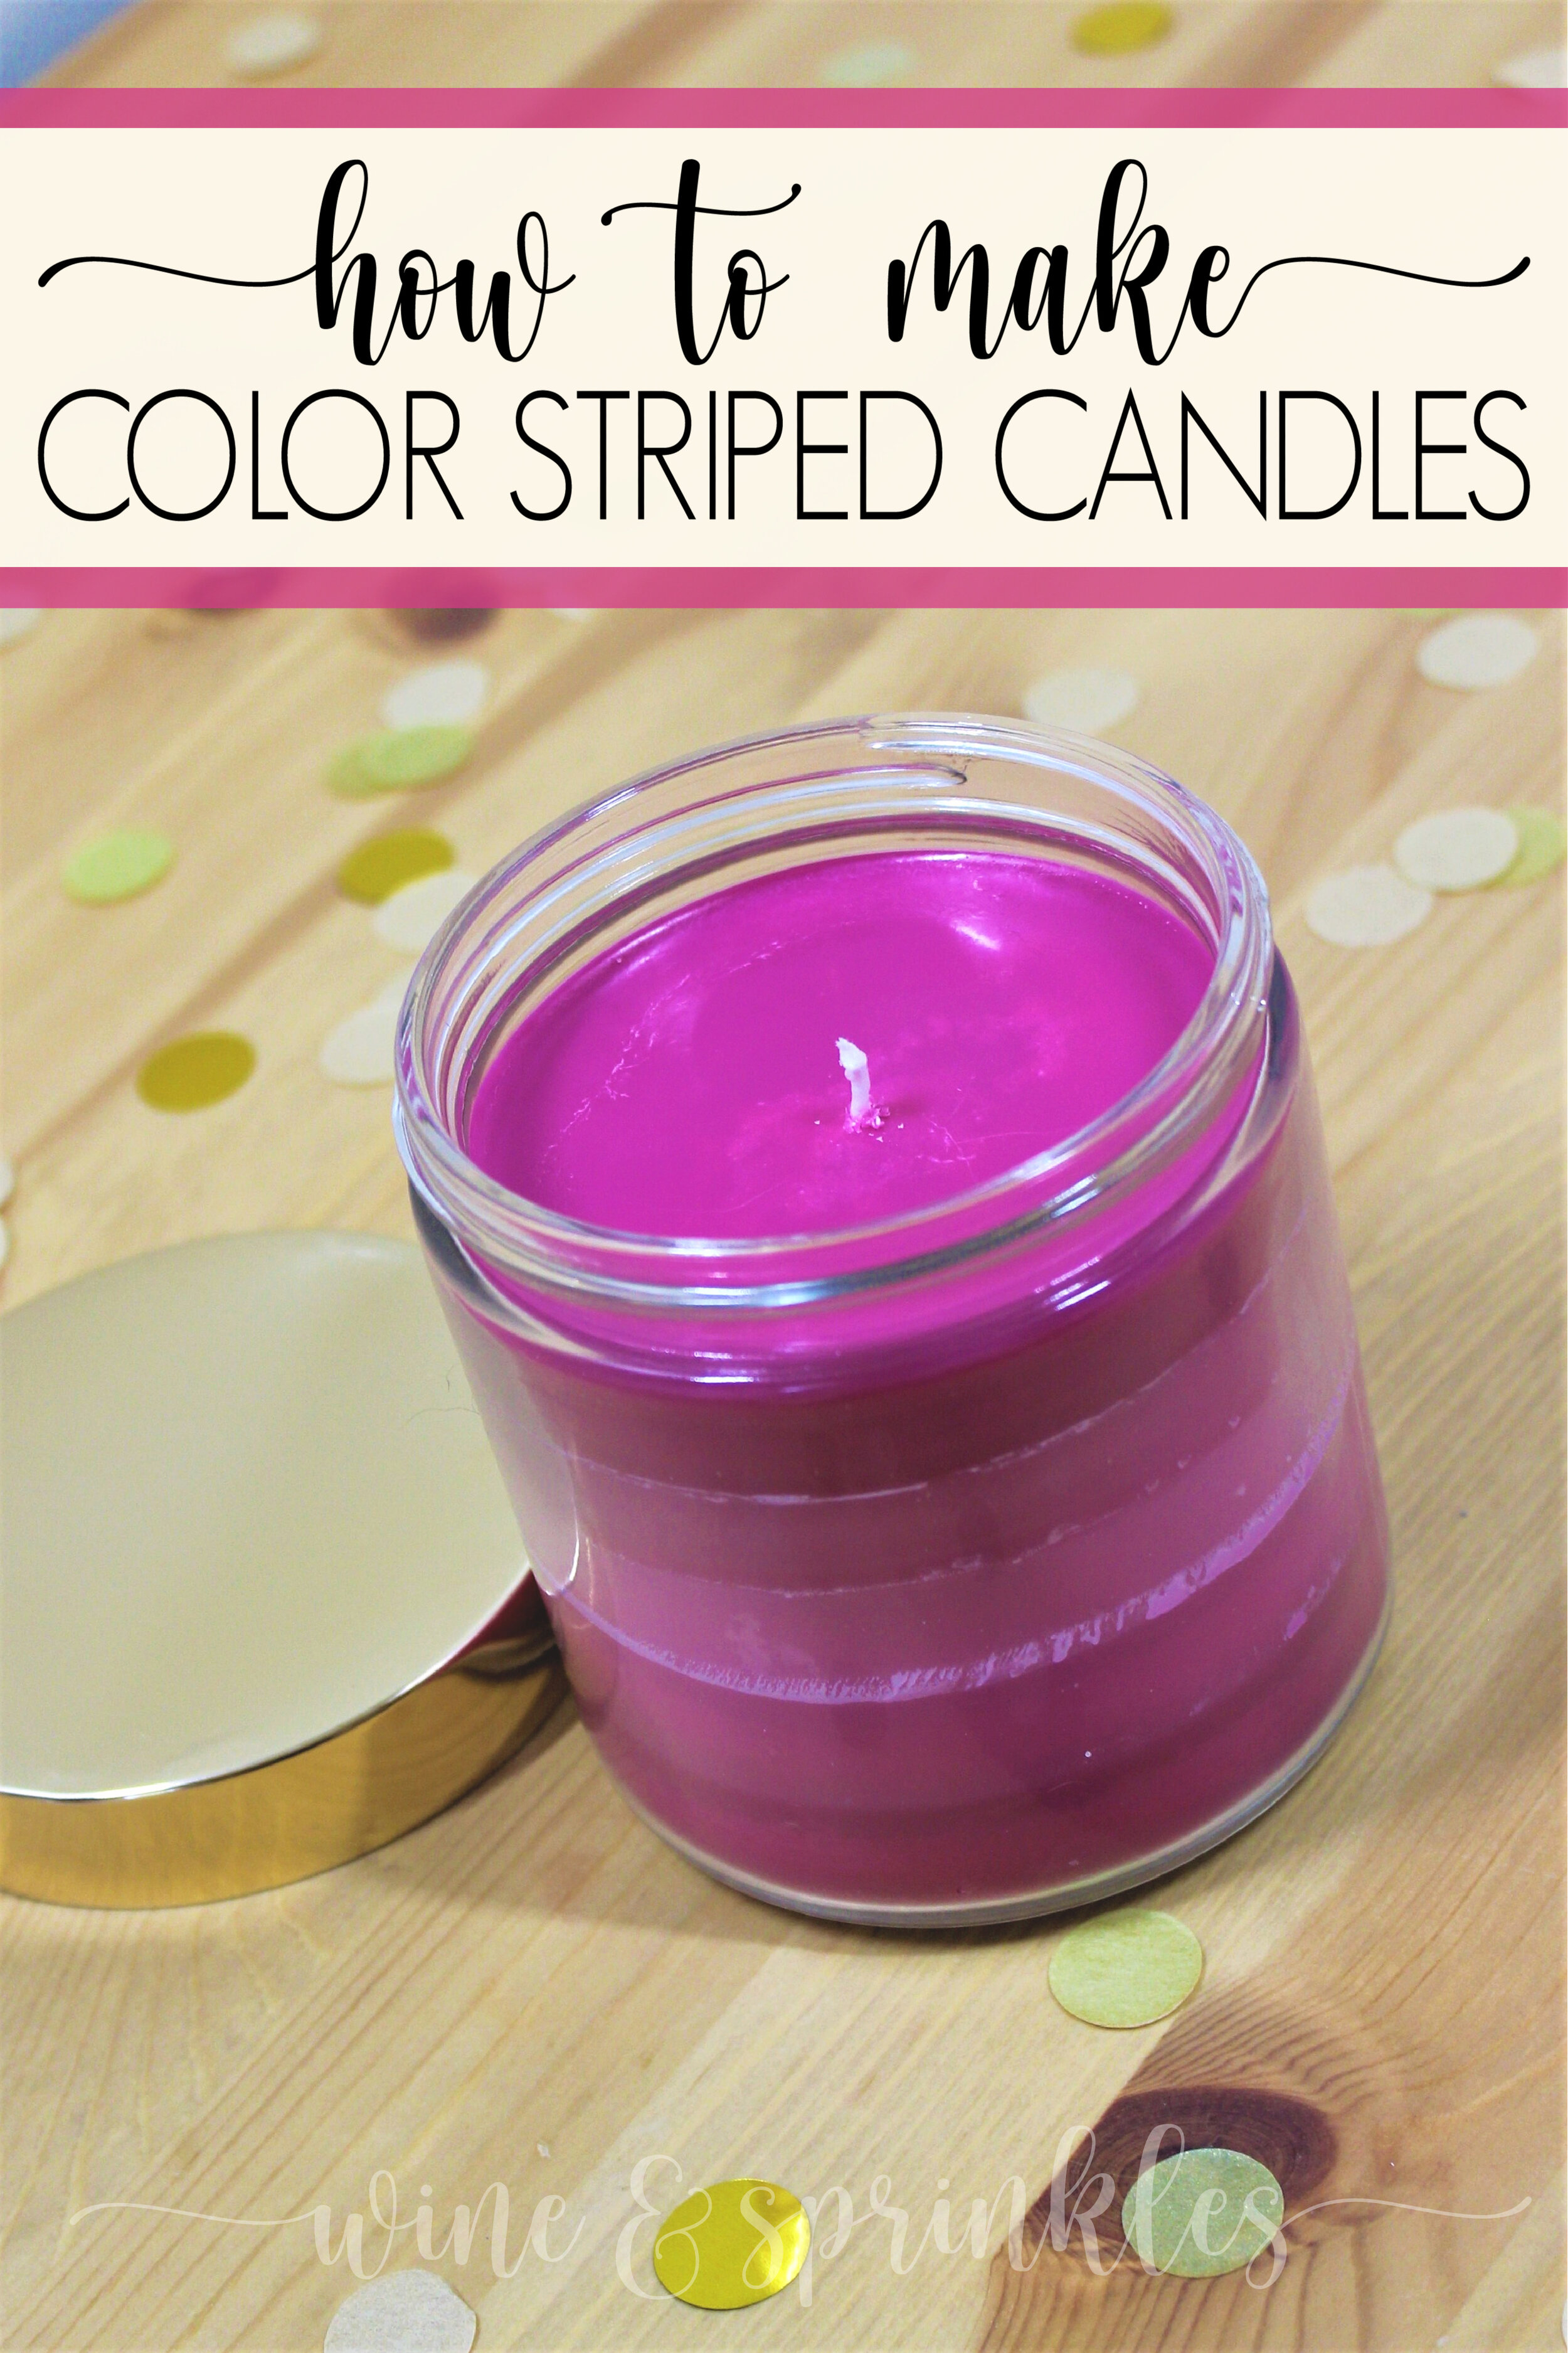
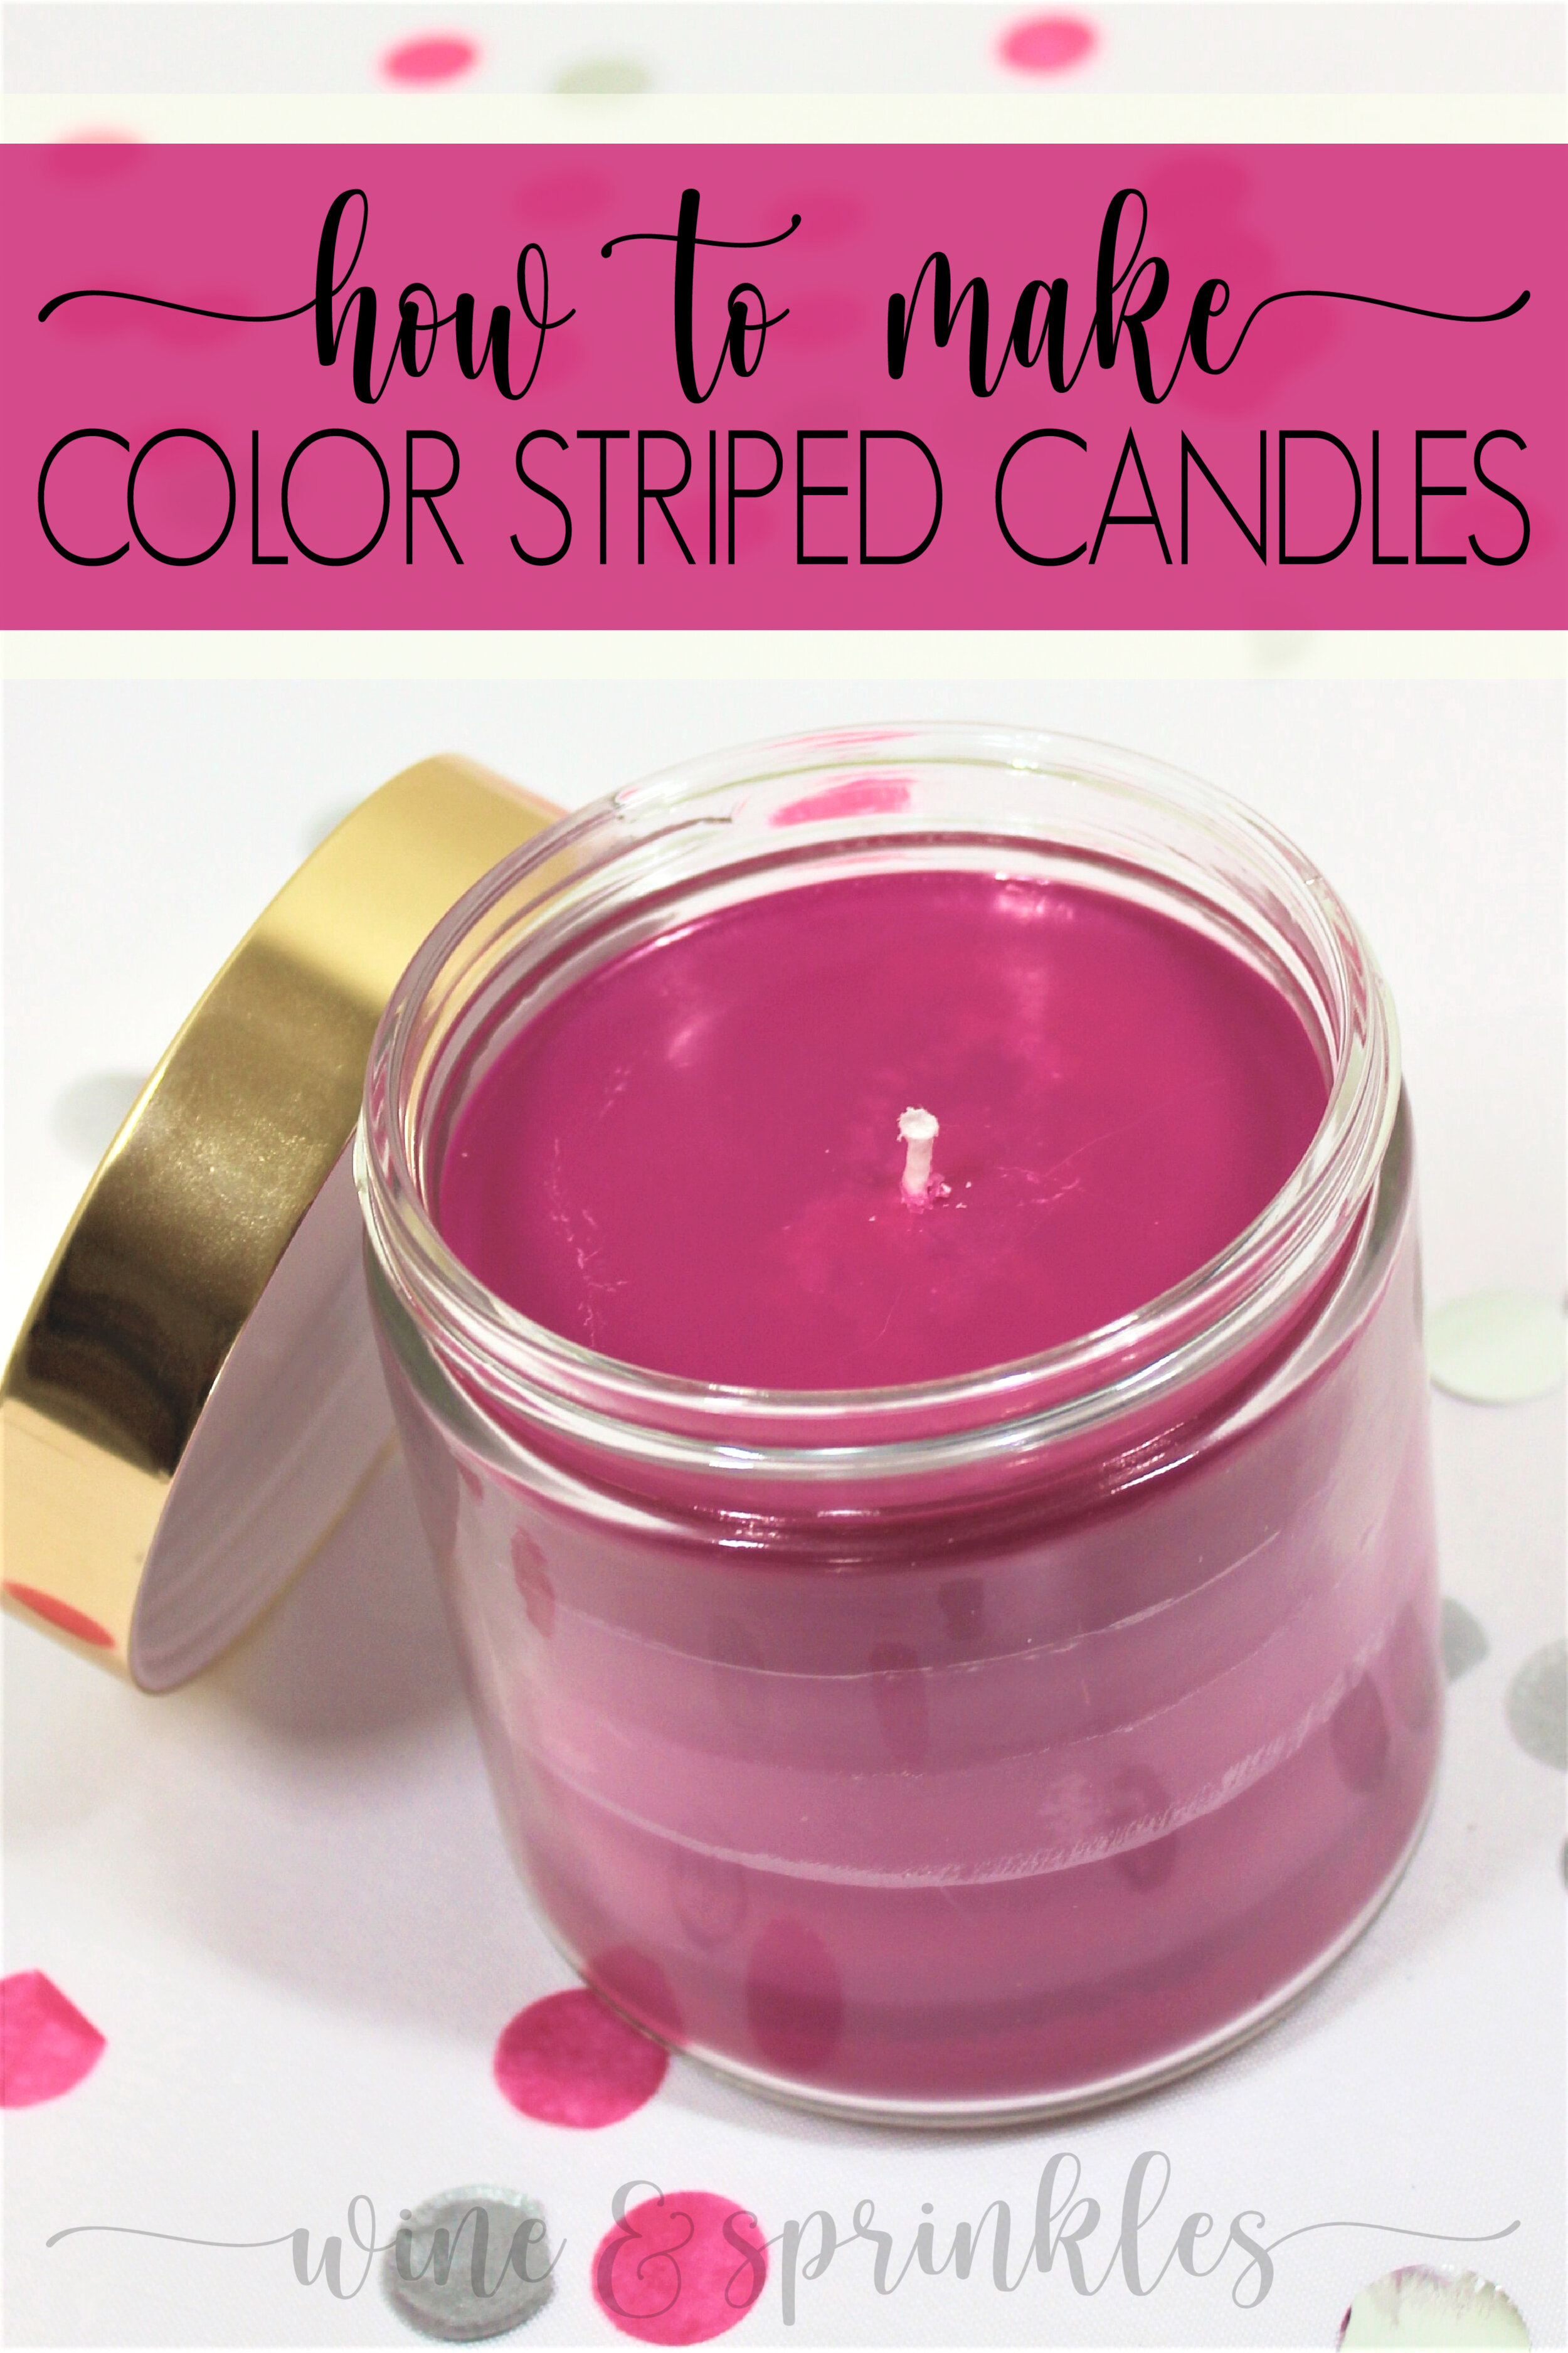
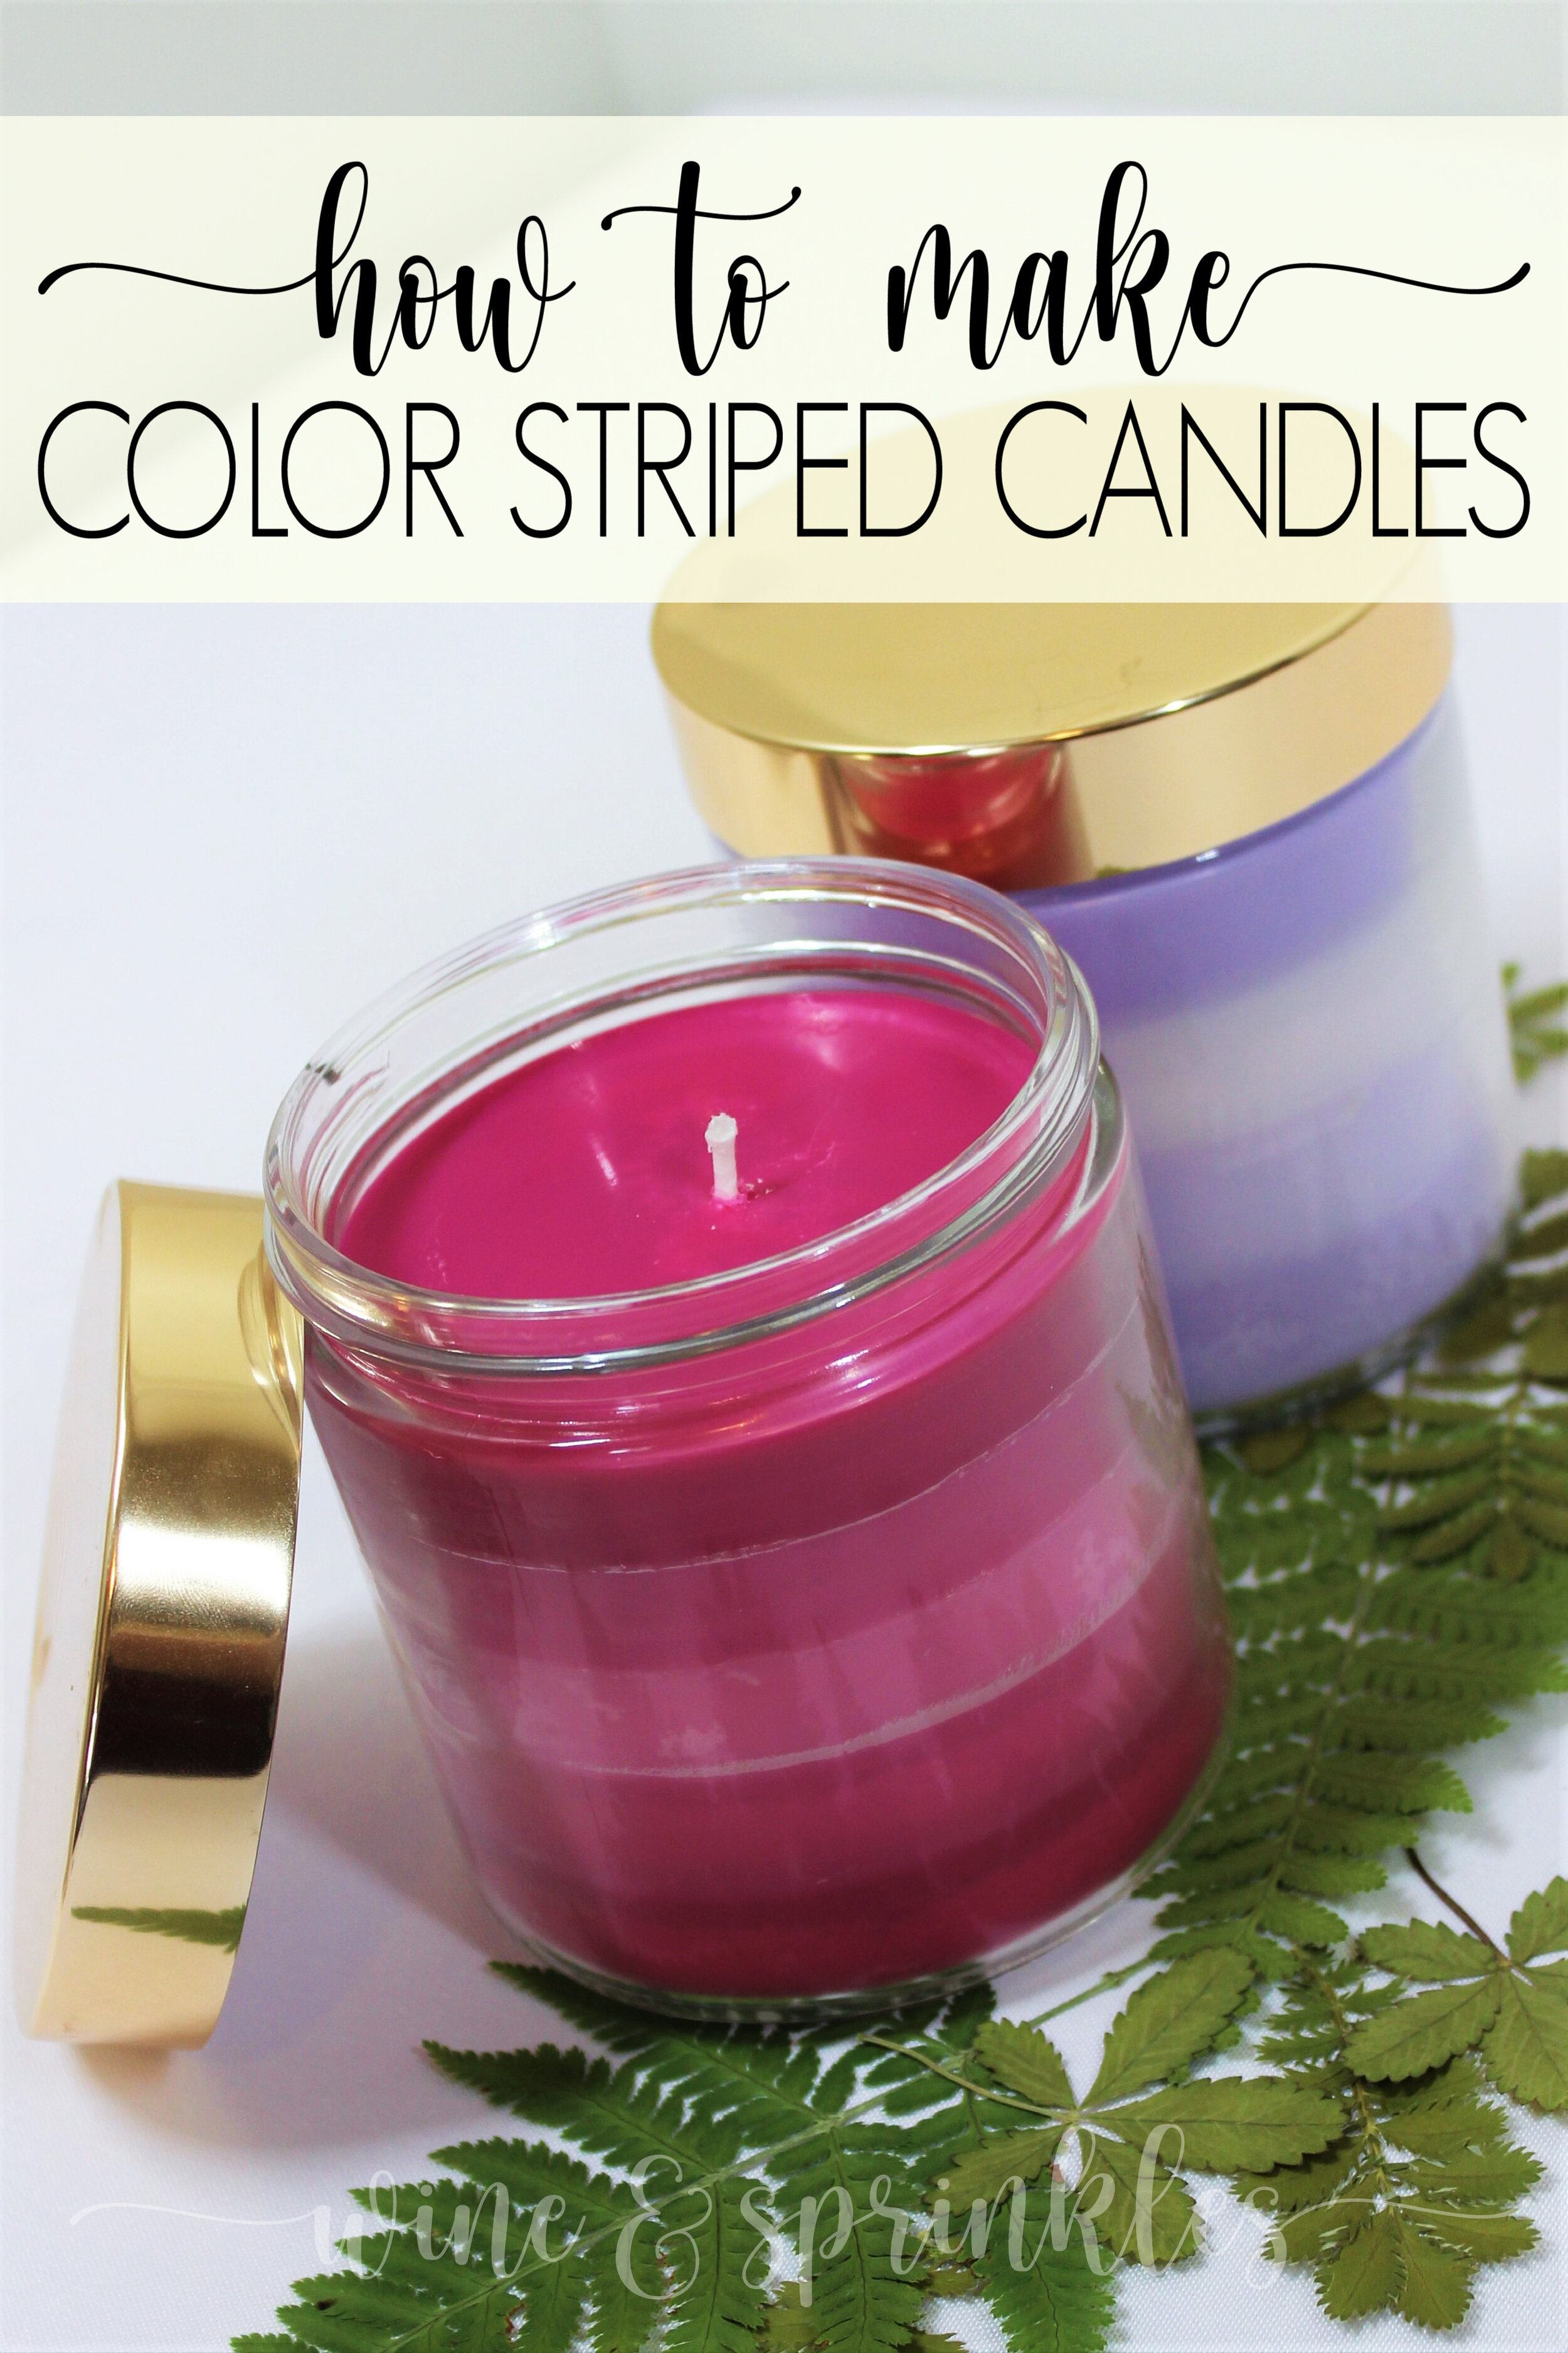
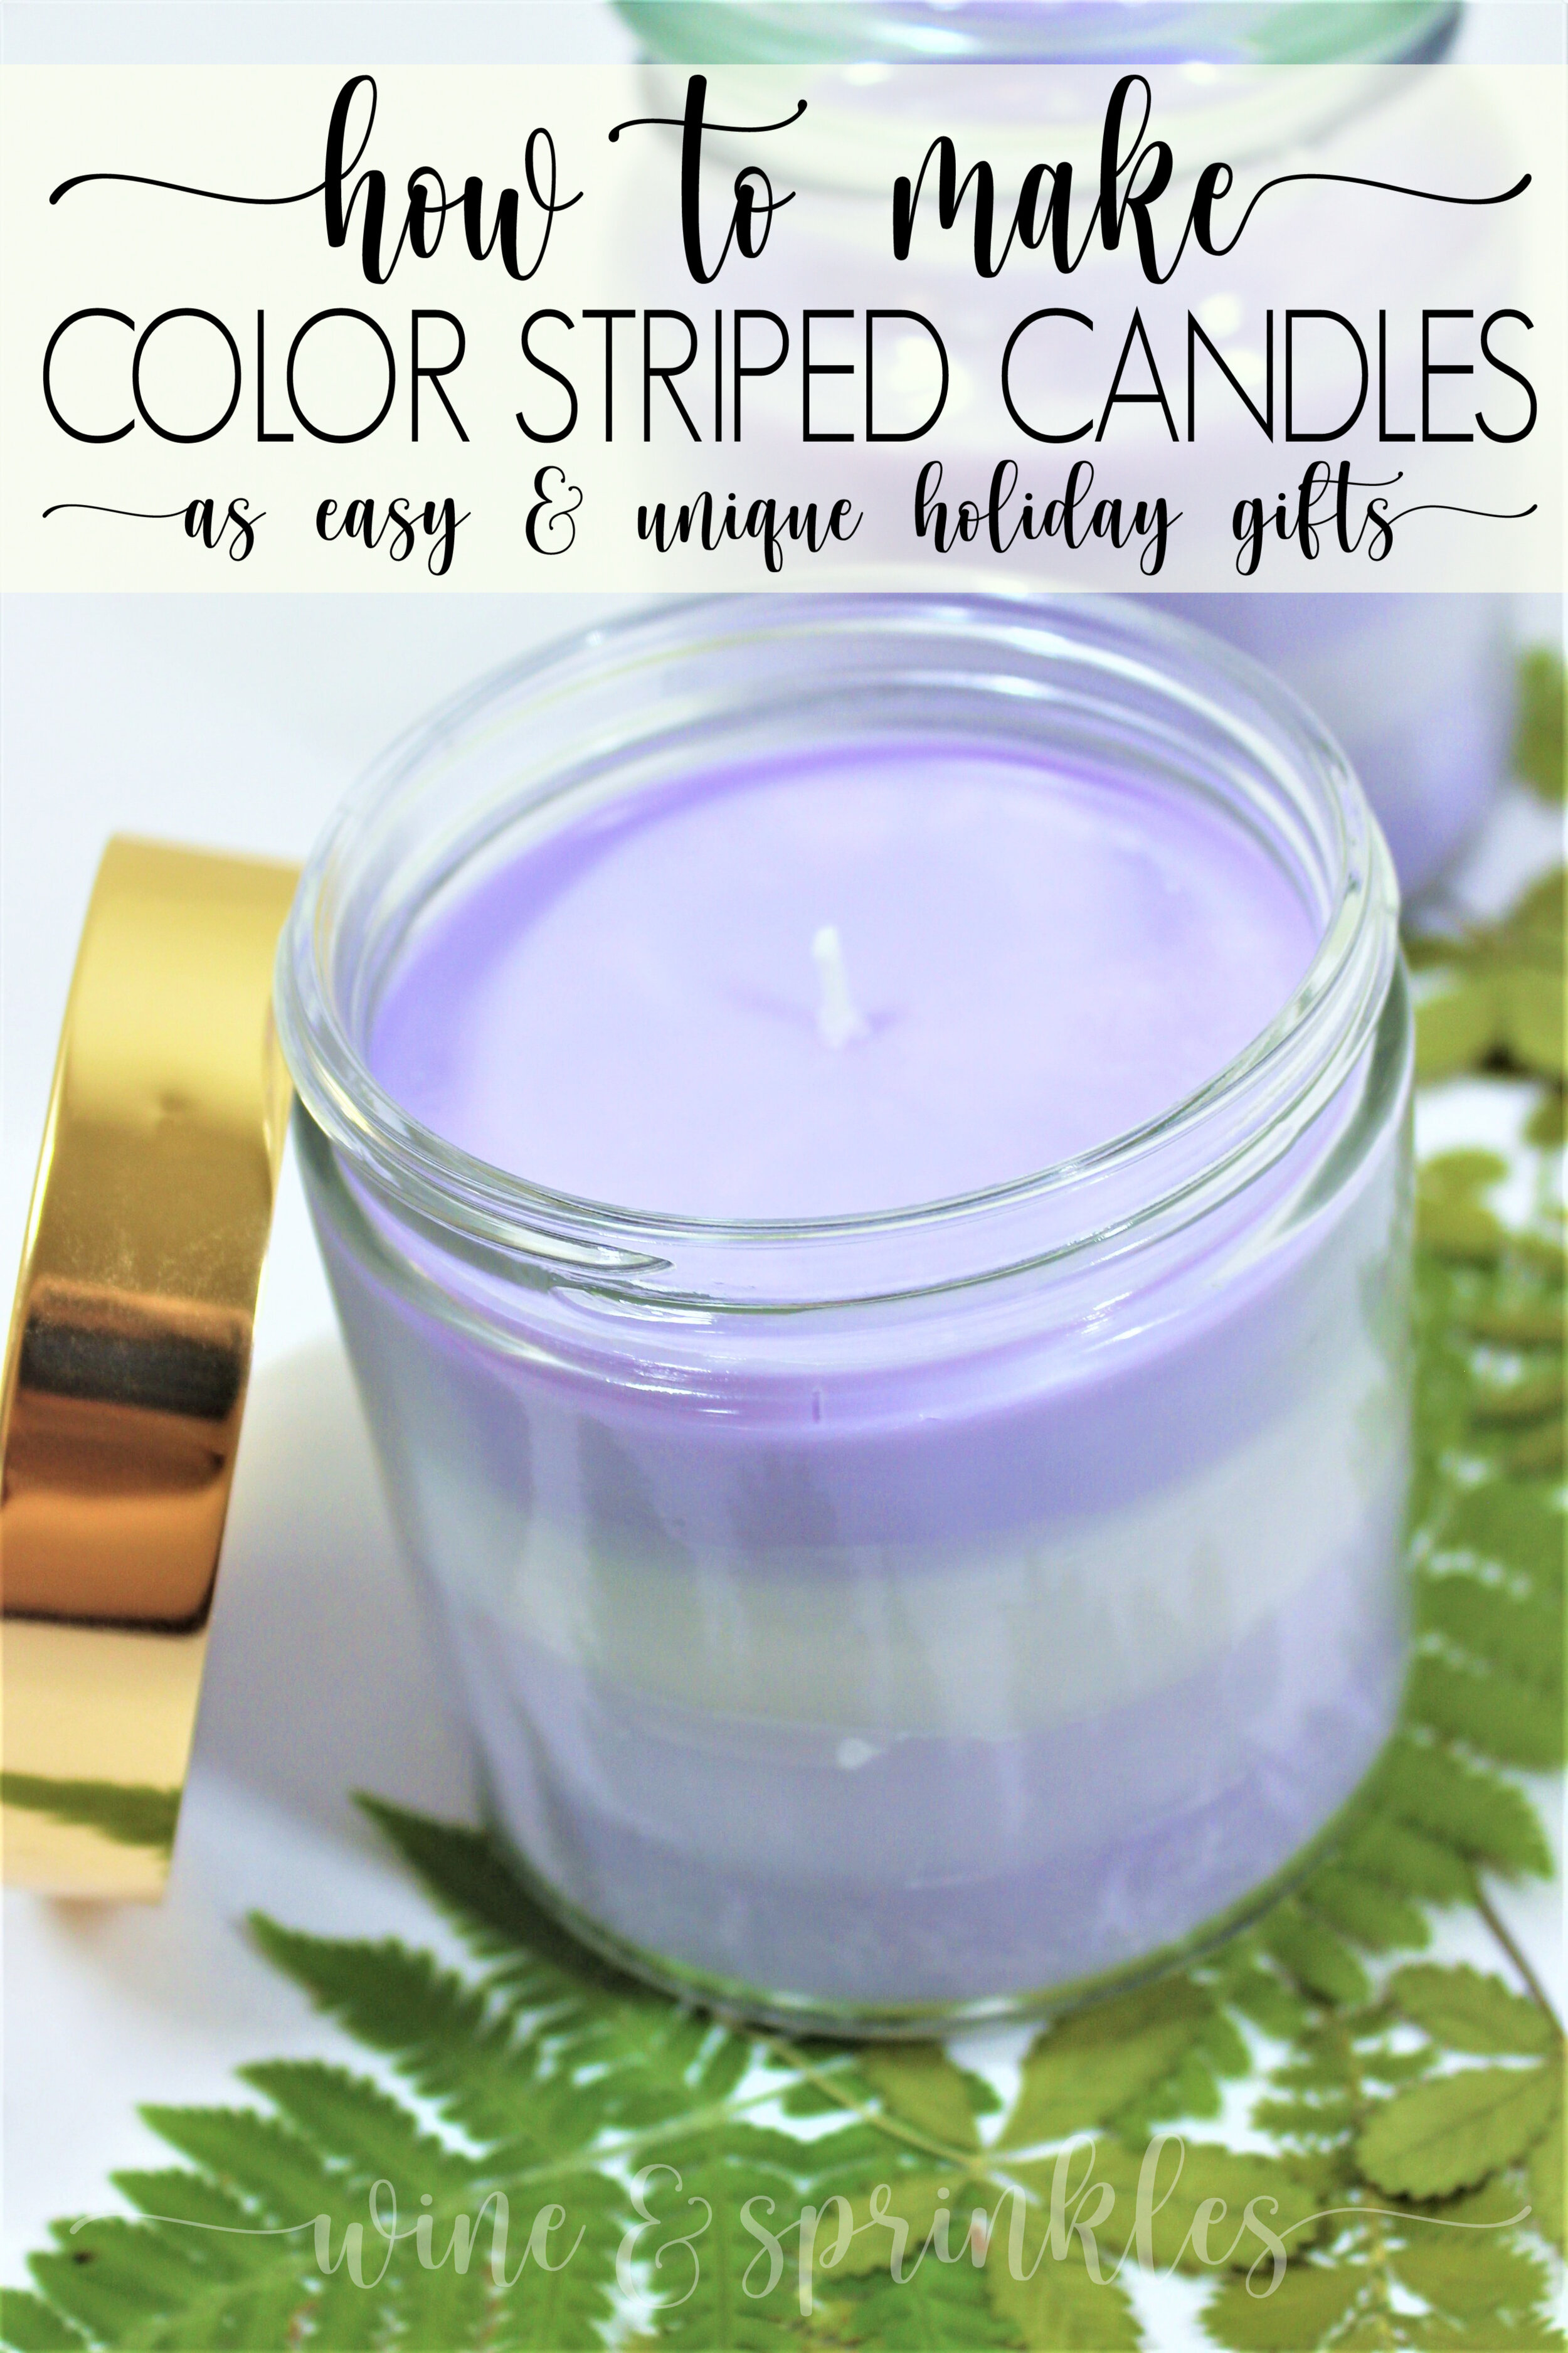
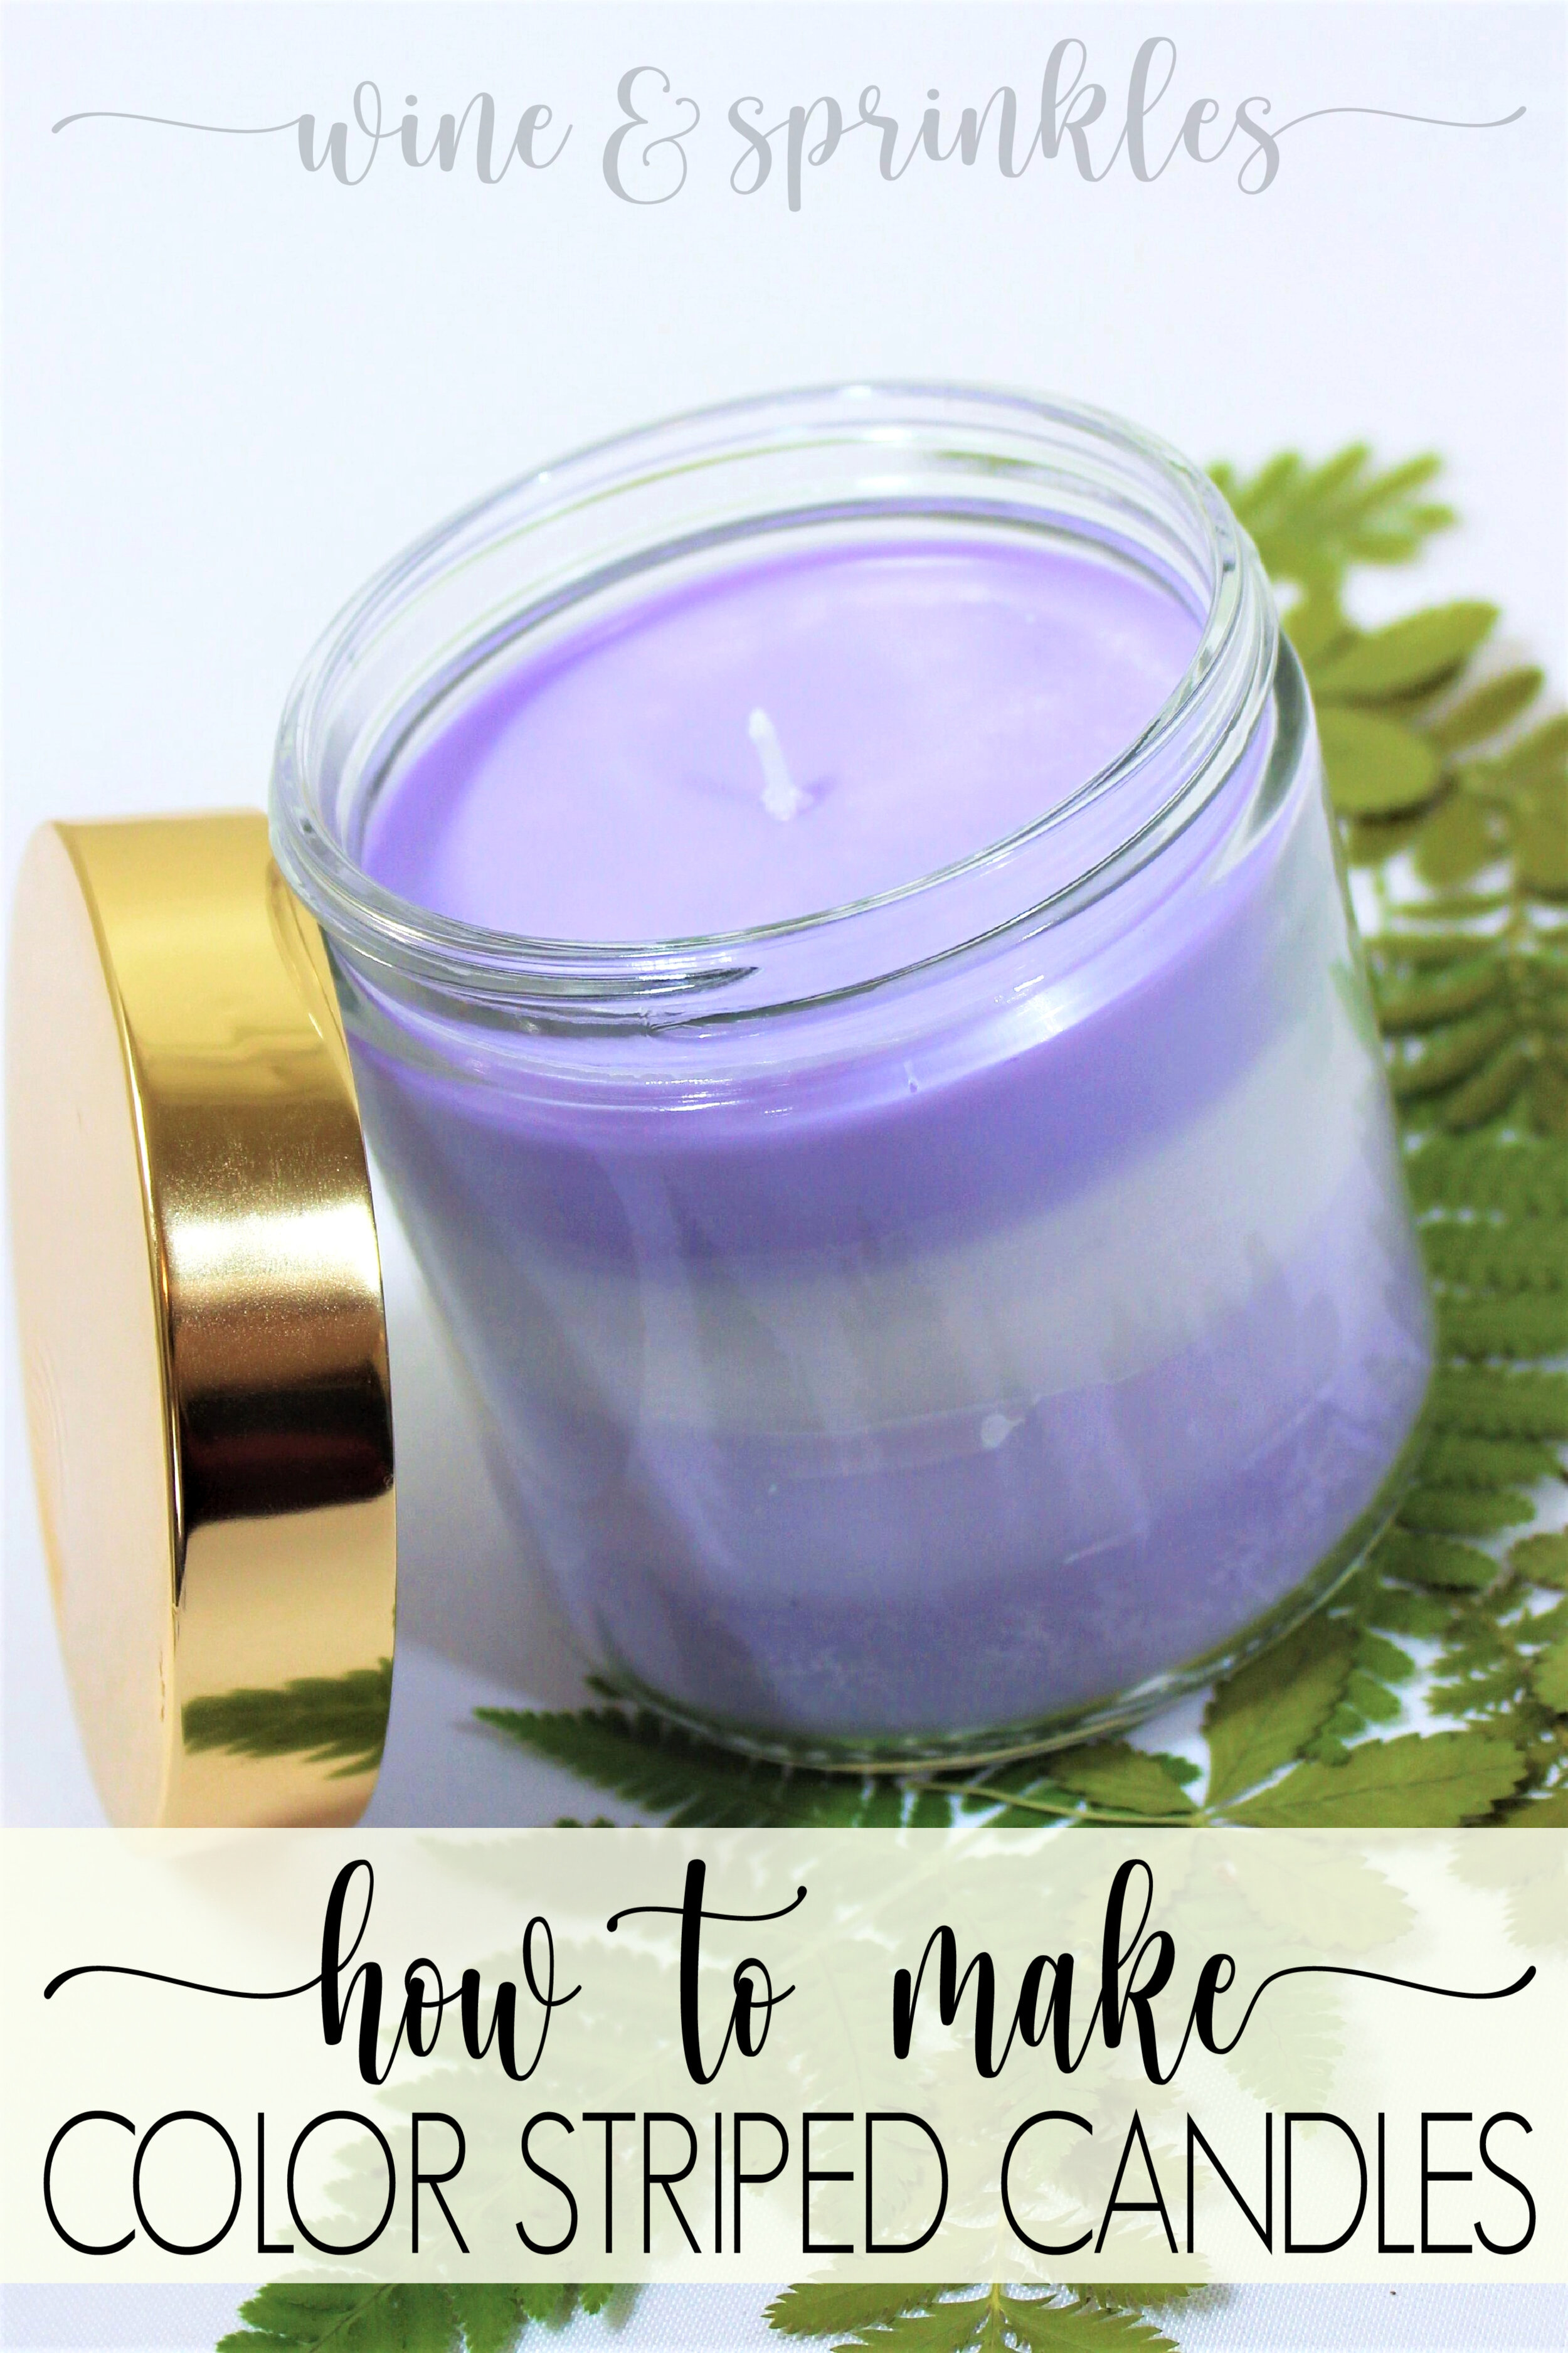
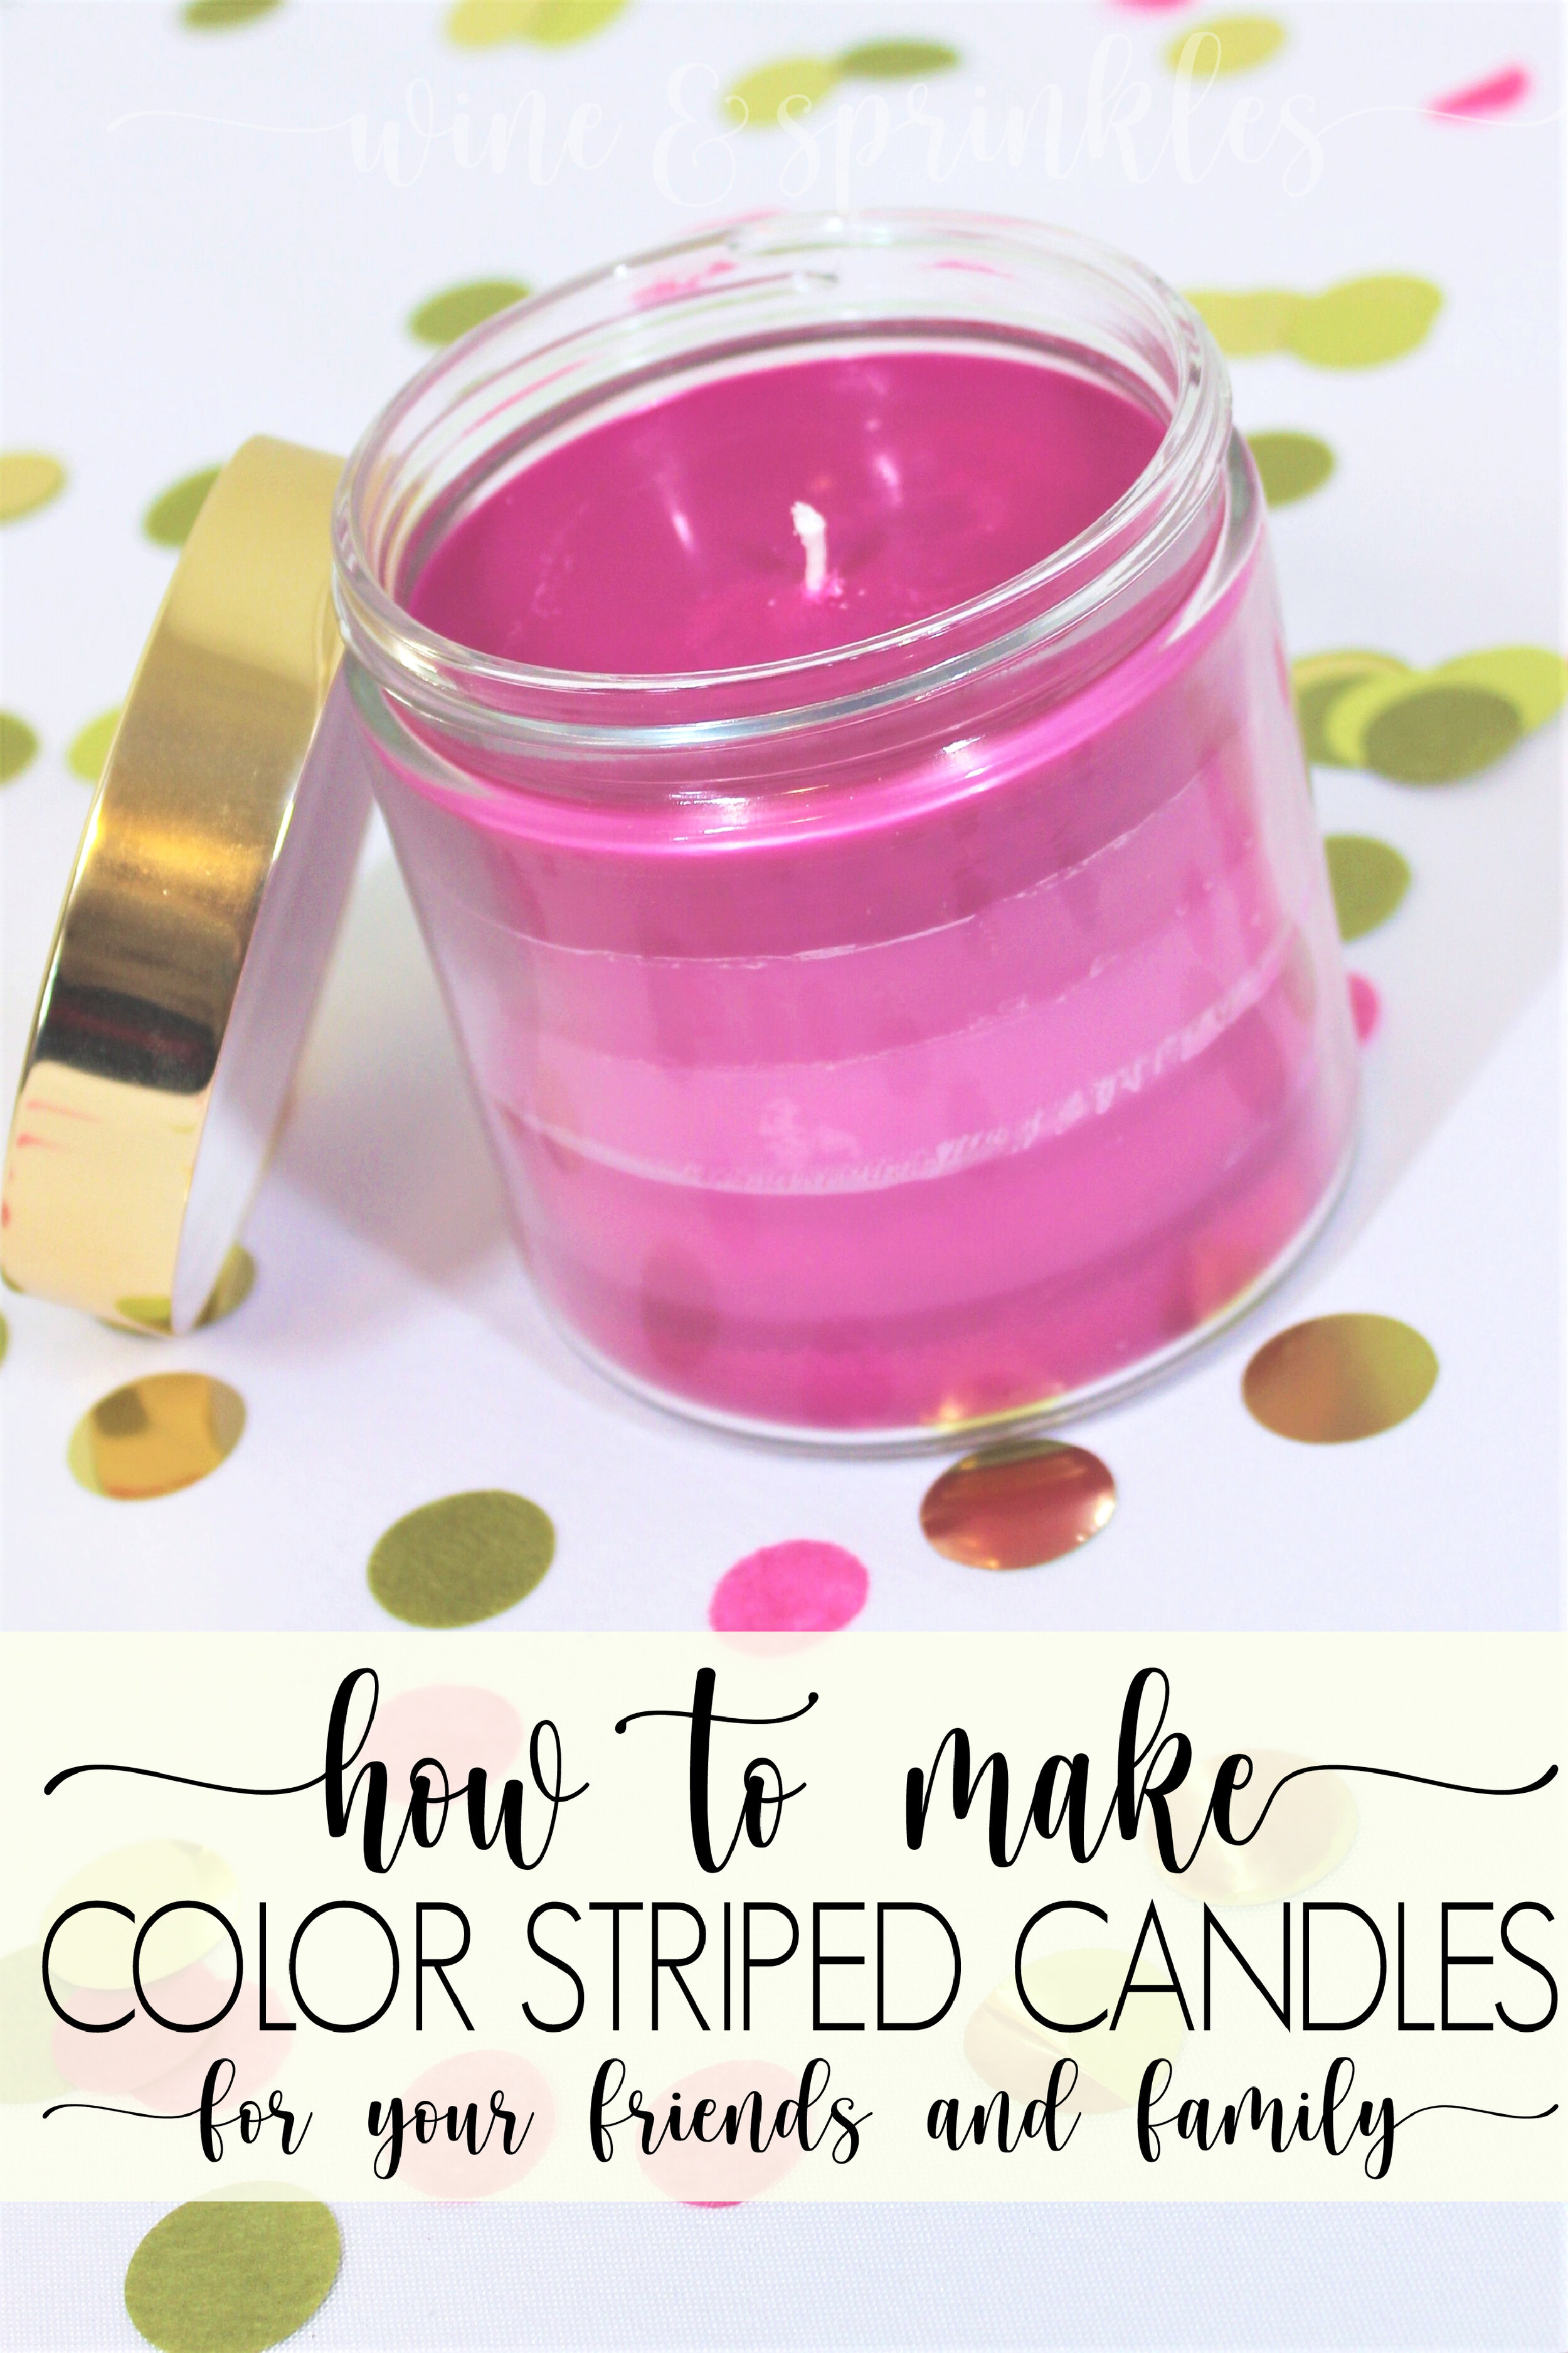
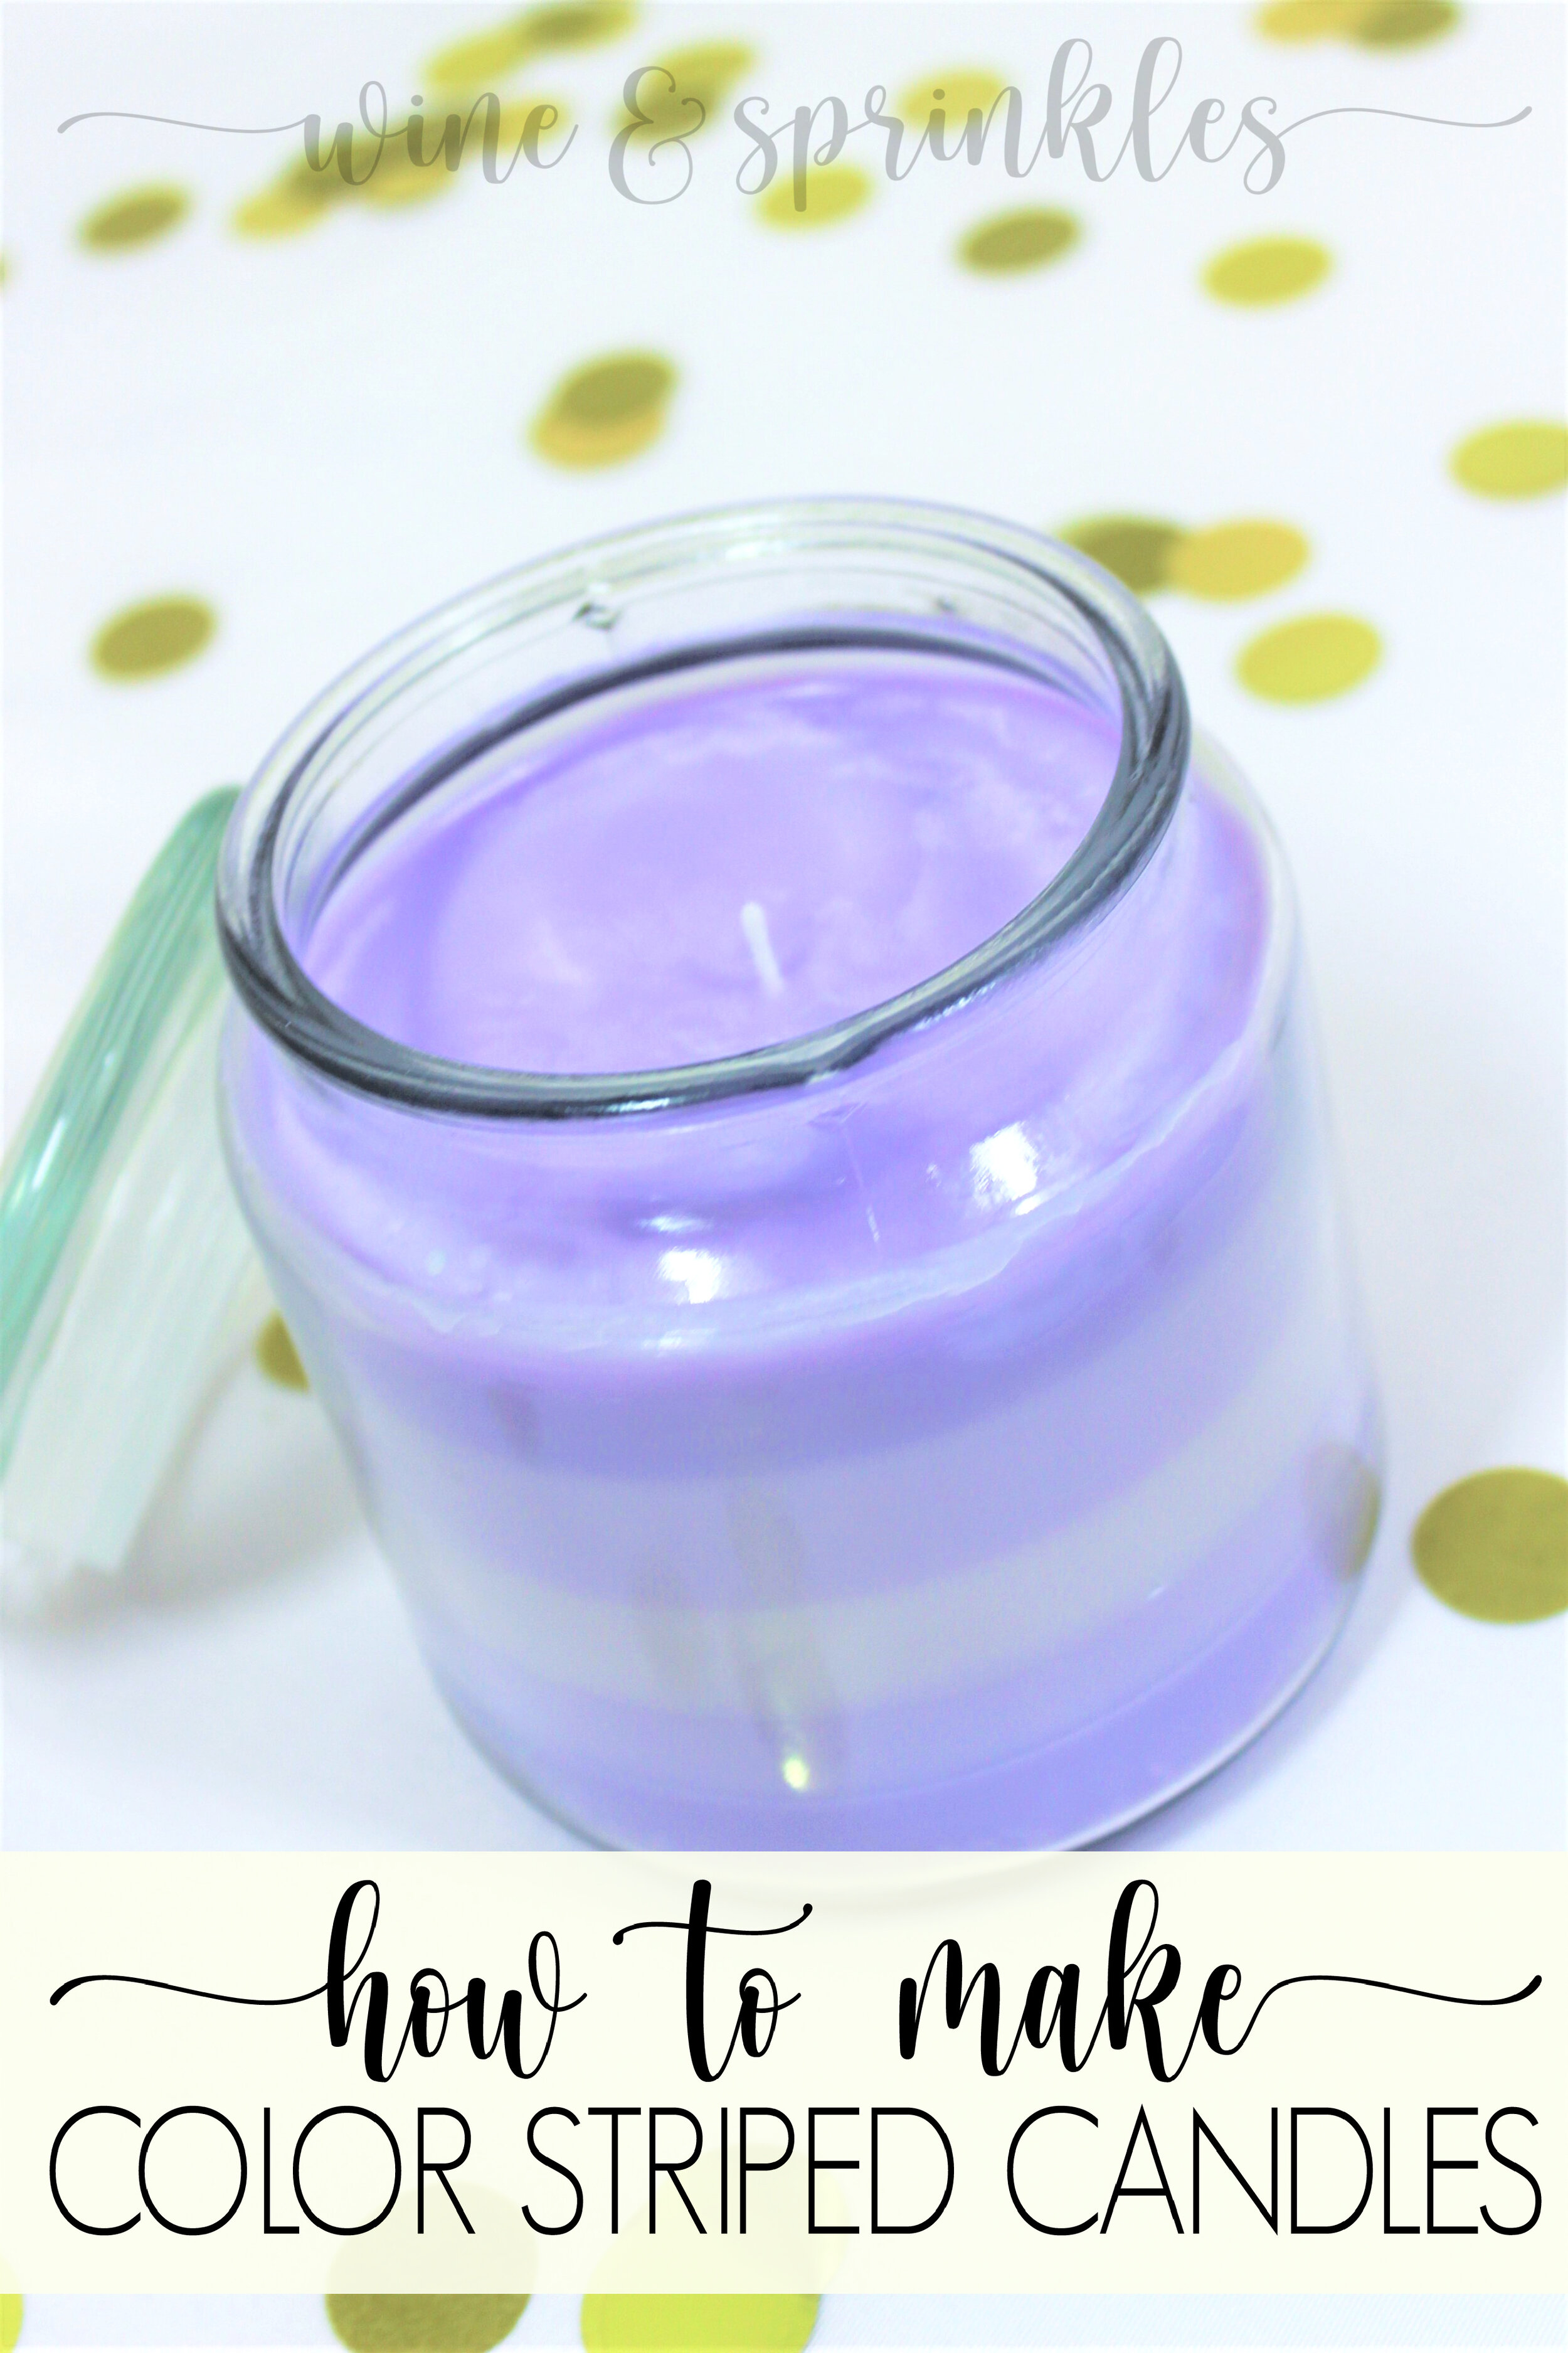
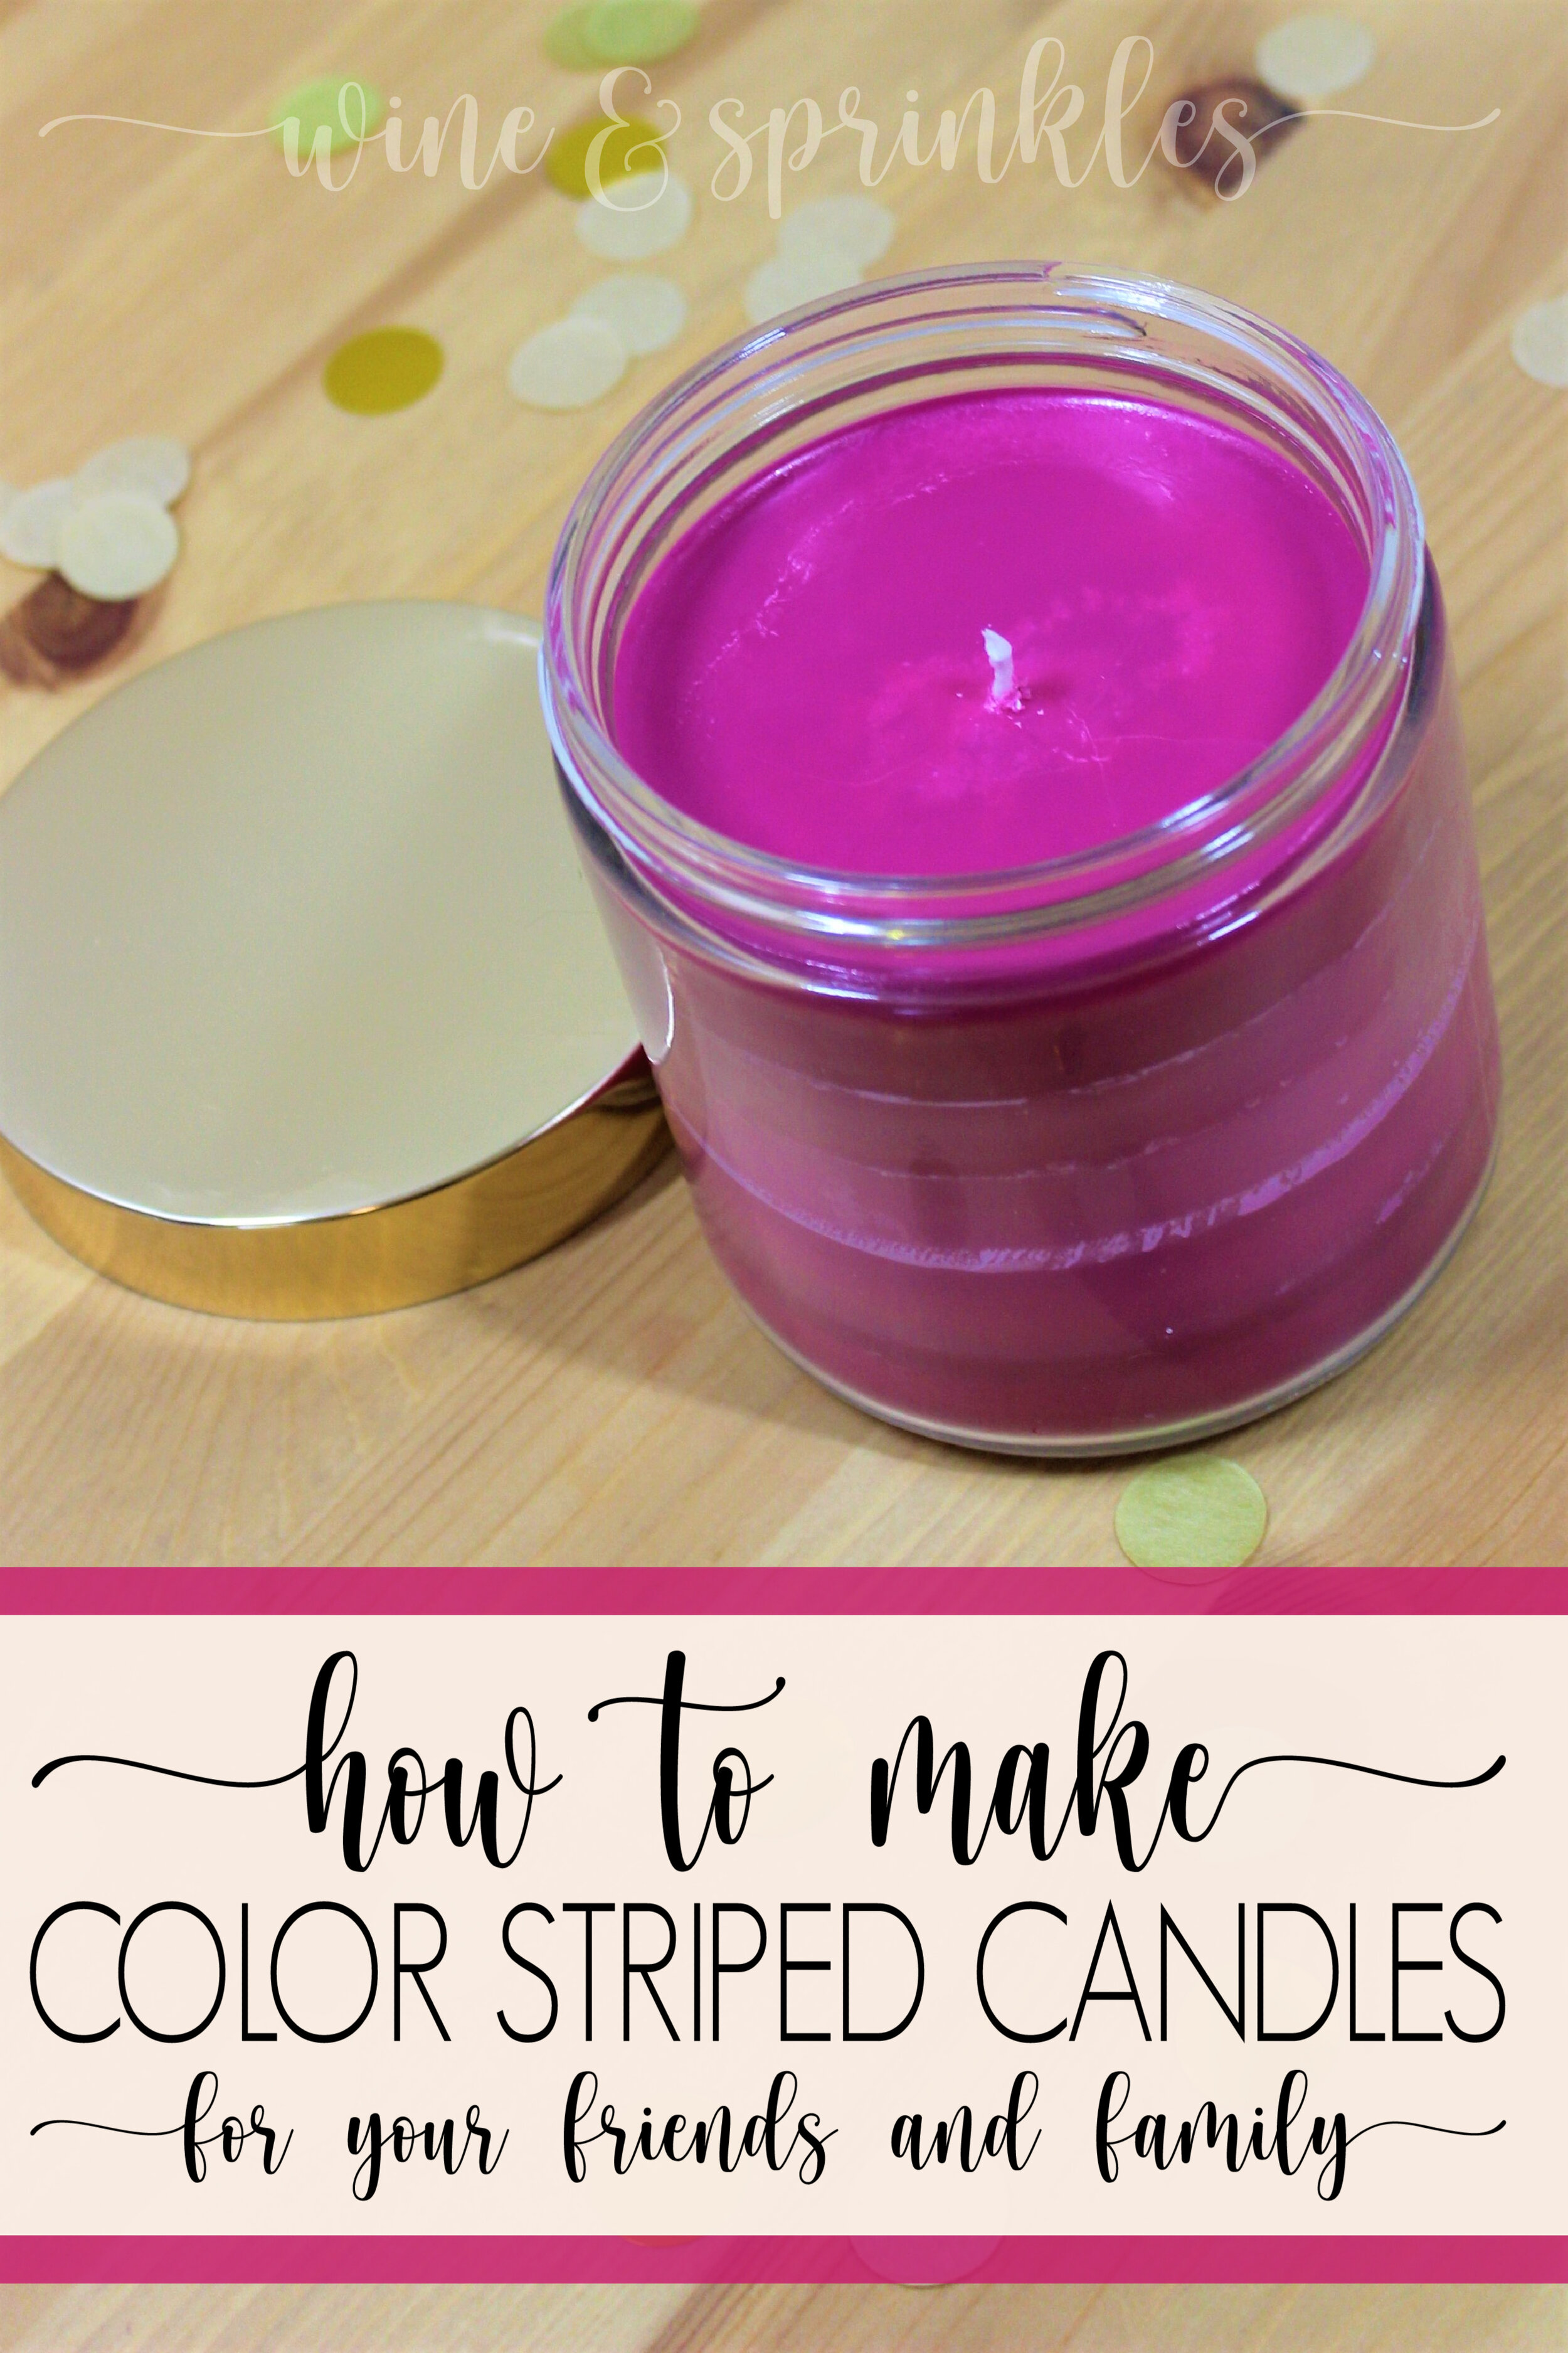
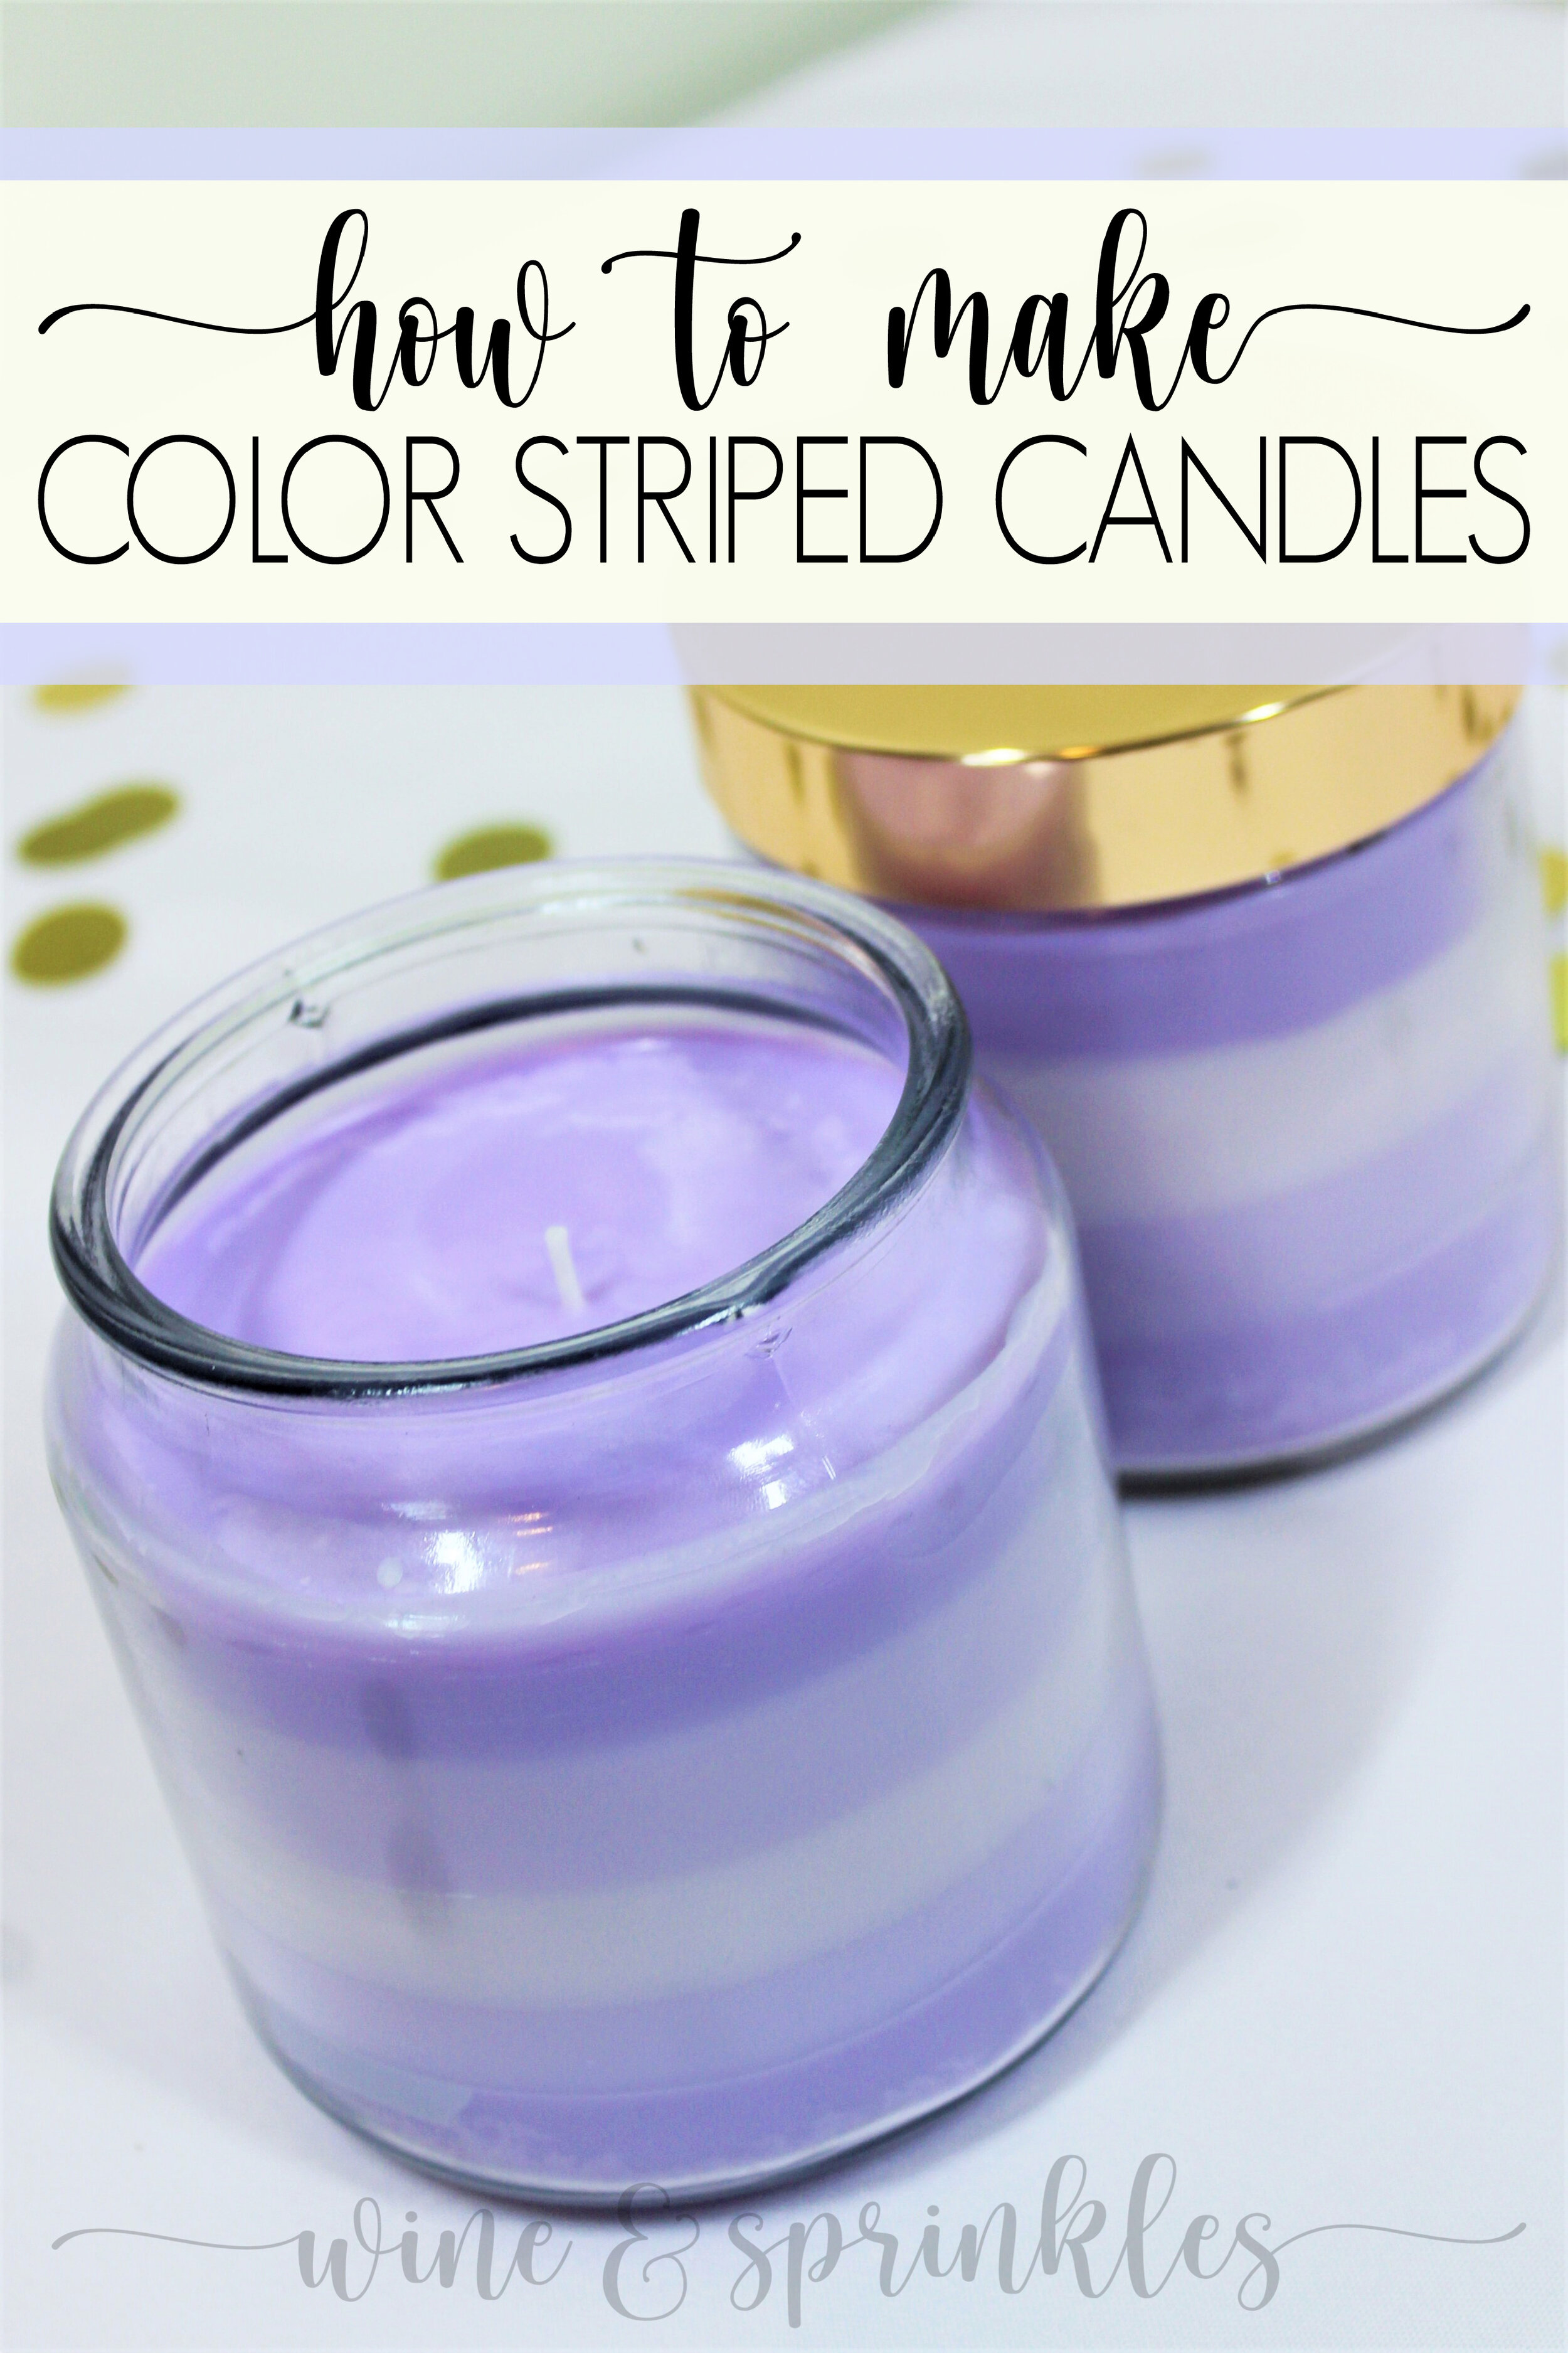
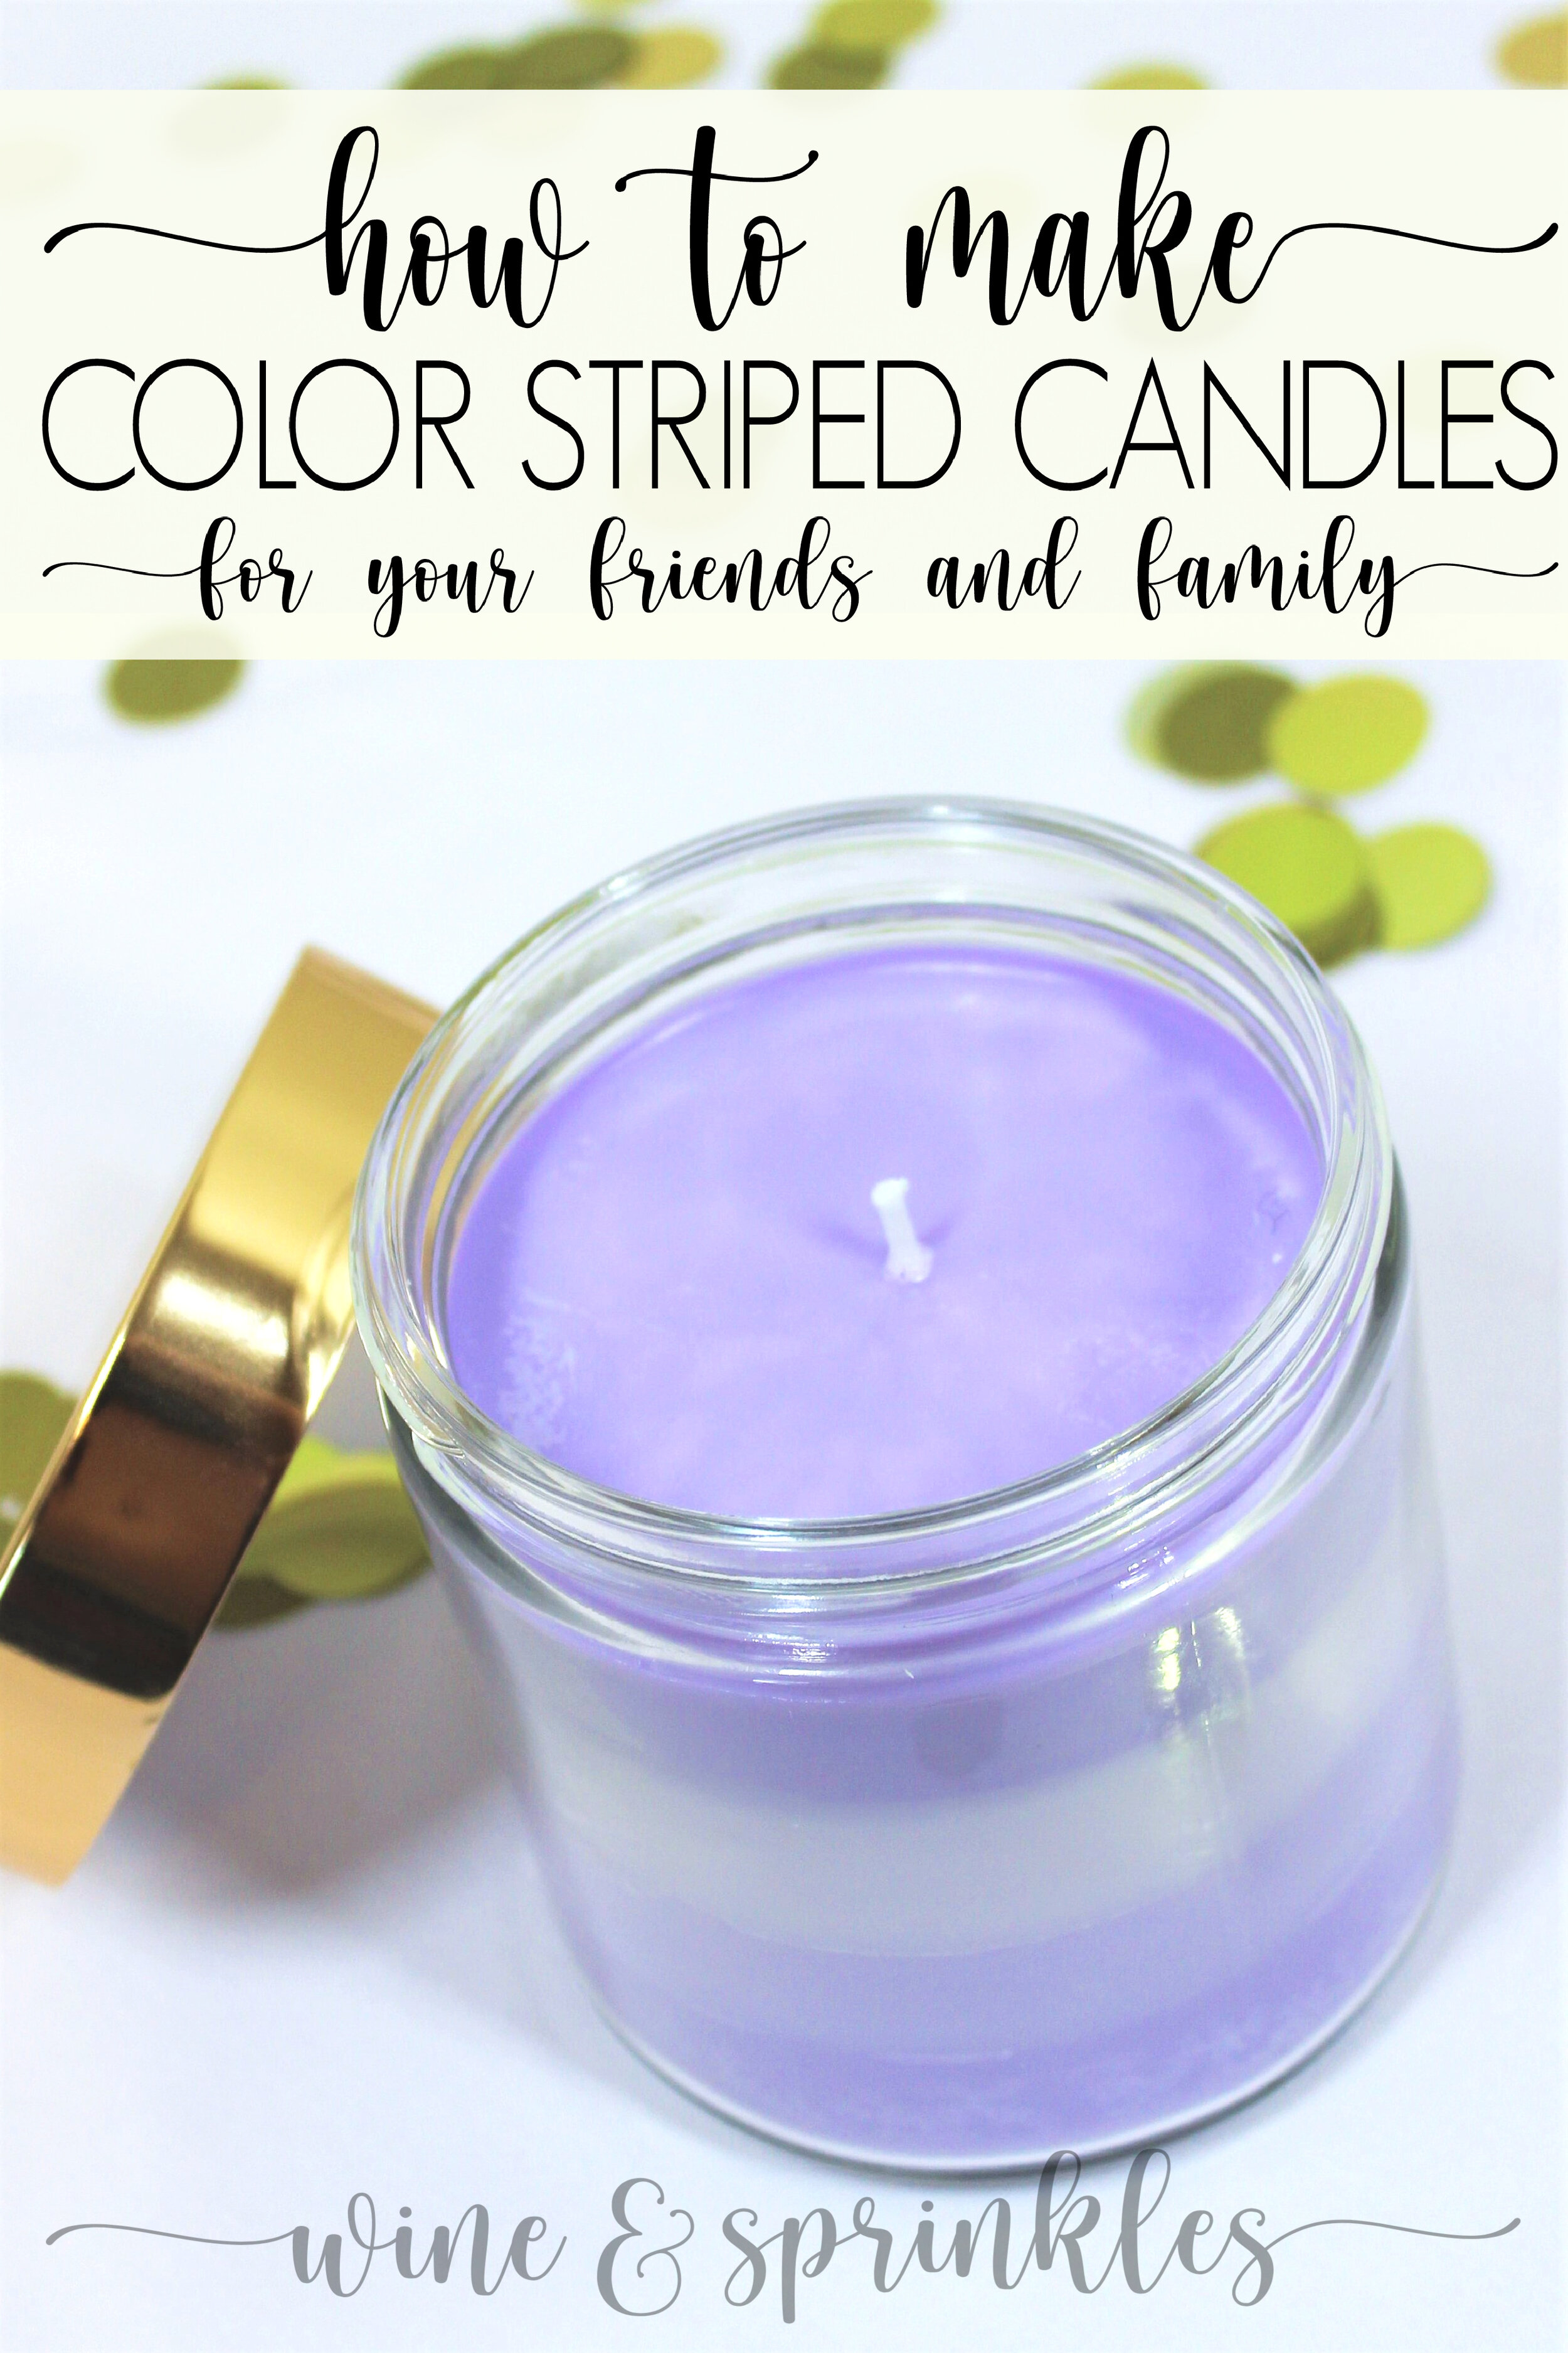
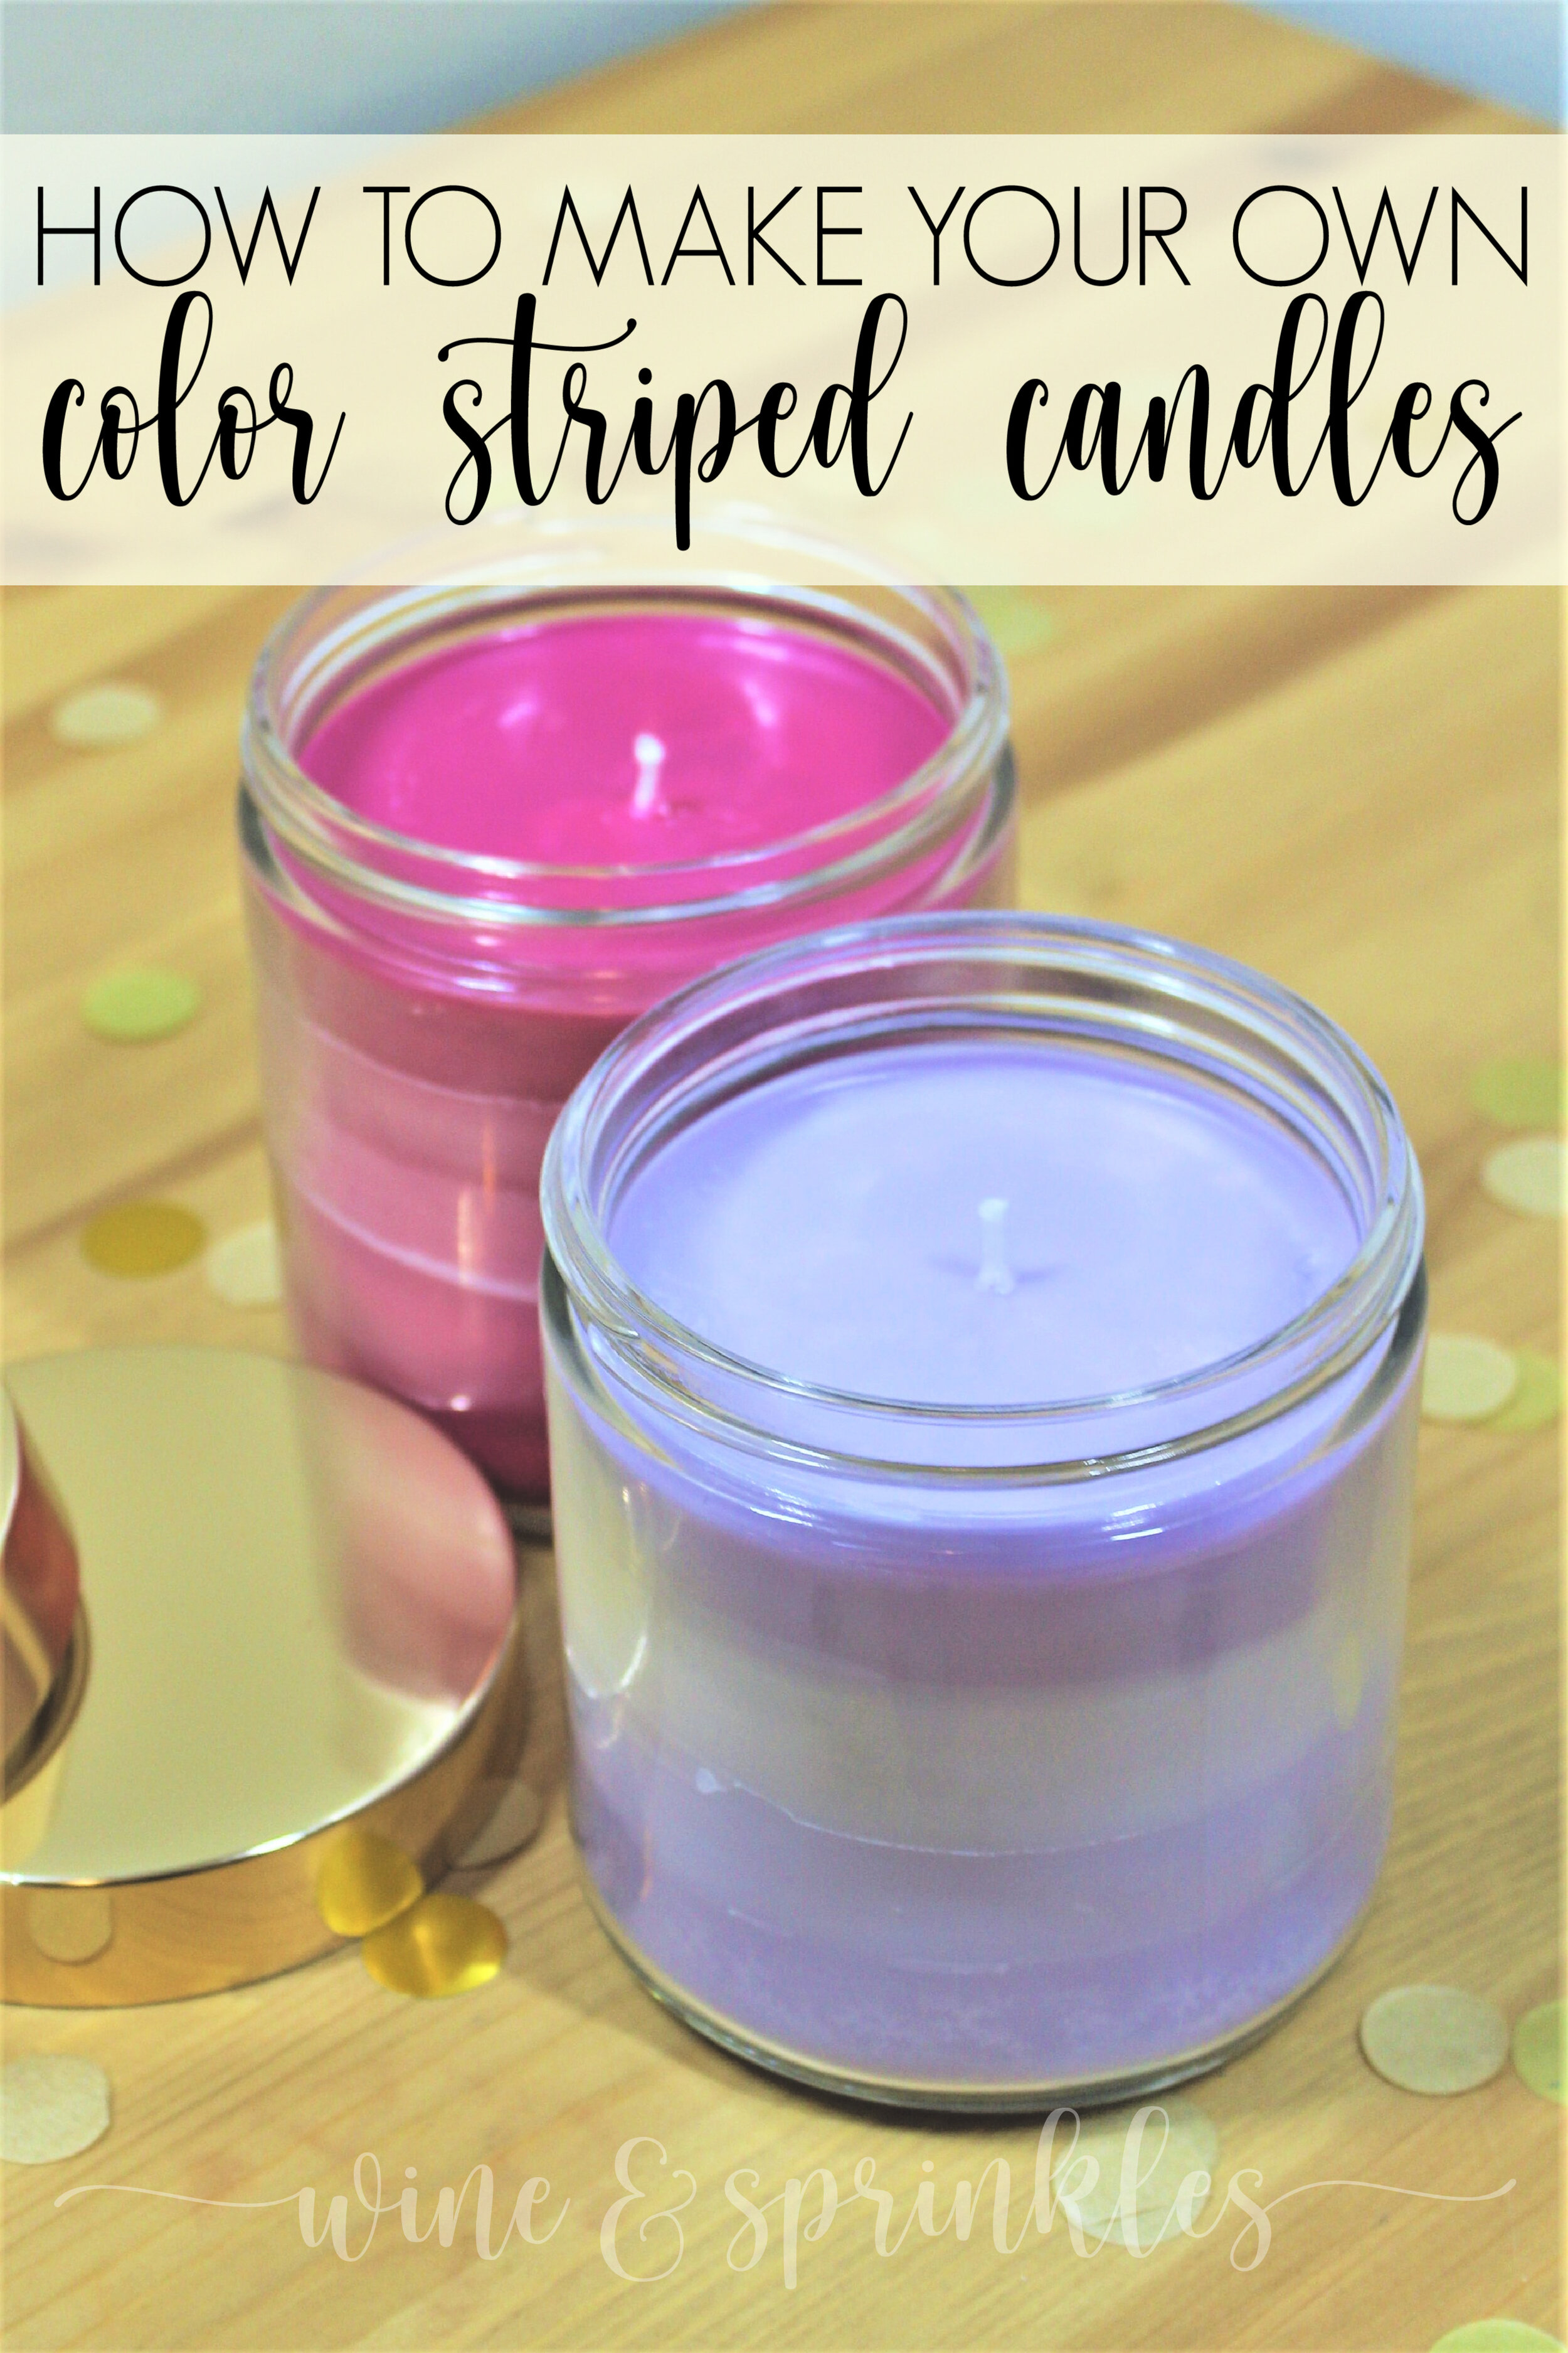
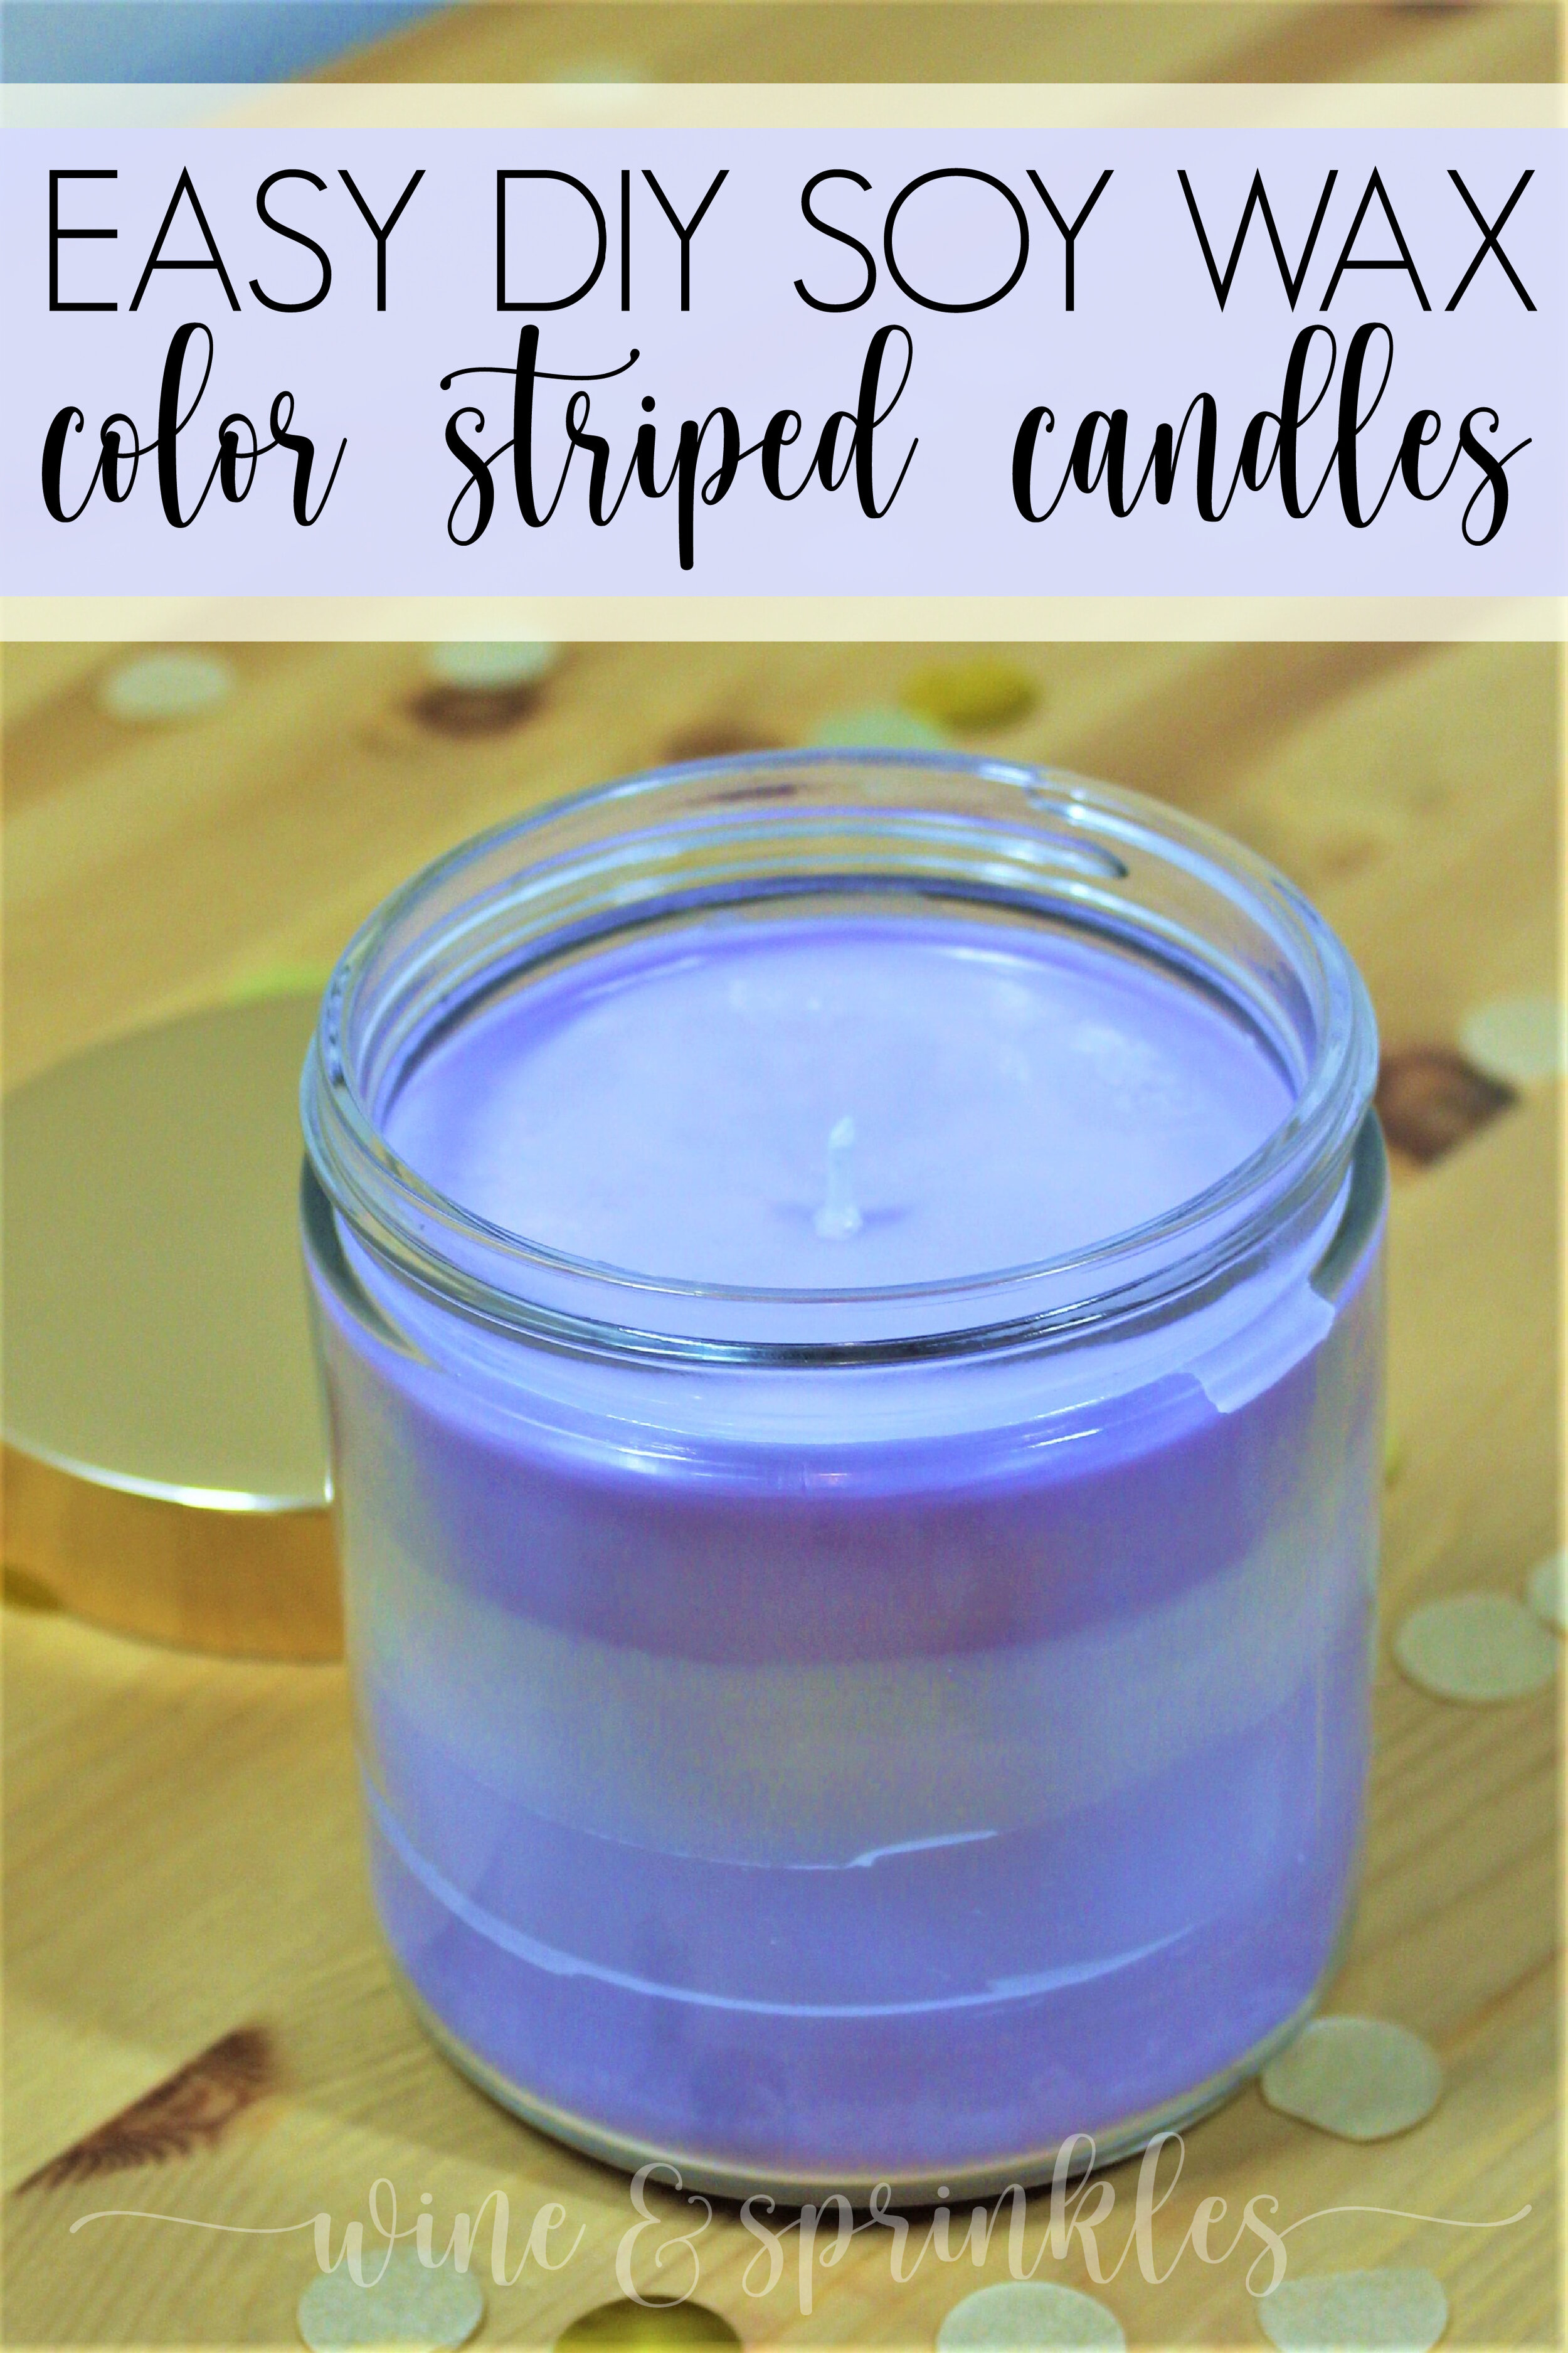
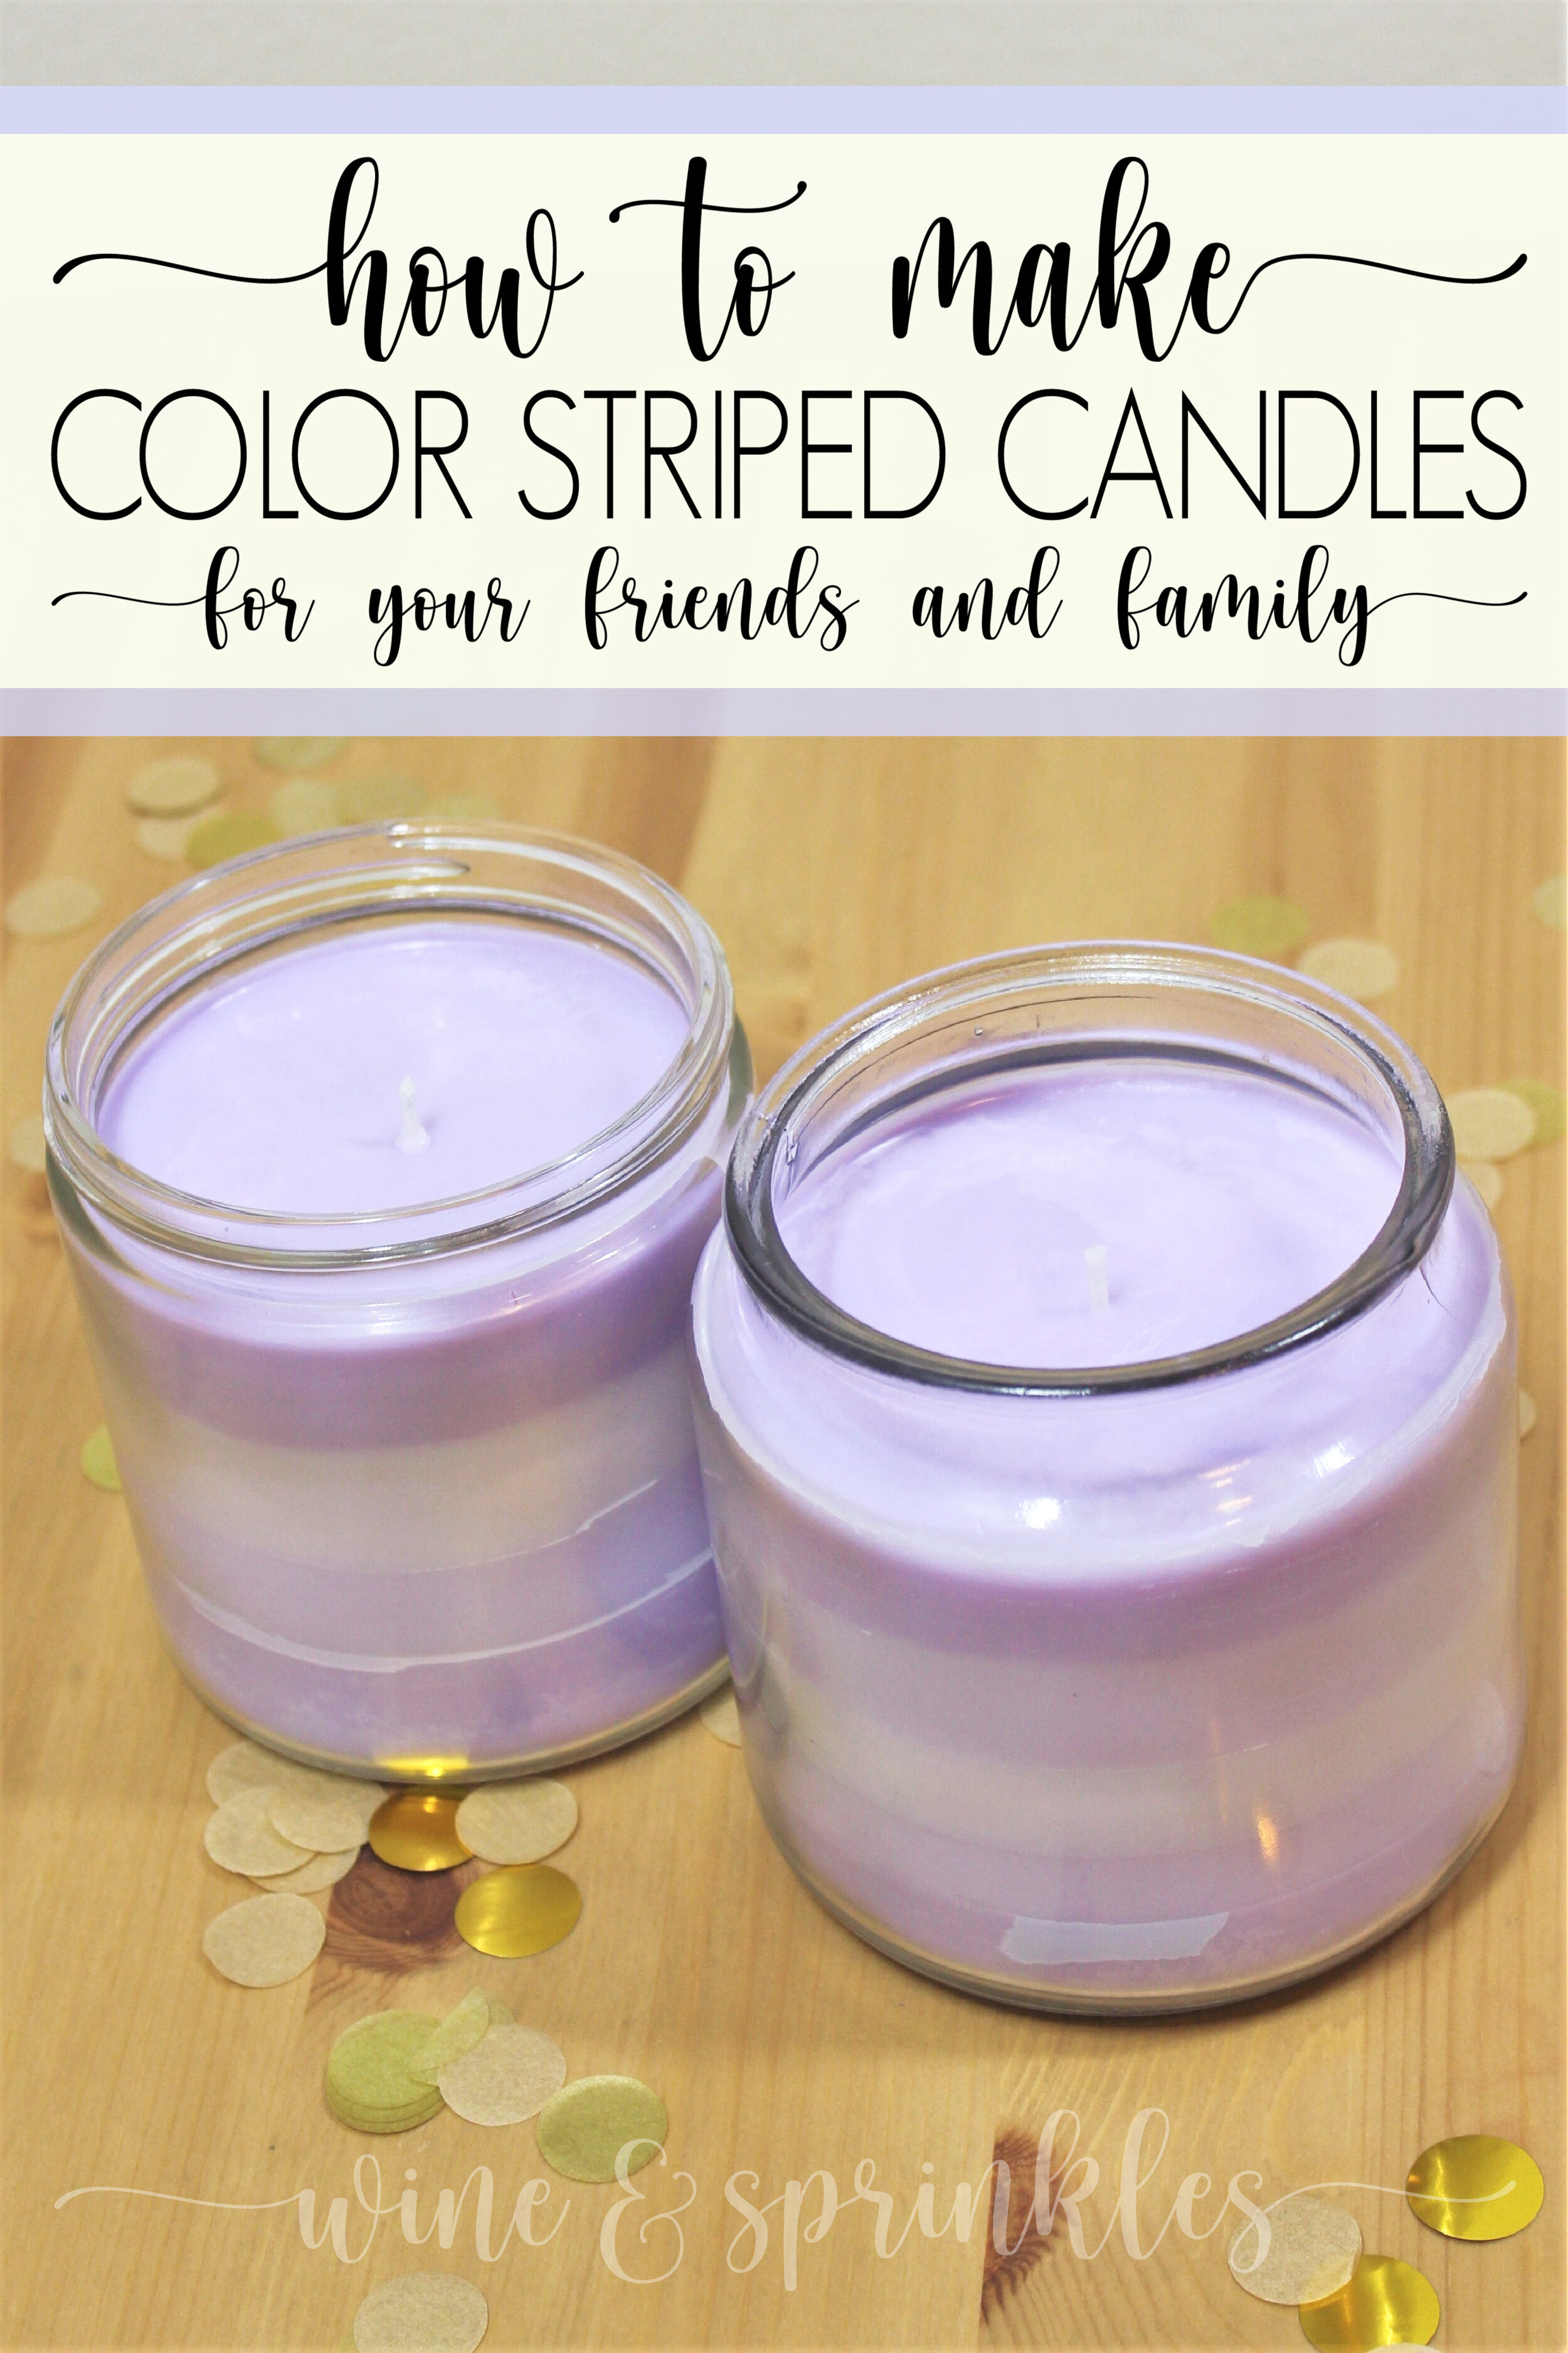
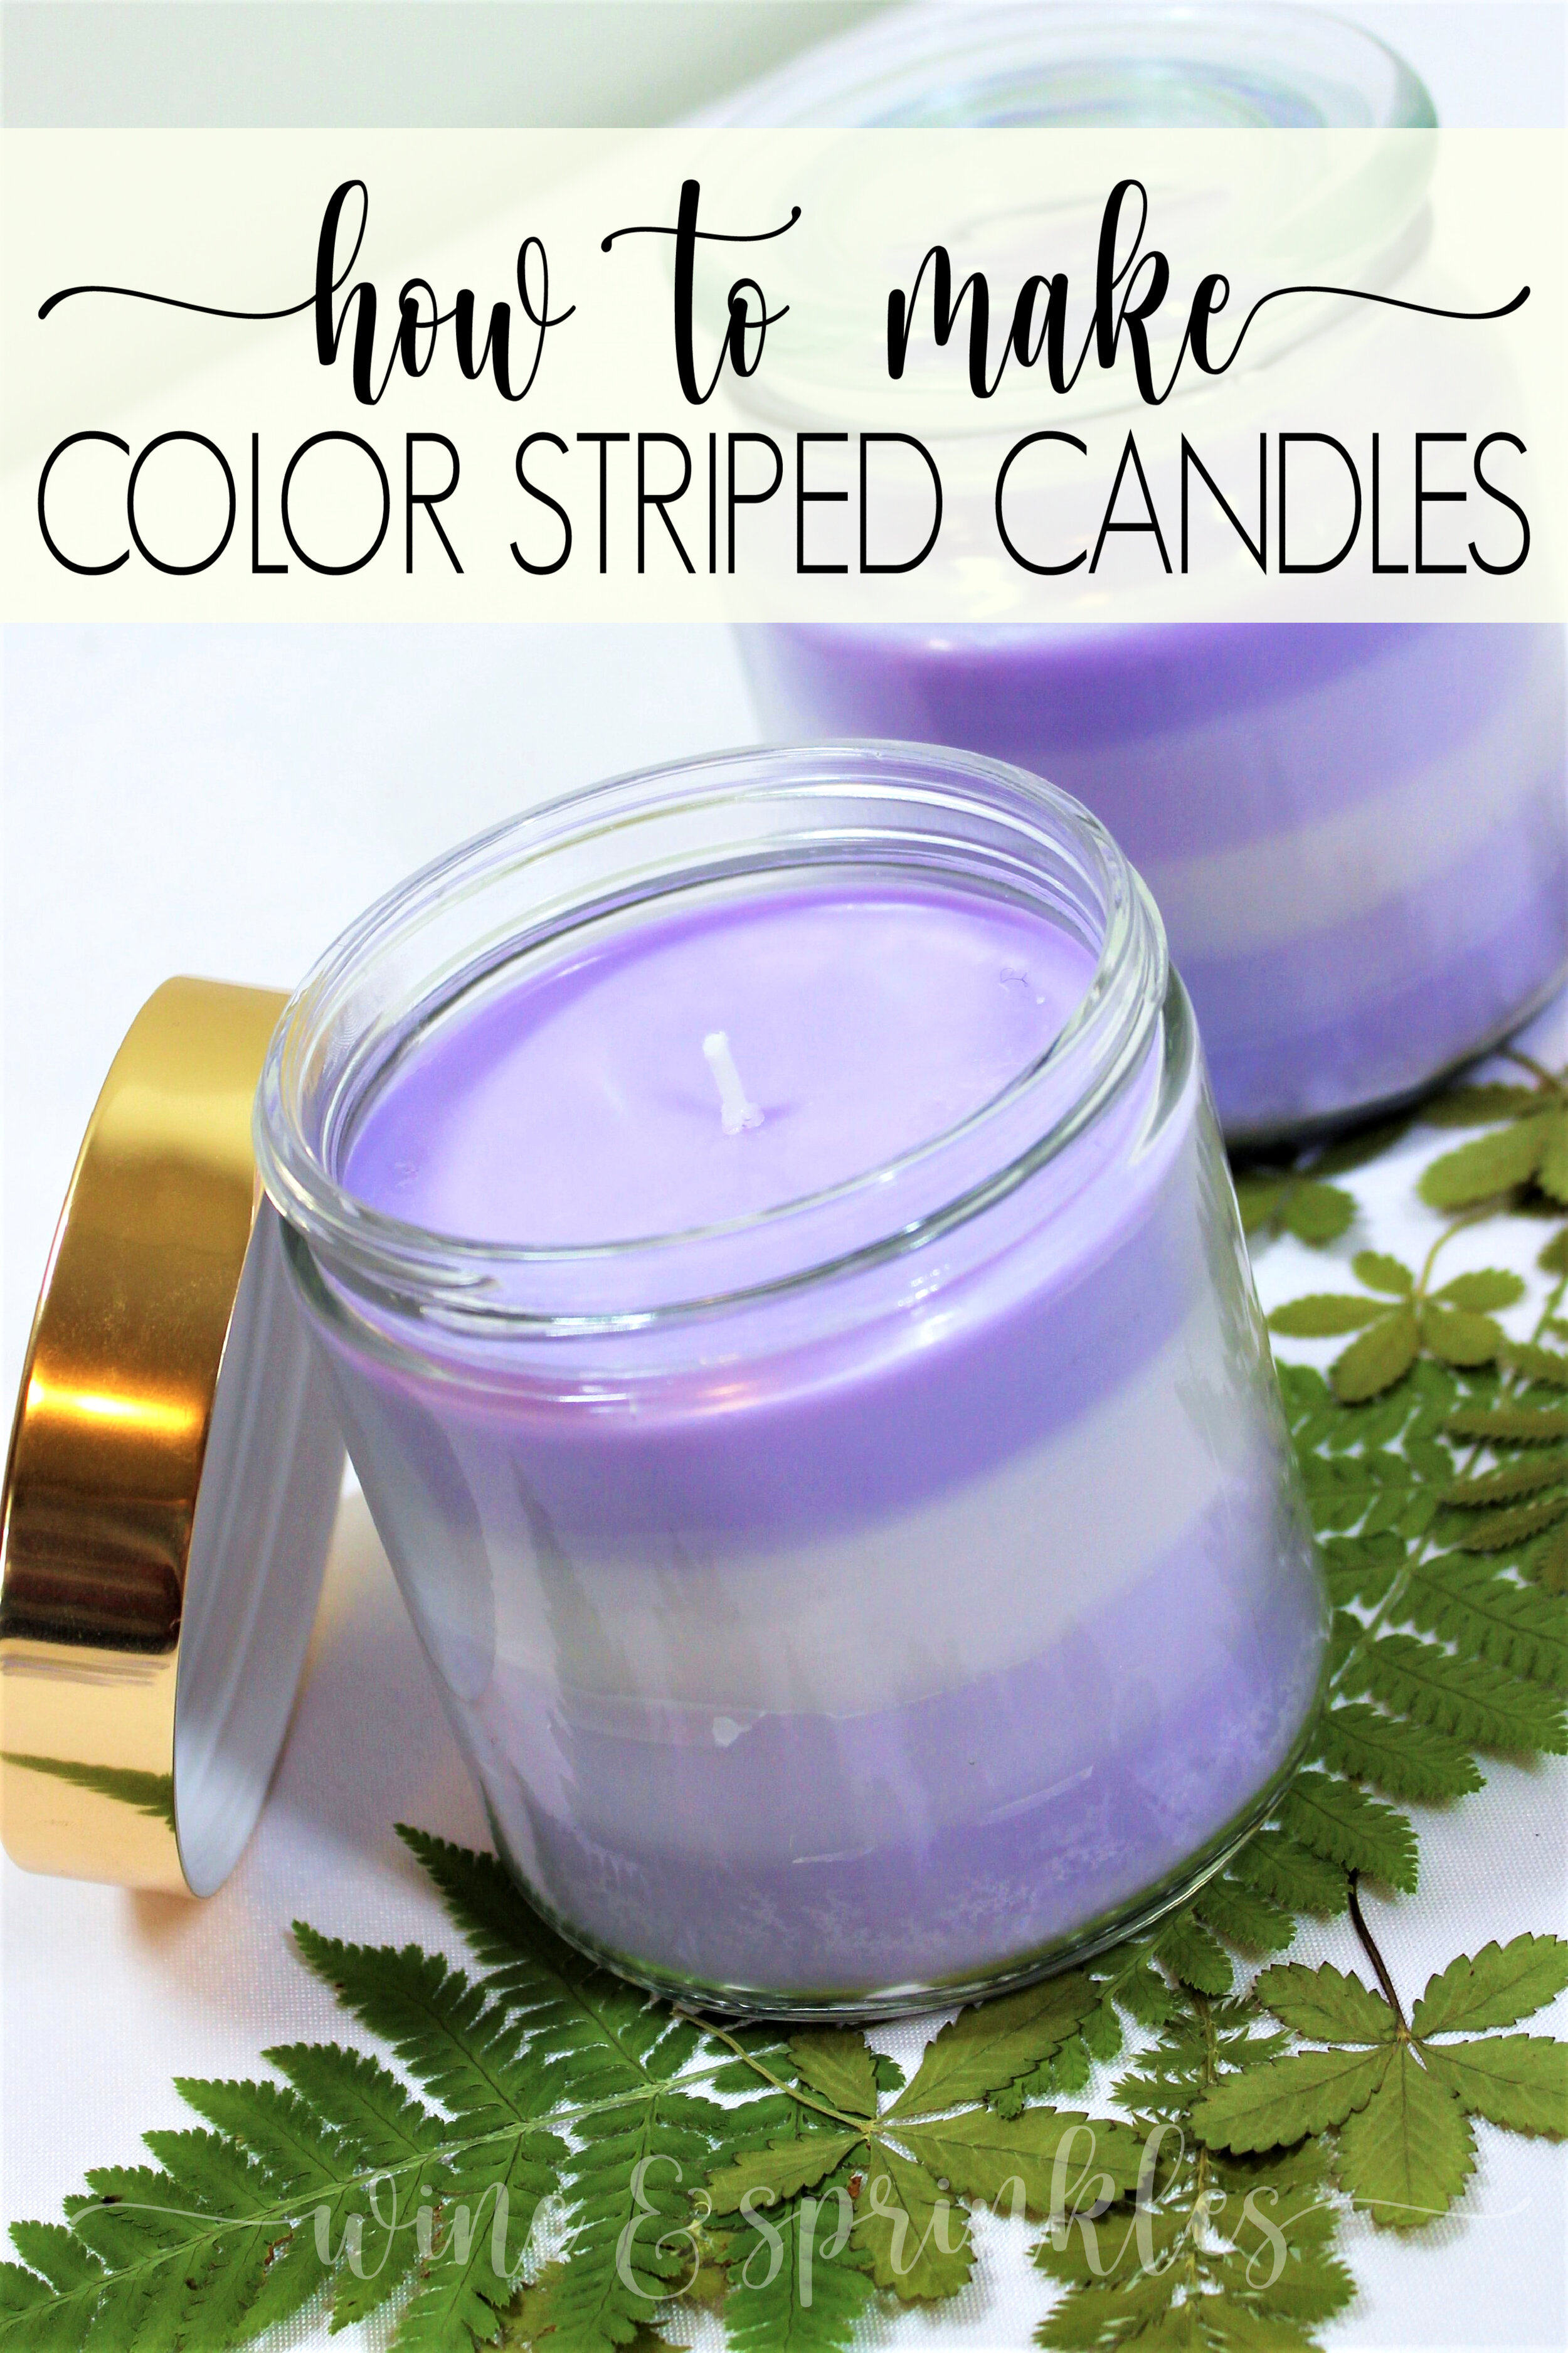
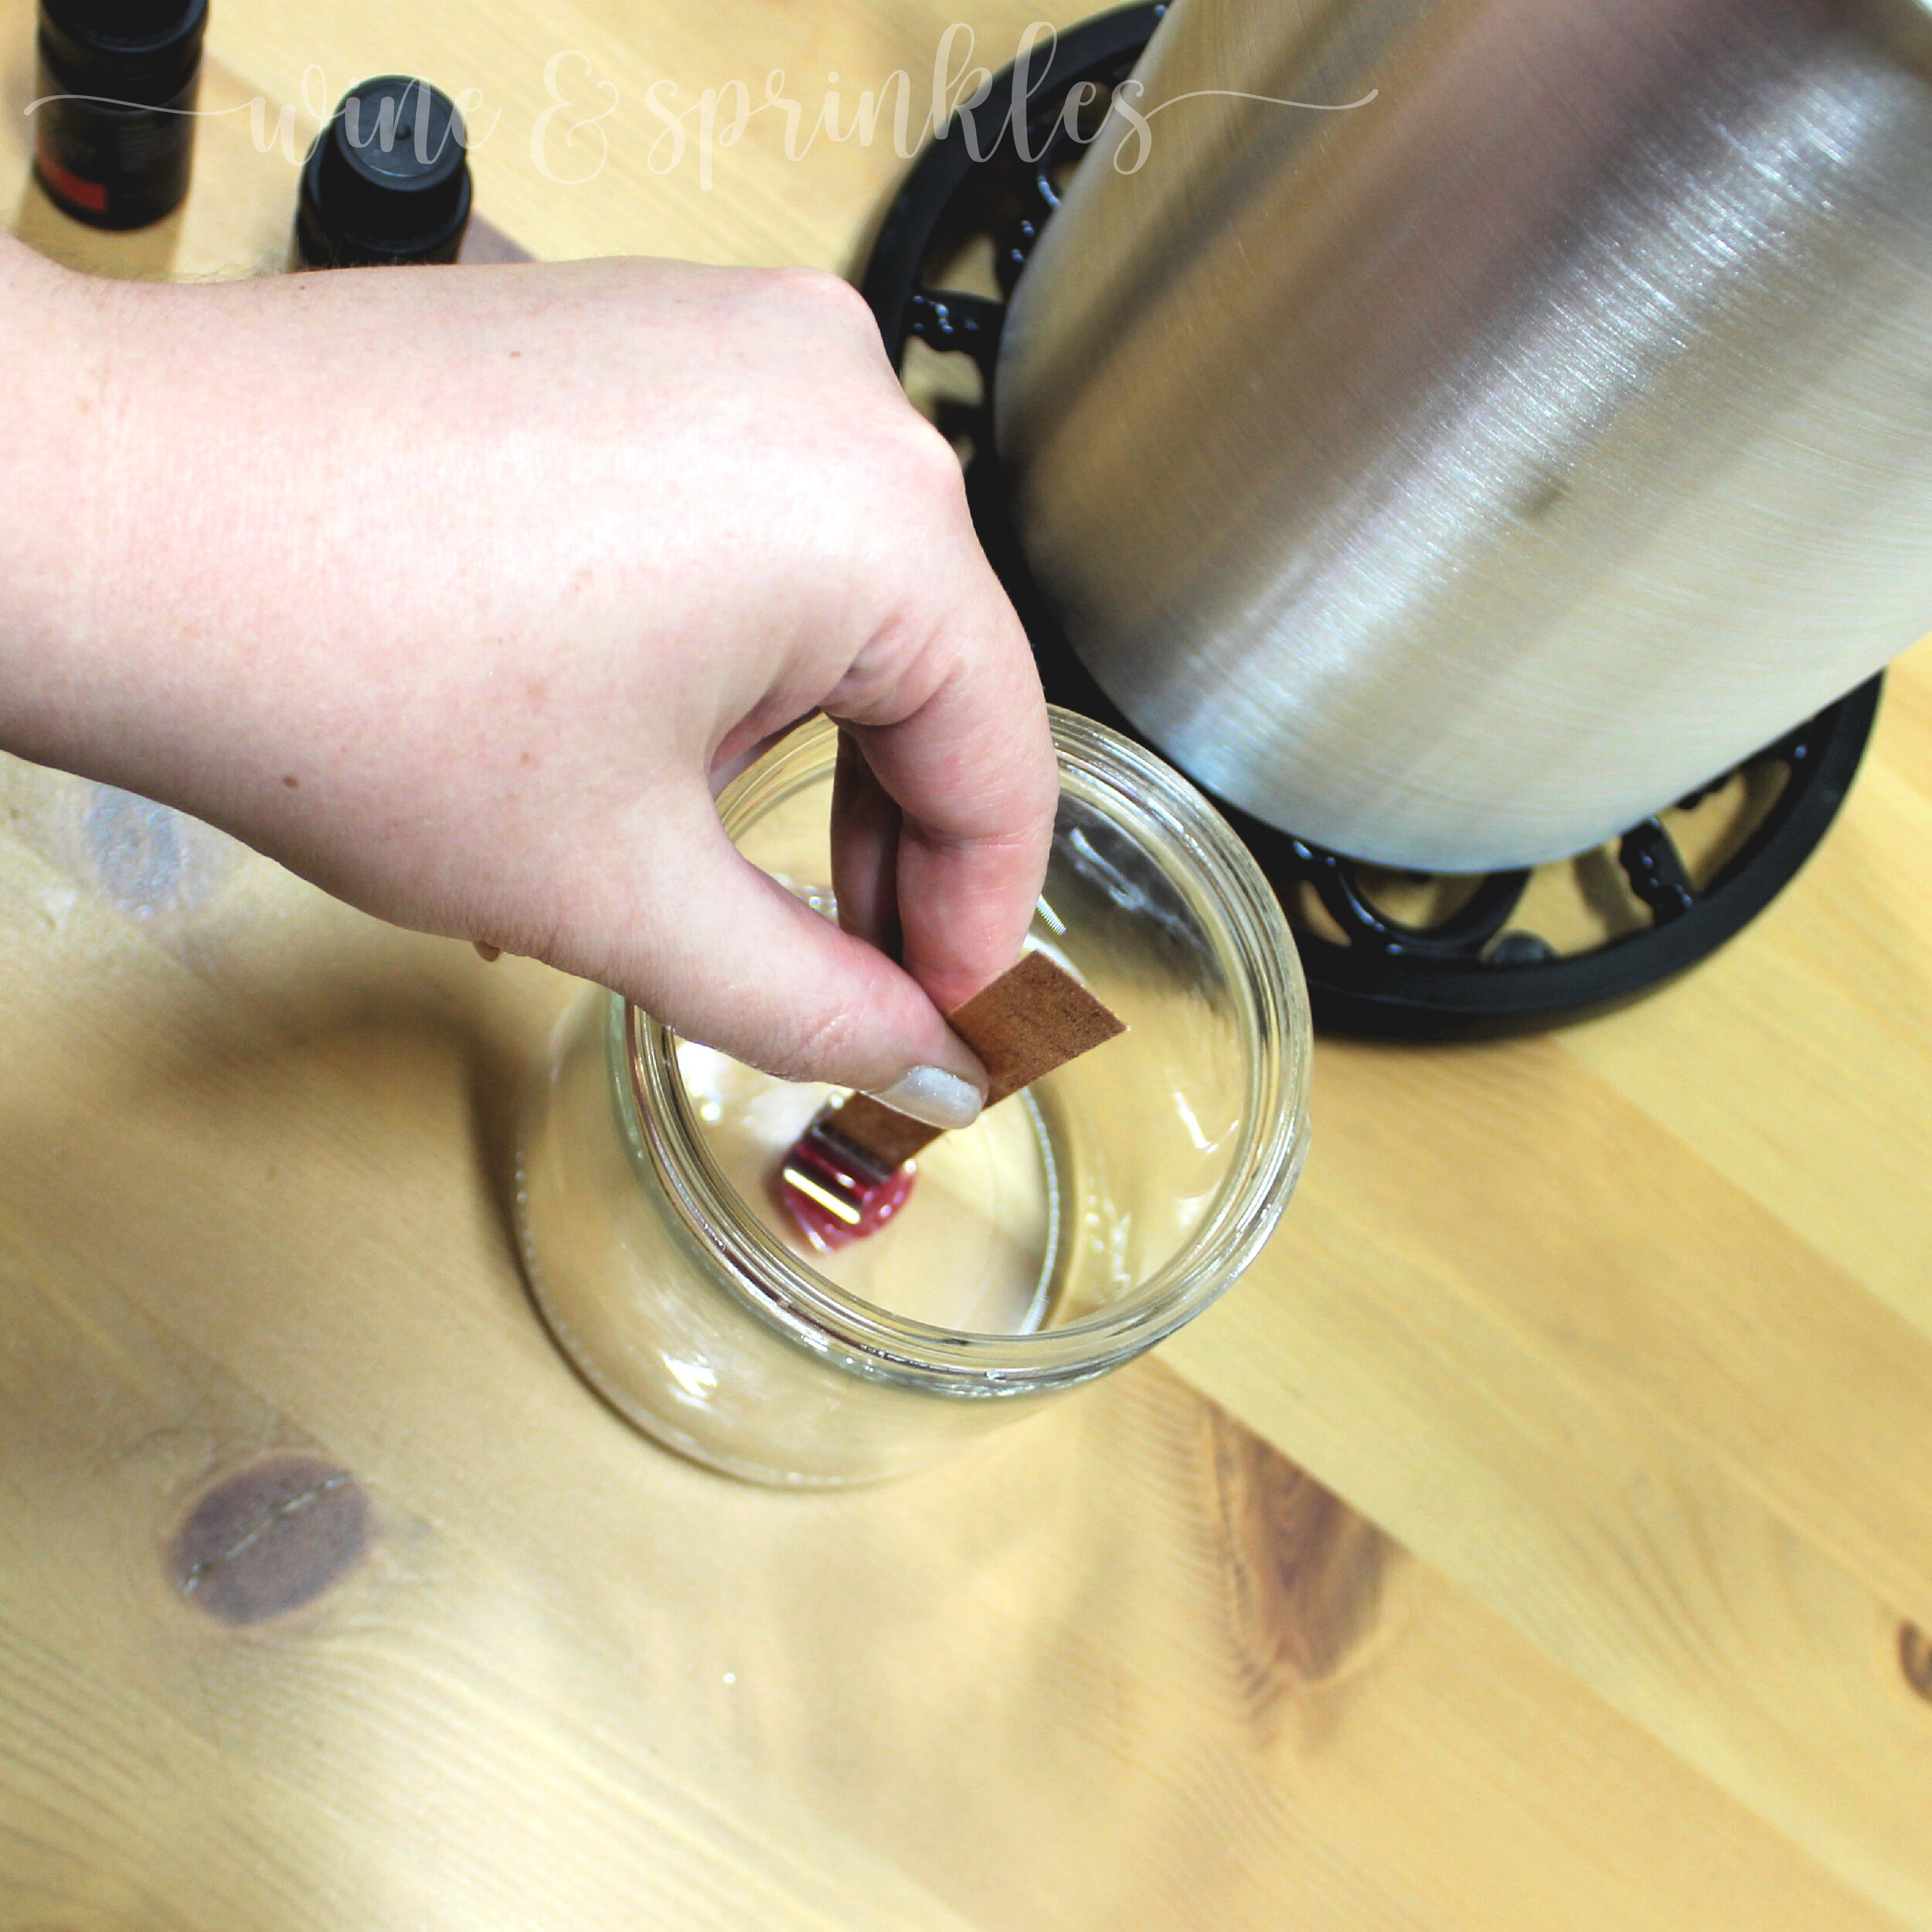
5. For each candle, start by placing it on a kitchen scale so that you can measure out your wax by weight. Starting with your darkest shade, use your candle pourer to measure 2.5 - 3 oz of wax into the bottom of each candle jar, creating the first stripe. Reserve the rest of the wax for the top stripe in a separate bowl or mold. 

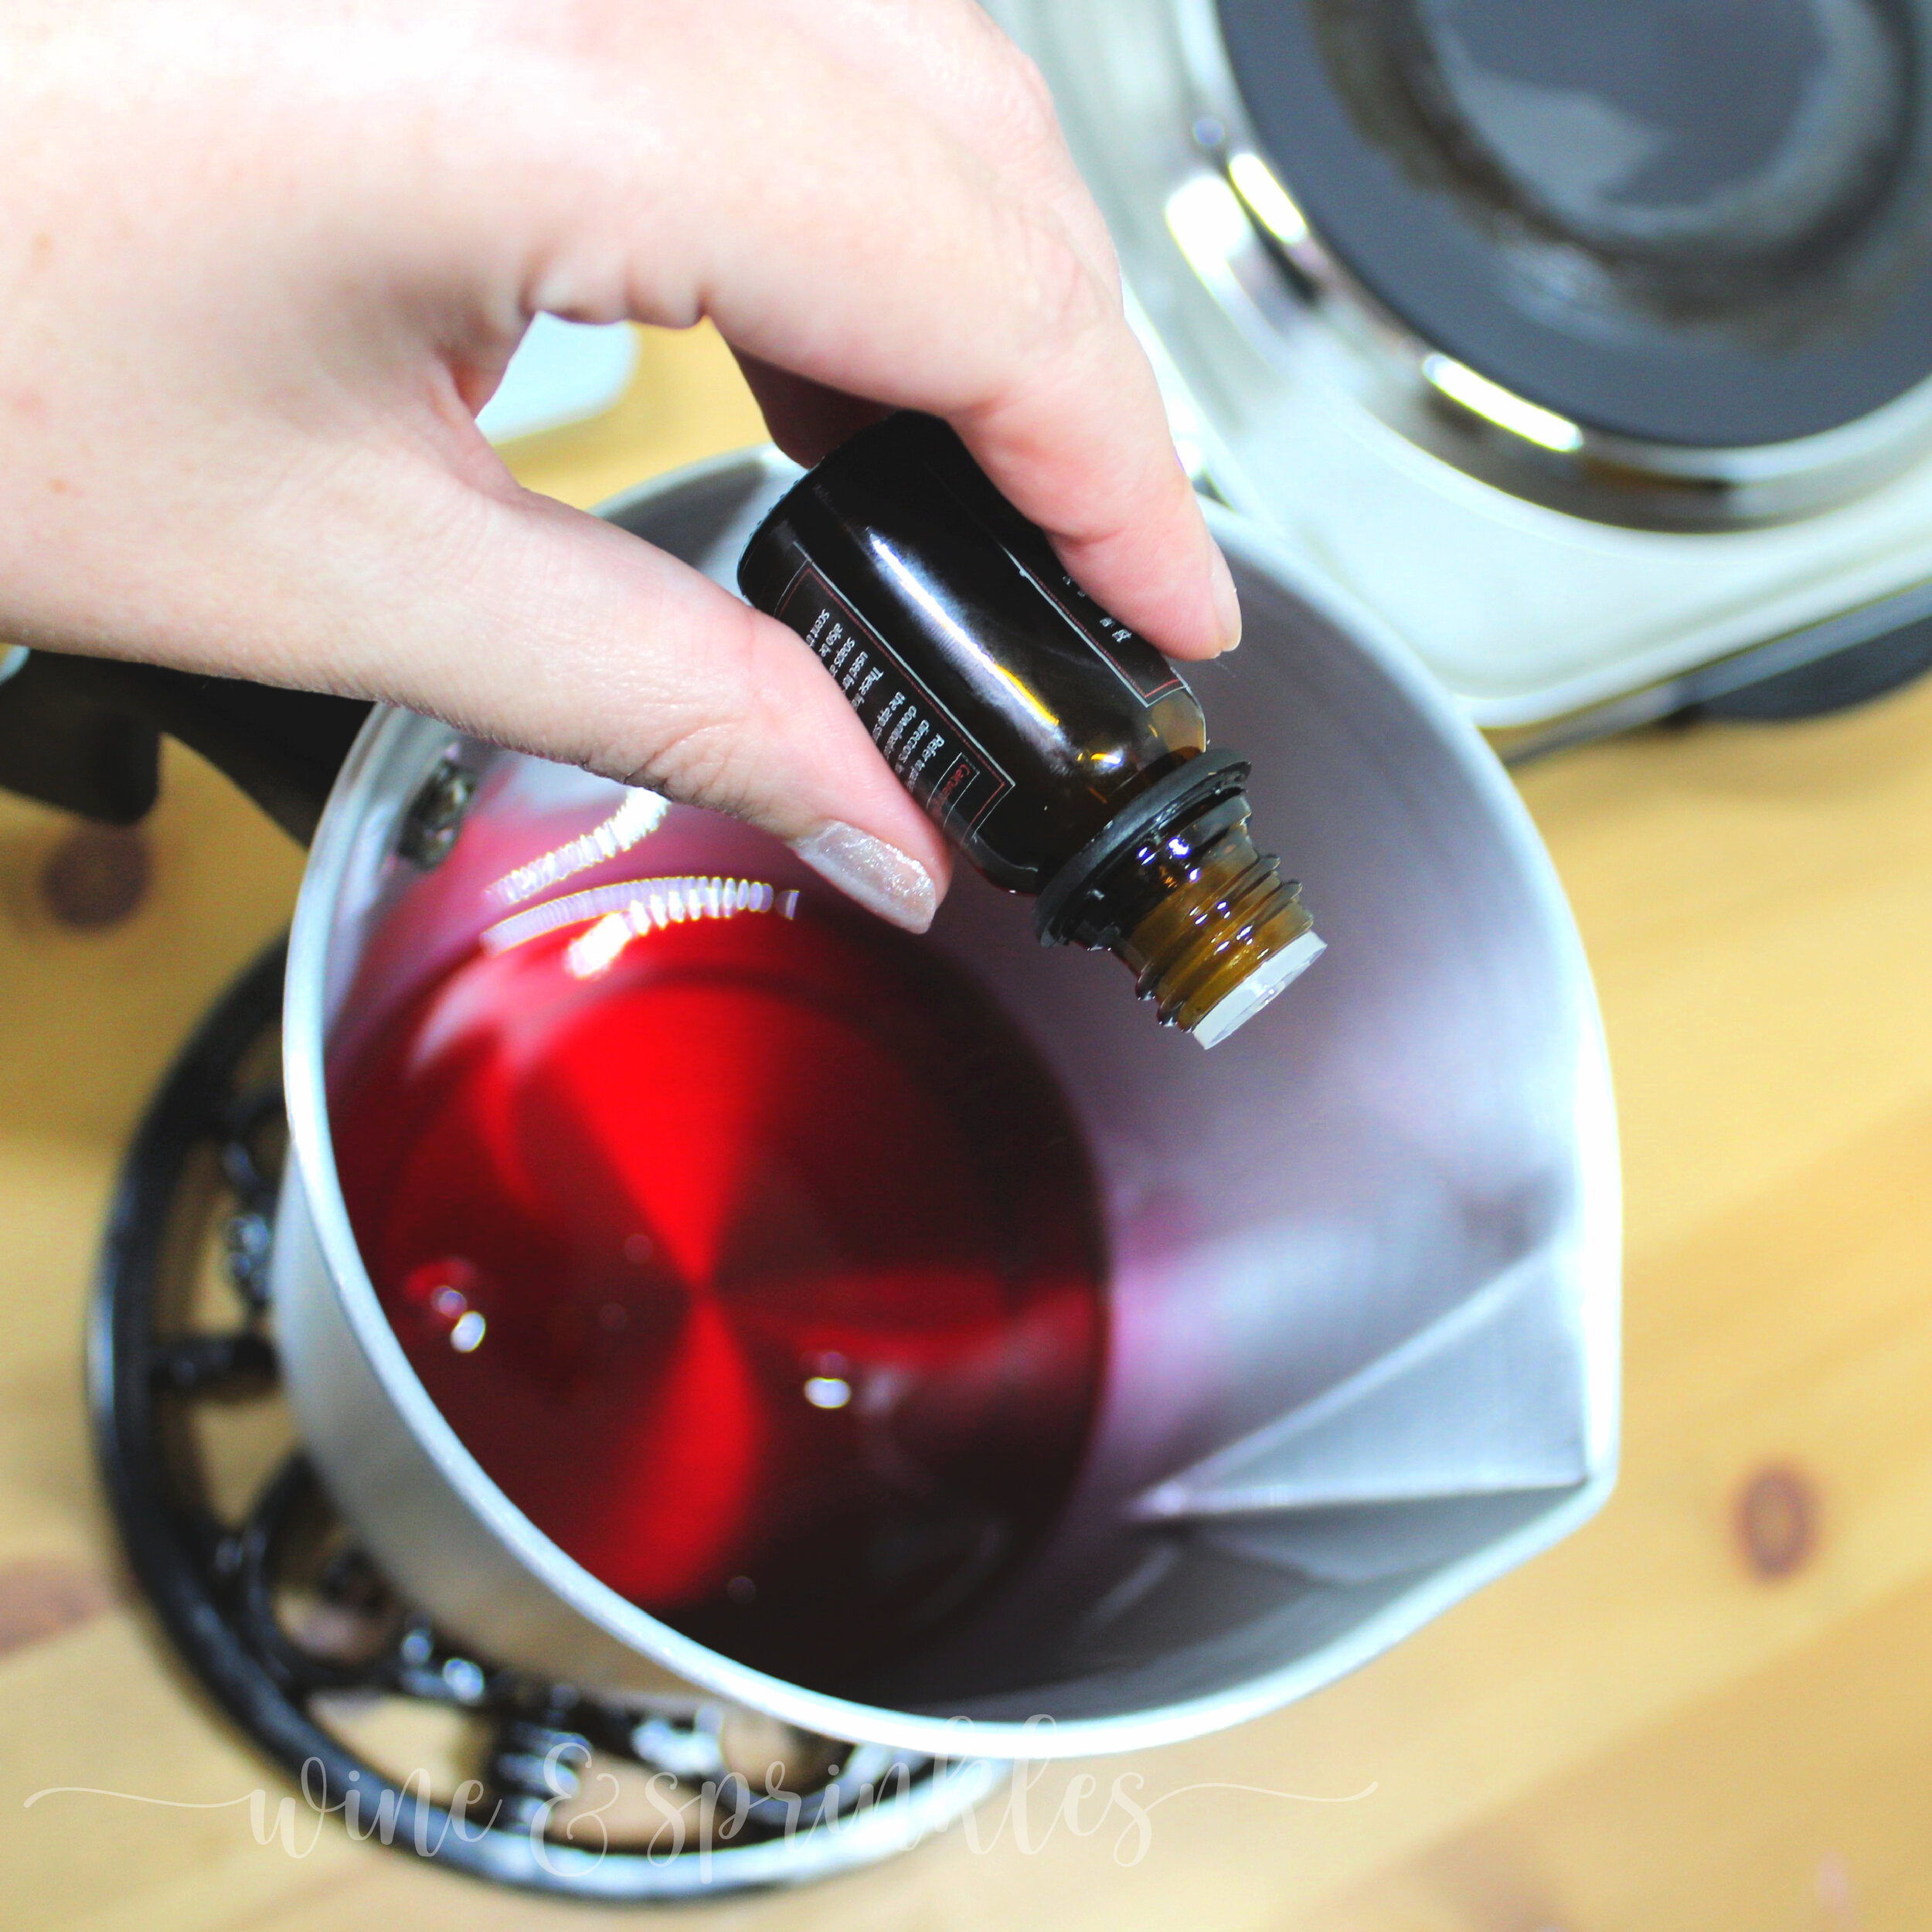
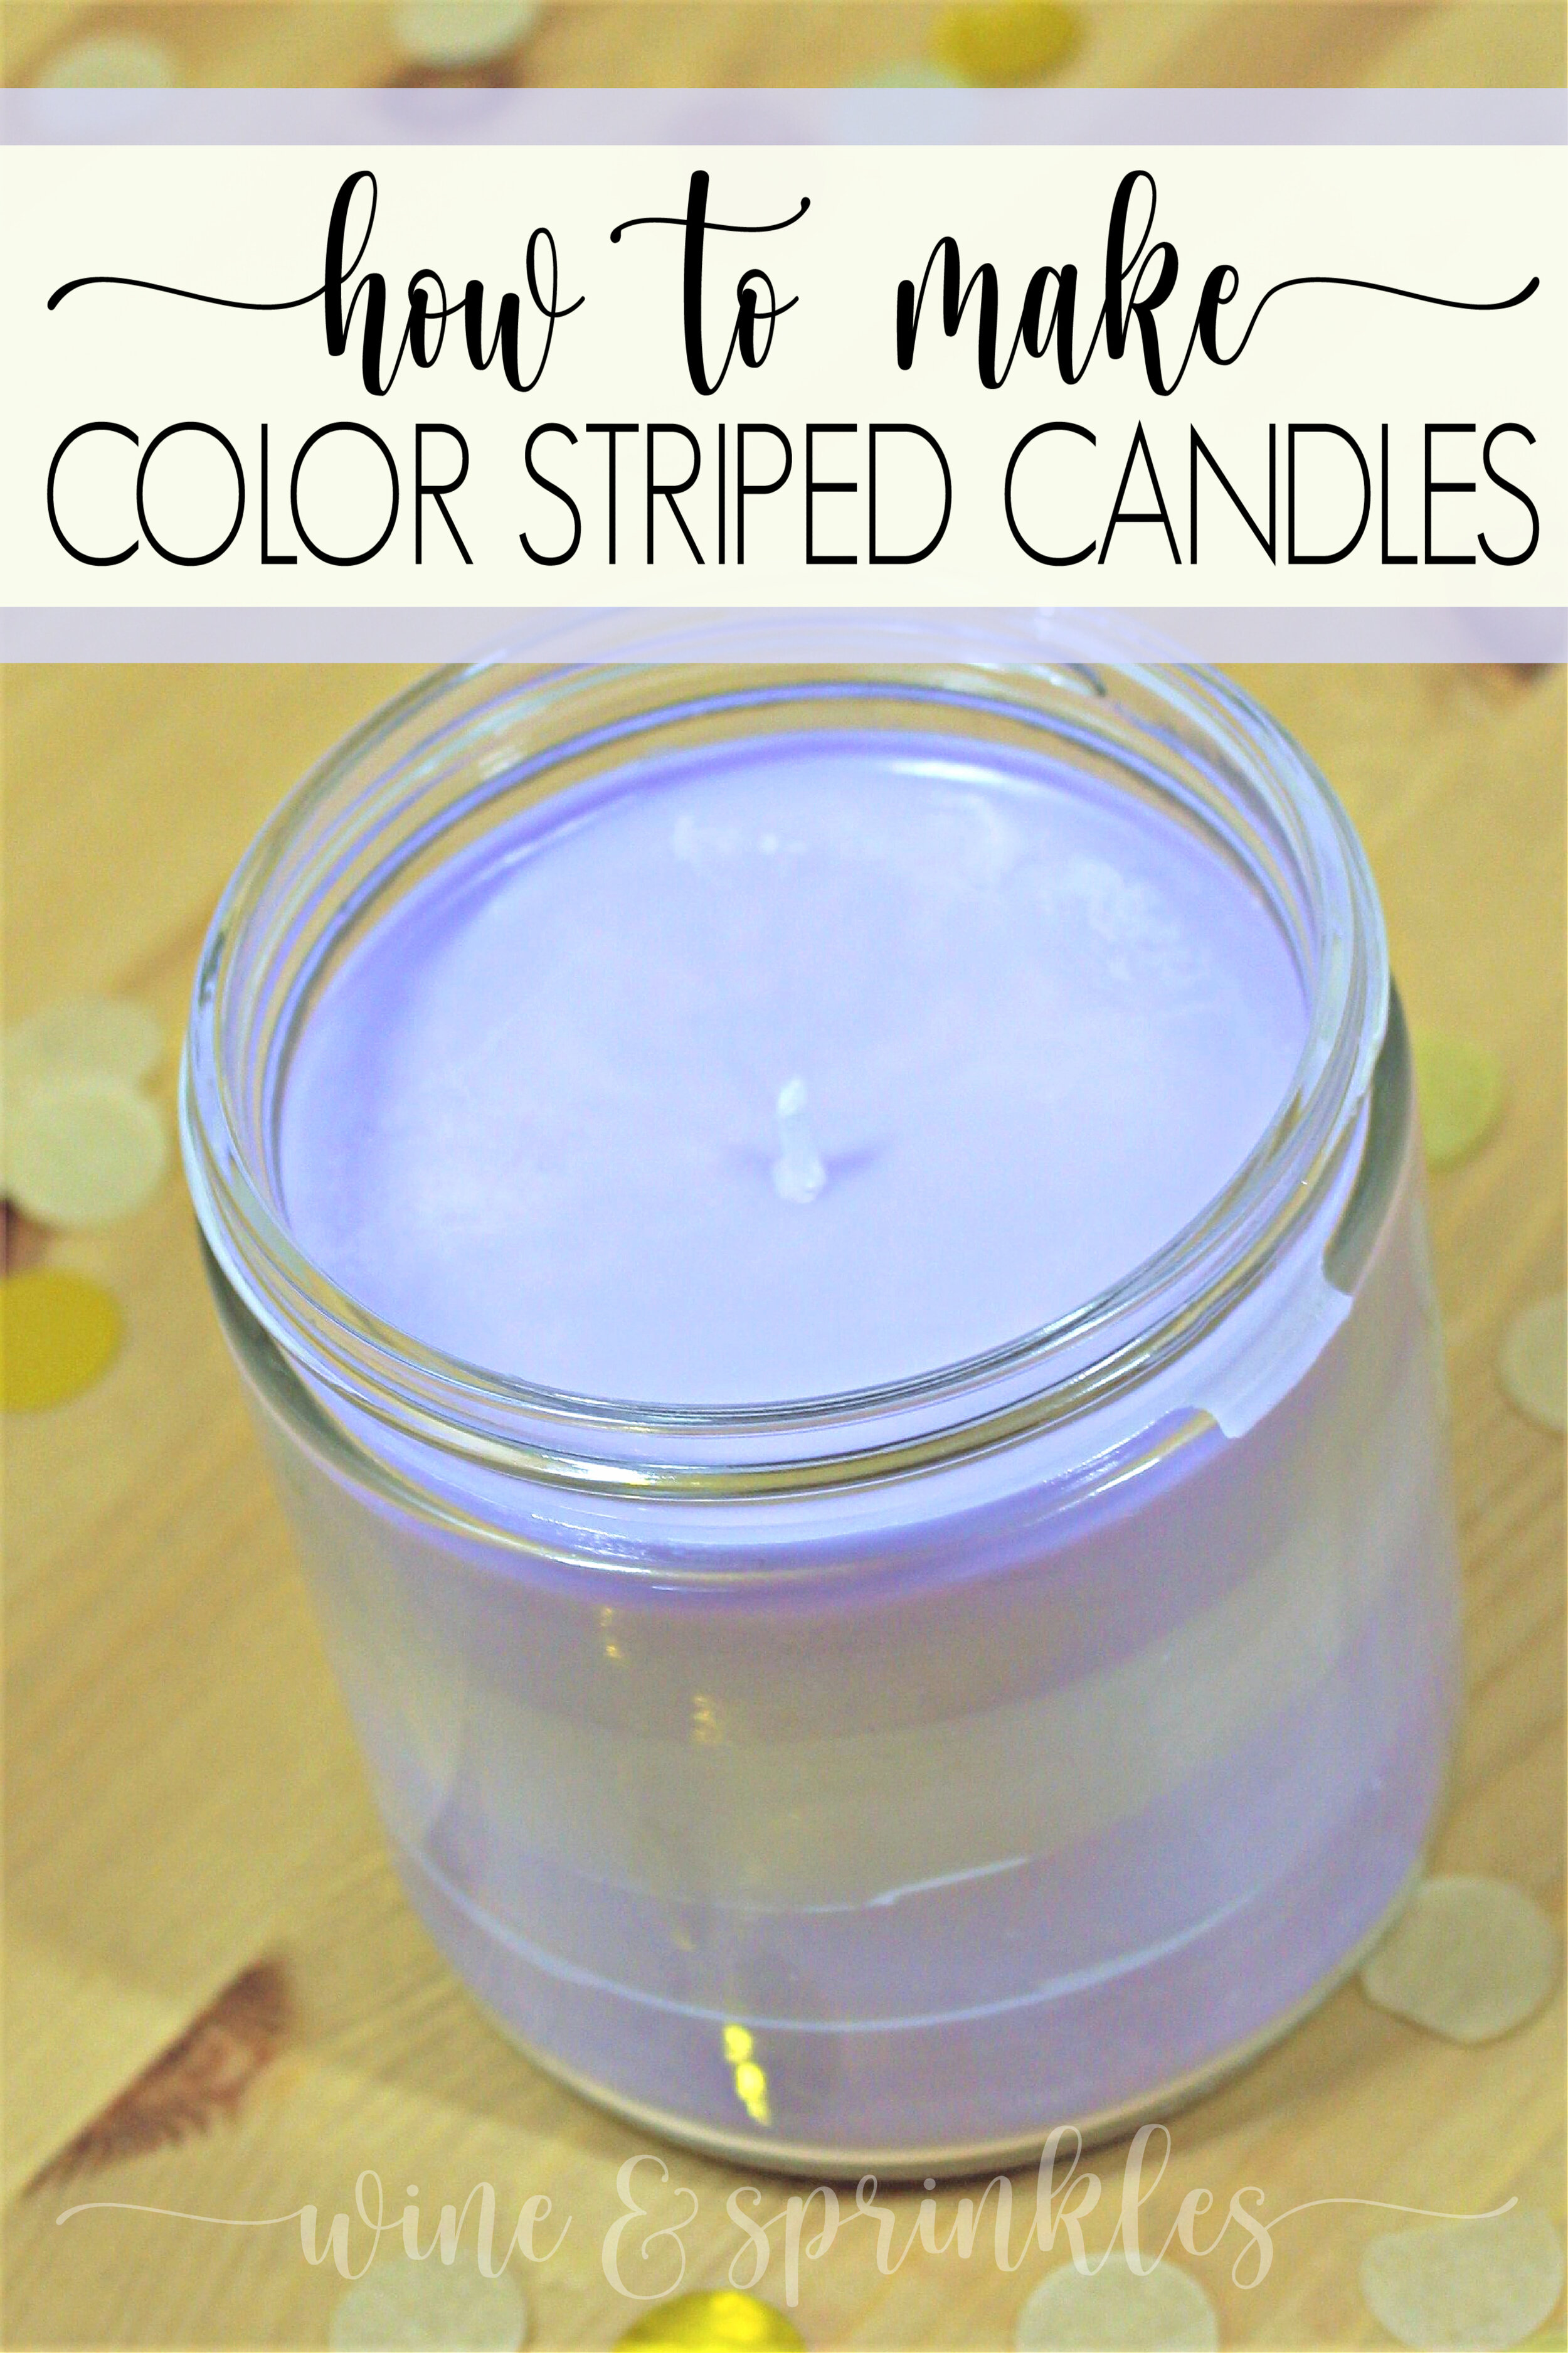
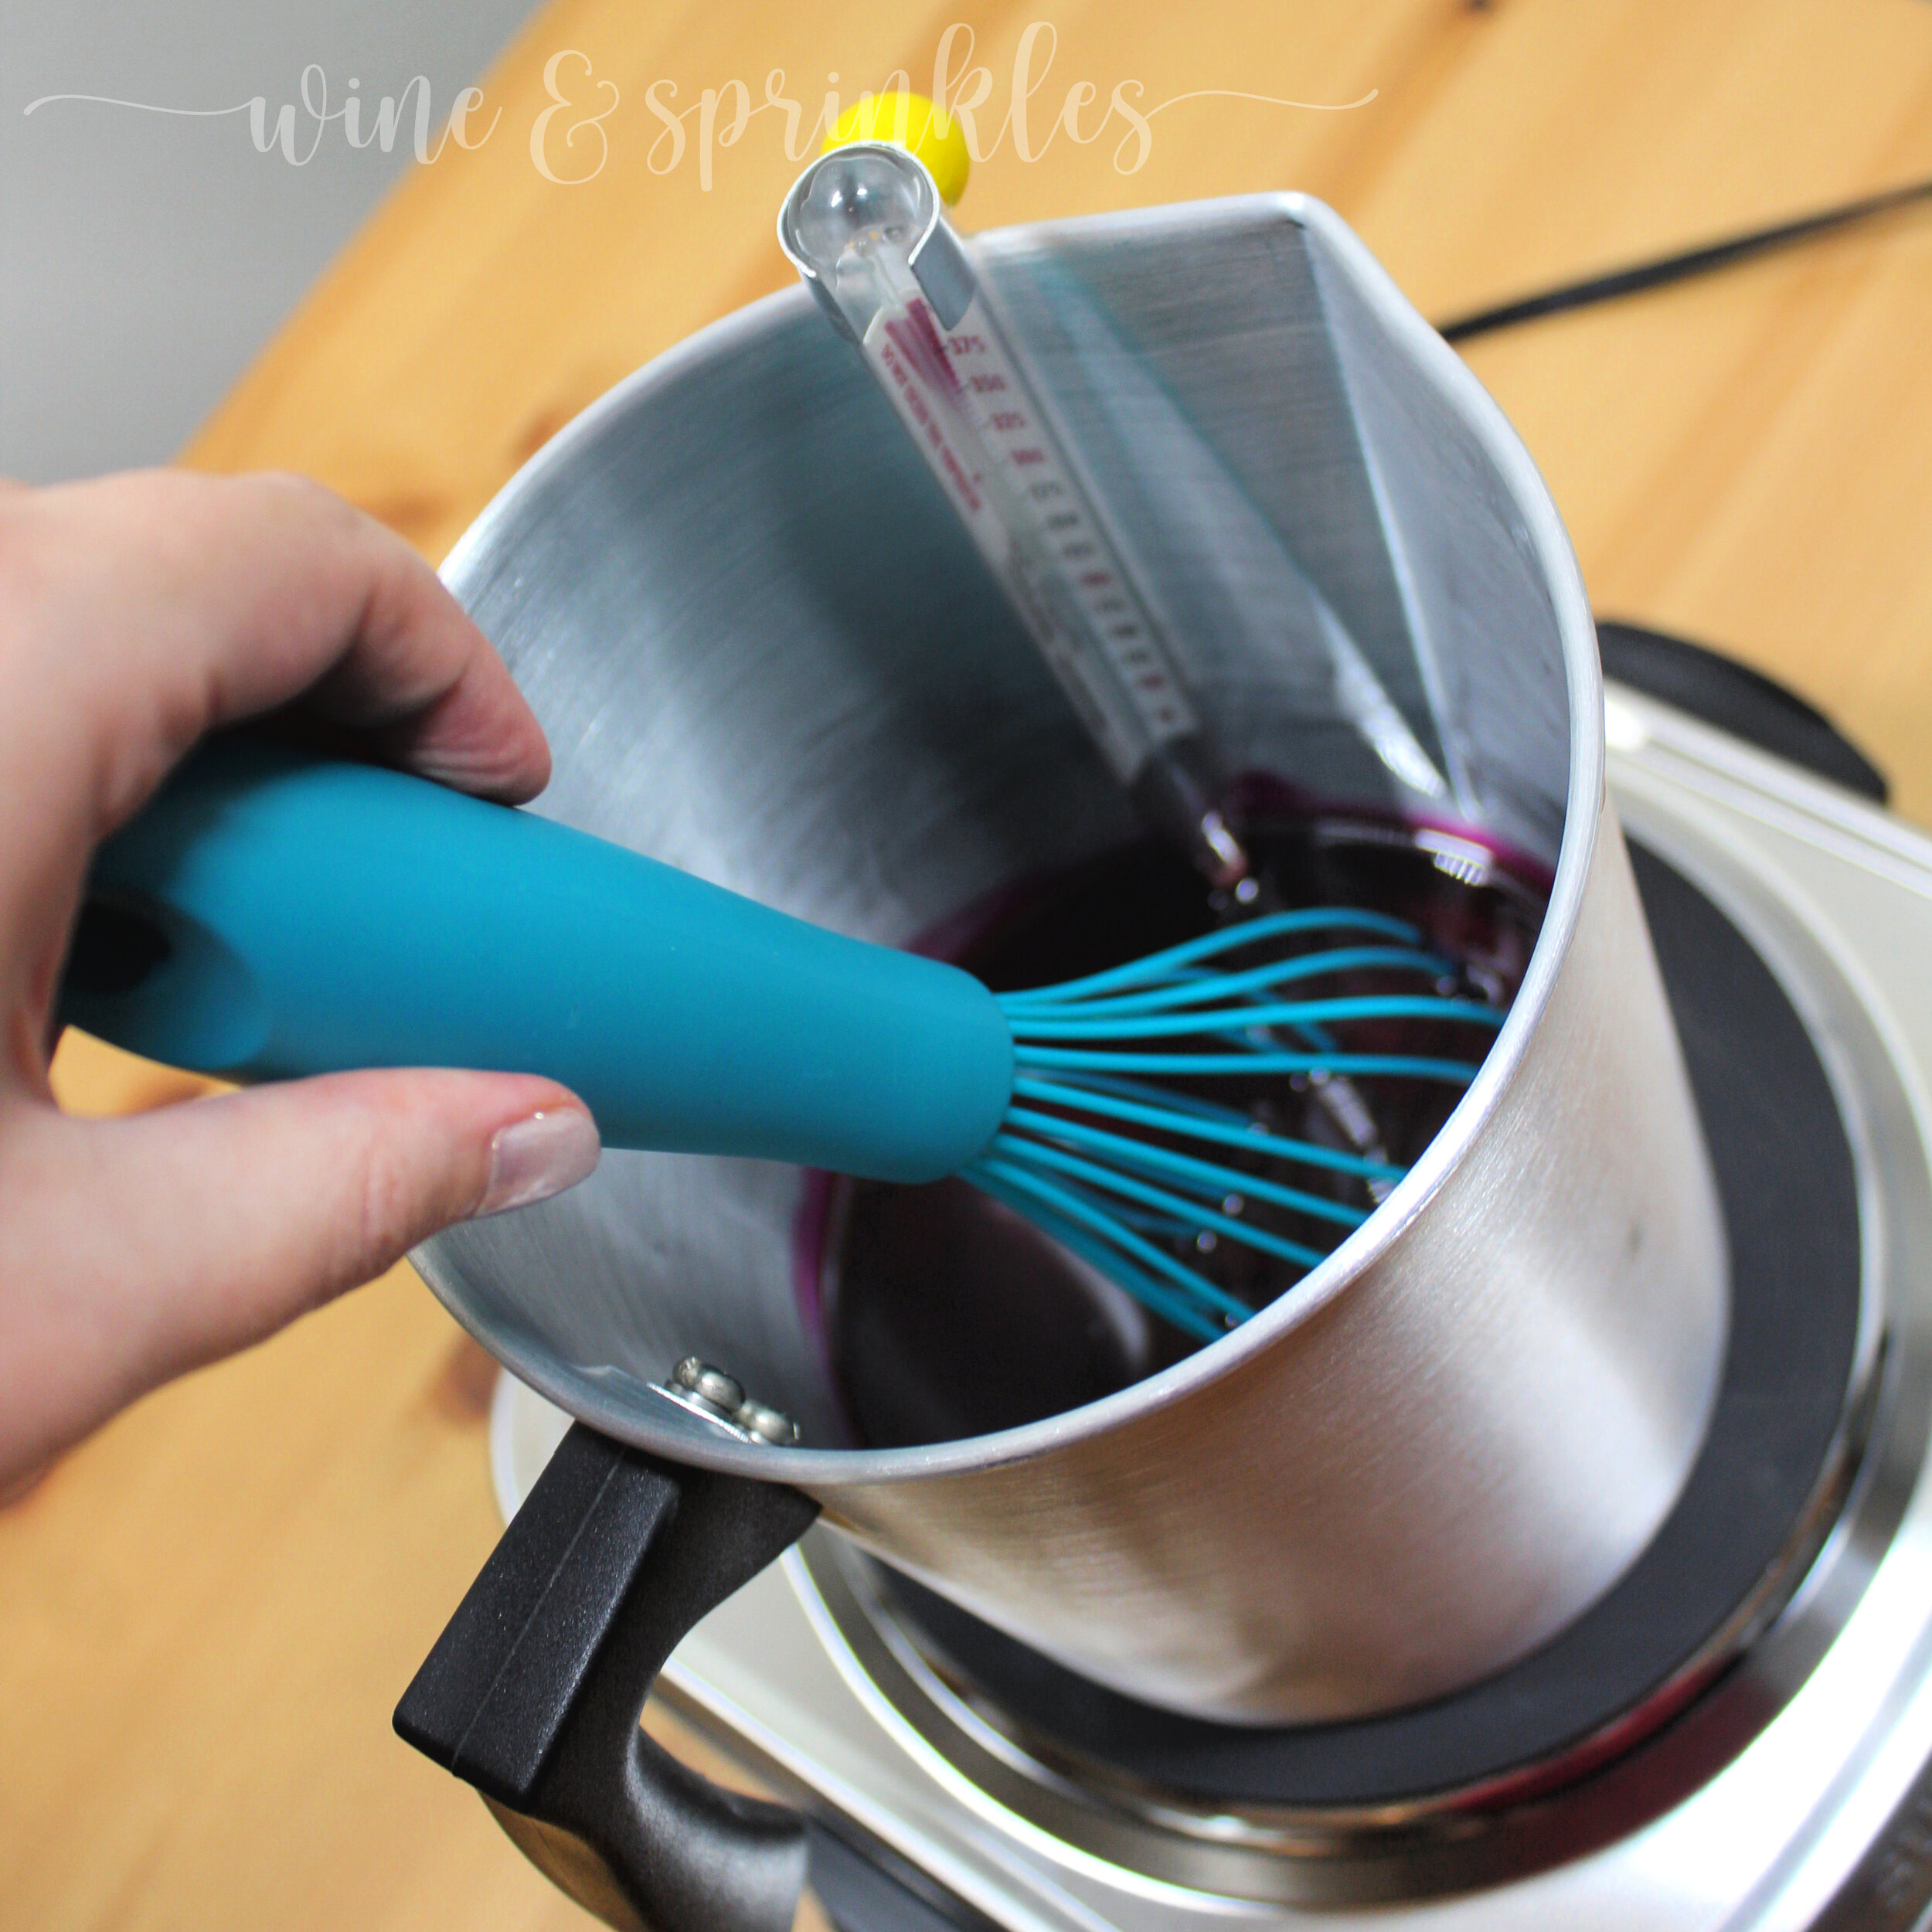
Once the first stripe has cooled and solidified, reheat the middle shade wax in the melting pot to 150 F, scent it, and cool to 120 F. Using the kitchen scale again, measure 2.5 - 3 oz of wax into each jar, creating the second stripe.

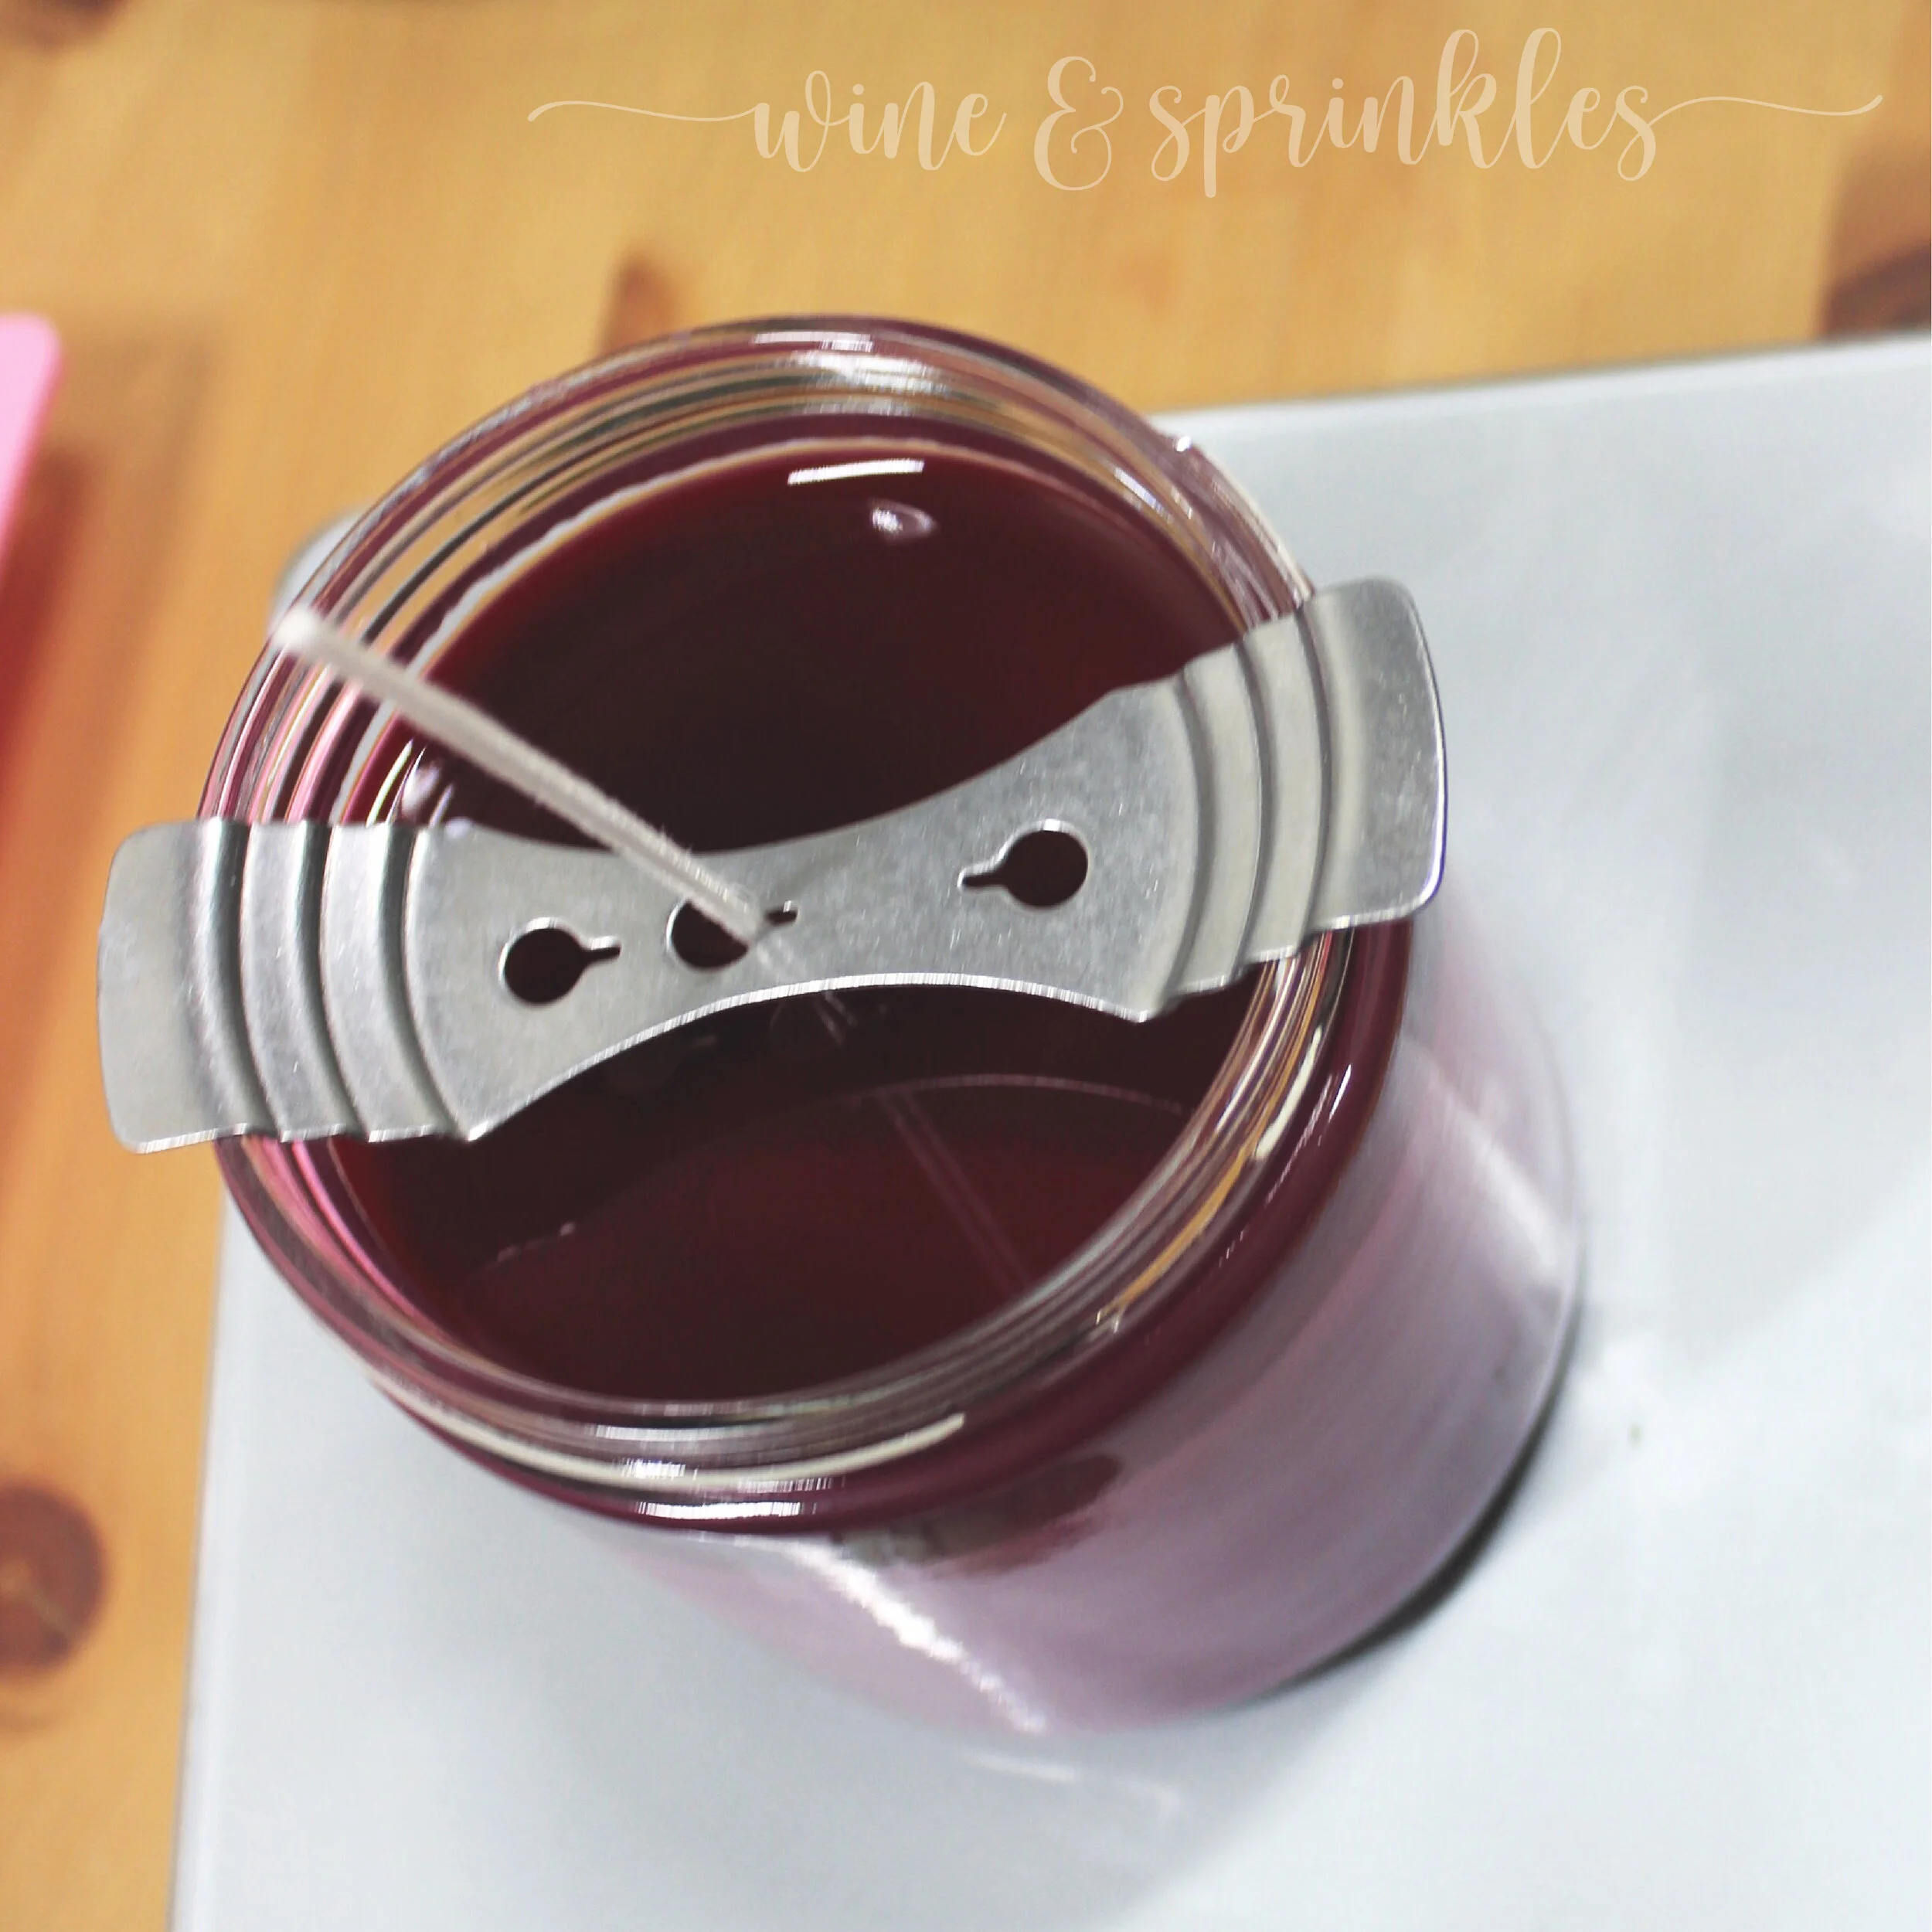
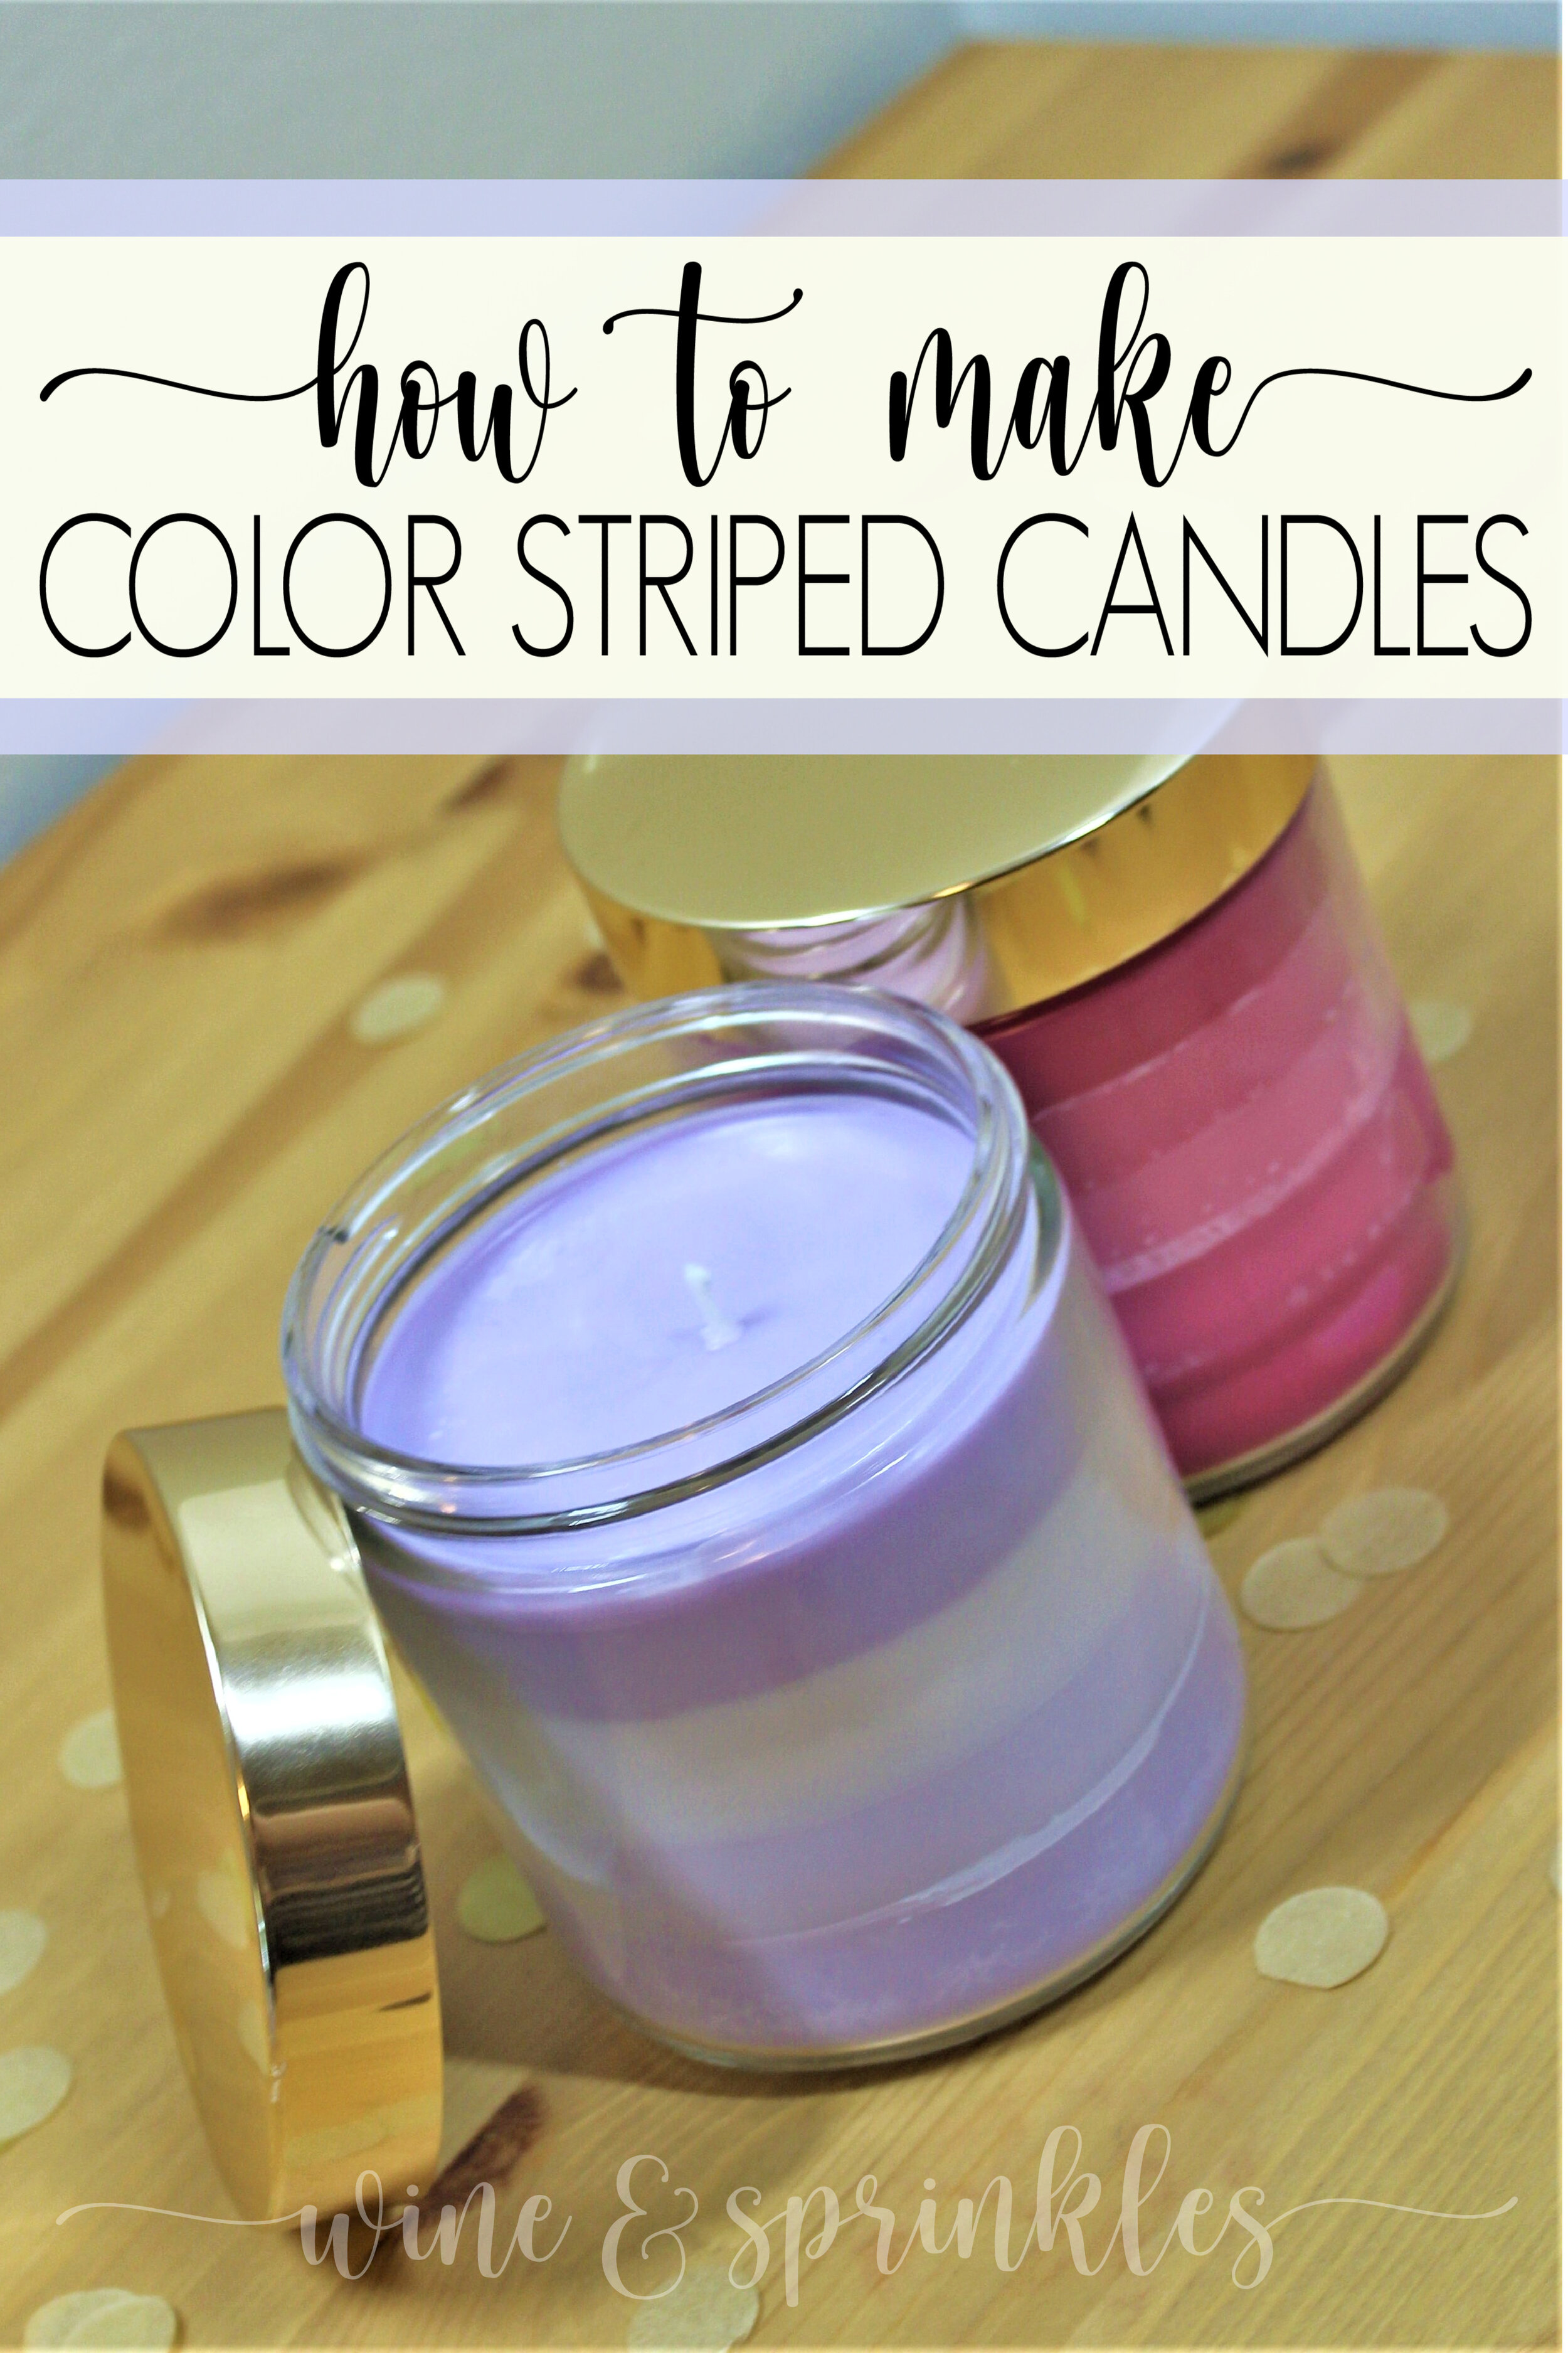
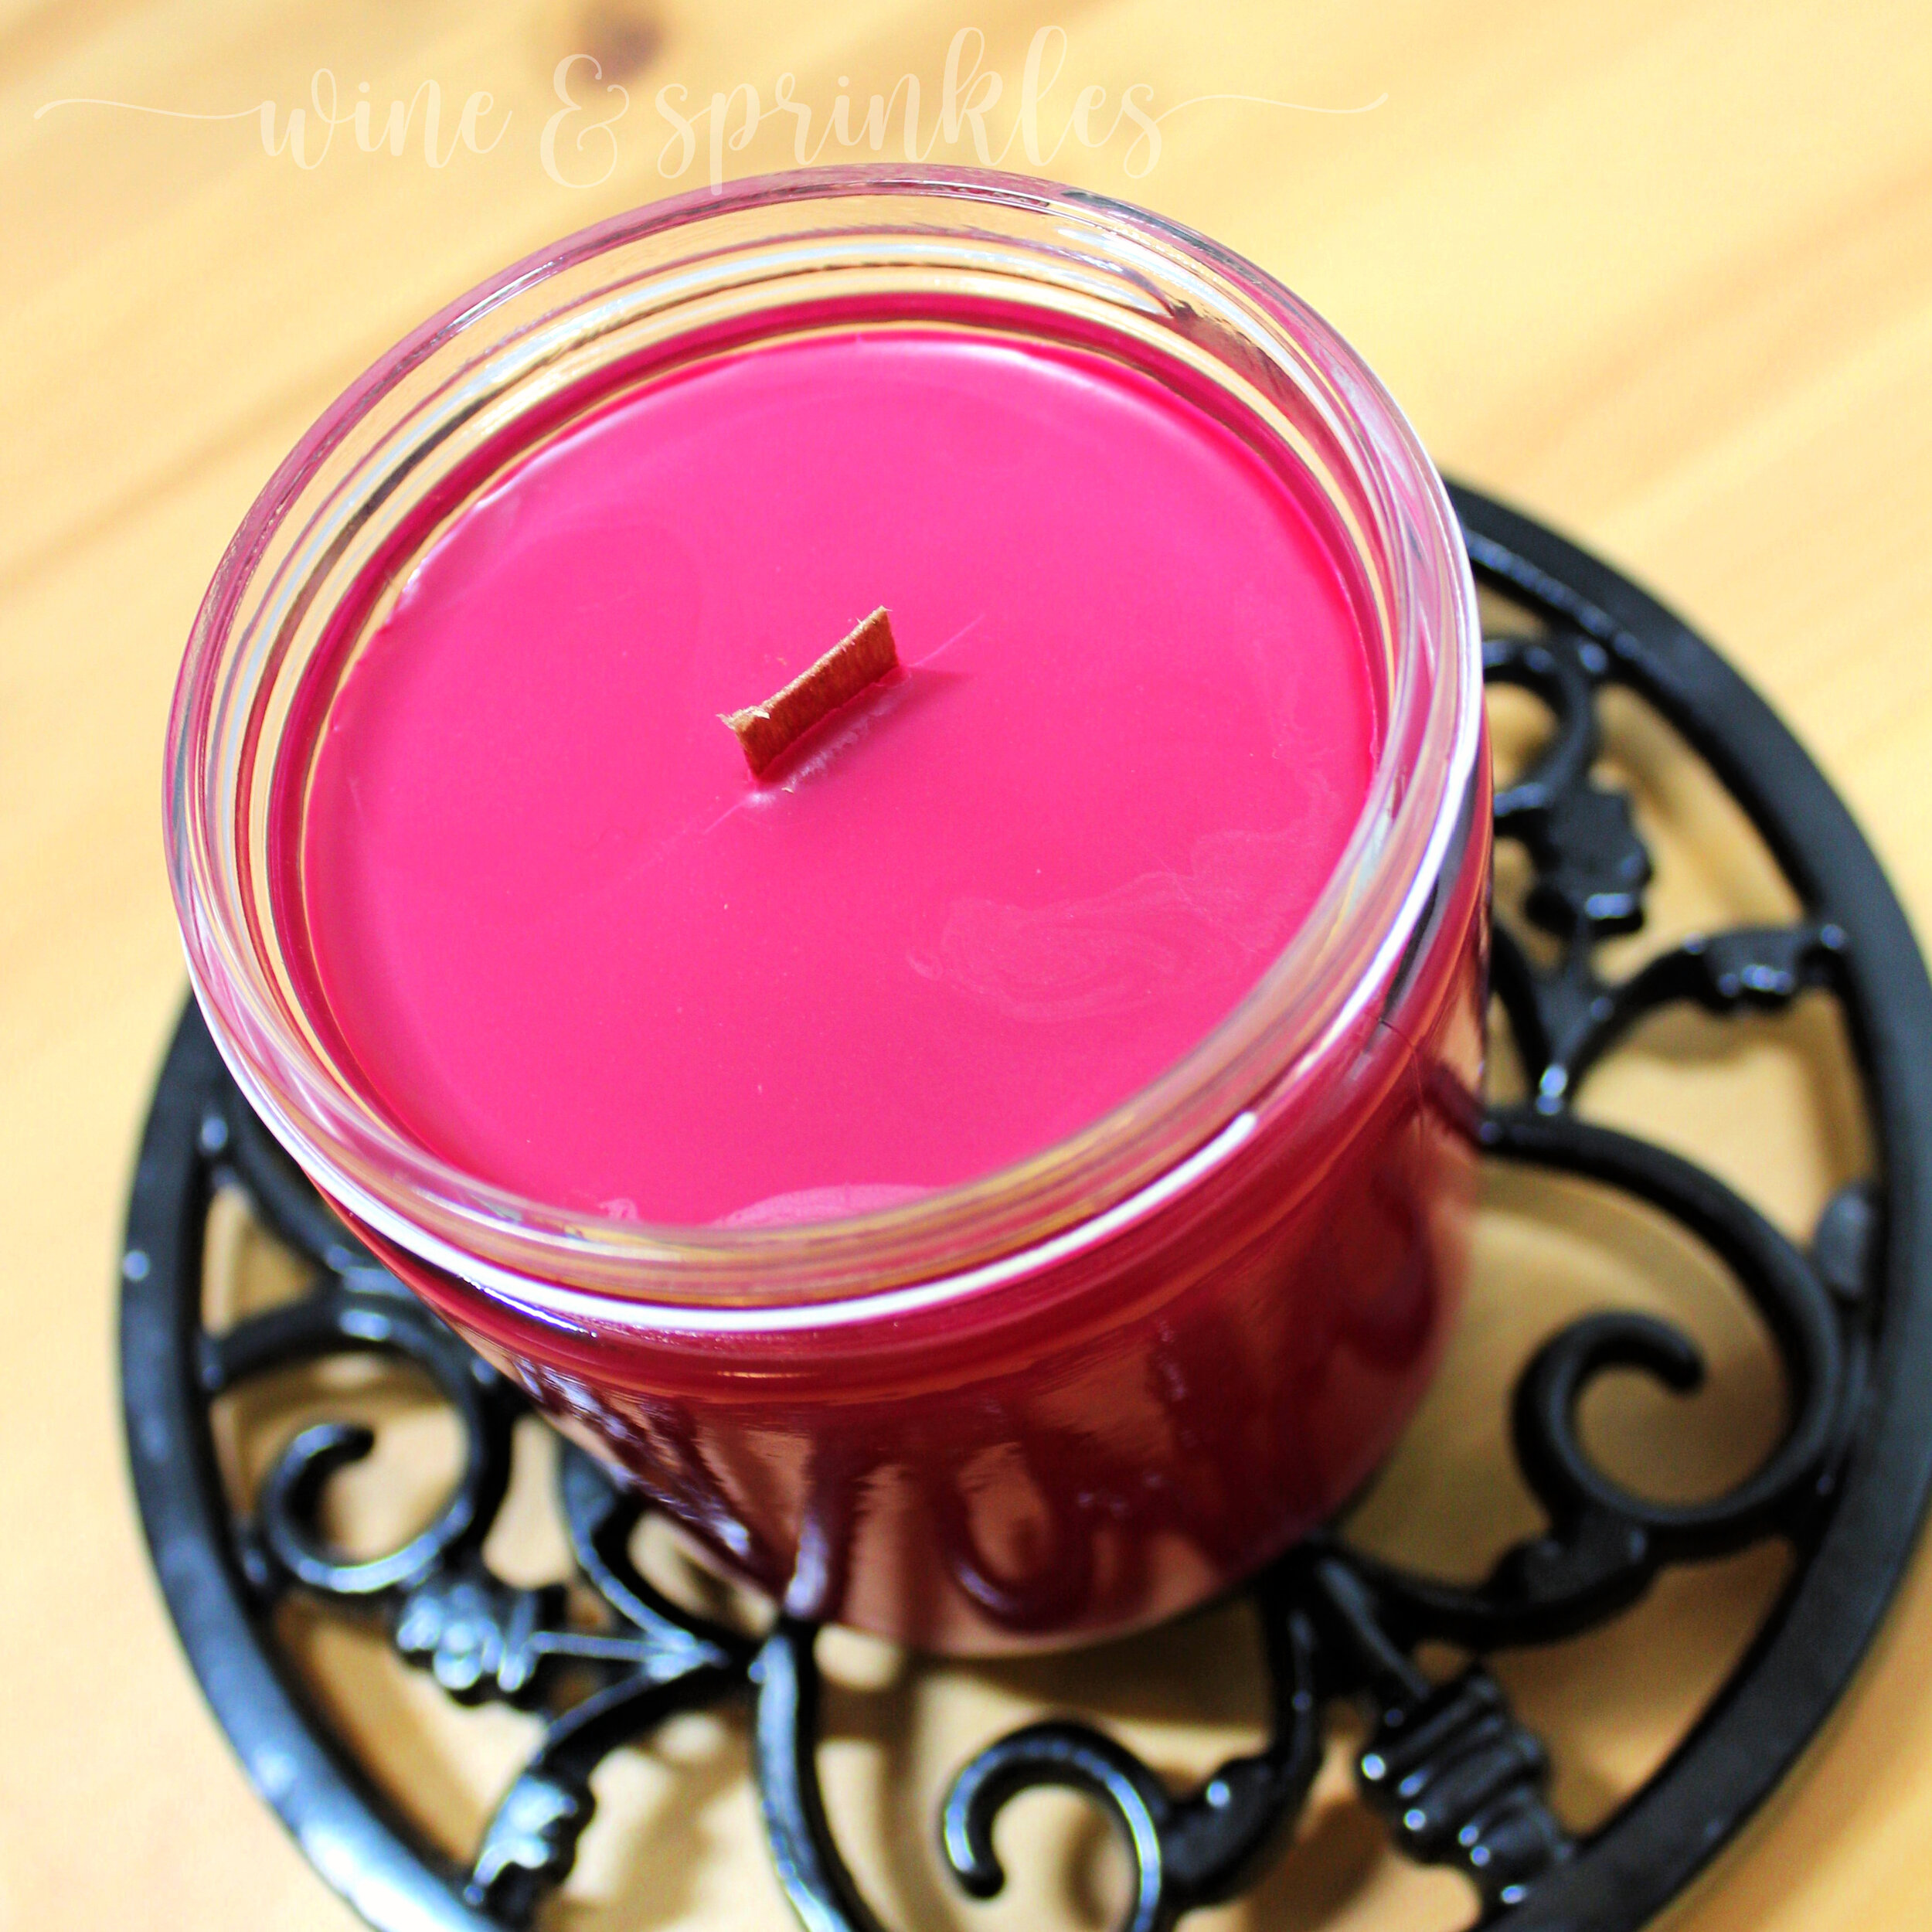
Repeat this process of cooling the candles and reheating the wax to 120 F for the next three stripes, with your lightest color being the third, middle color being the fourth, and darkest color being the top stripes in the candle. Reserve any additional dark colored wax for topping the candles, and let cool completely.

WS-41-23txt.jpg
WS-41-24txt.jpg
WS-41-25txt.jpg
 

5. Once the candle is cooled, check the top to see if there are any divots or imperfections in the top, which can happen during cooling. If needed, remelt the remaining wax to 120 F and “top off” any imperfections on the top of the candle, again allowing it to cool completely. Trim the wick with nail clippers, cuticle cutters, or small scissors and you’re done!

WS-41-26txt.jpg
 

Looking for more DIY Candle Inspiration?

SEE MORE CANDLE PROJECTS HERE


OUR PINS FOR THIS POST:

DIY Wooden Wick Candles

This post contains affiliate links, meaning that if you click on a link I will recieve a small comission. This costs you nothing extra and I only promote products I use and love! You can read our full disclosure here

DIY Scented Soy Wax Wooden Wick Candles

For my own Bridal Shower years ago, my bridesmaids chose wooden wick candles as the prizes for my bridal shower games and I thought it was the best idea ever! For the fall or for just feeling cozy, there is nothing like the sound of a crackling fire and the crackling candles gave that same feel and were a beloved prize by all those lucky enough to win them! As I was deciding what prizes I wanted to give at my best friends shower this November, I knew some Wooden Wick Candles had to be Included!

For my candles, I made one of them a Deep Rose Pink with a Rose and Vanilla Scent for my bestie’s Beauty and the Beast Tea Party Bridal Shower, and the other a light Silver Sage Green with a Cedar, Peppermint, and Lemon Scents for a nice cozy wintertime feel, which I can’t wait to burn myself this holiday season! For these candles, I bought a Candle Dye and Fragrance Set that came with a variety of different color and scent options, while also making use of my Essential Oils Set I bought for my other Spa Themed Projects to scent my Silver Sage Candle, so make sure to check out the scent available in both sets to decide what you want to do for your own candles.

DIY Scented Soy Wax Wooden Wick Candles

I melted, dyed, and scented each of my candles individually, which I also love for making each candle unique for your recipient. While I’m using my candles for Bridal Shower Prizes and my own personal use, these candles are an easy and fun gift to make for Bridesmaid Proposals, Holiday Gifts, or Baby Shower Prizes too!


DIY Scented Soy Wax Wooden Wick Candles

1. Start by weighing out your candle wax for the candles you wish to make into your pot or candle pouring pot. I used 16 oz per for each candle, the full volume of the jars I used, so that I had a little extra wax to work with and top them with at the end. For the bits of extra wax I used in these projects I made myself a couple of little striped Candles in Favor Jars to burn in my office! You can make up to four candles if you are using a melting pot like I am, but I liked melting 16 oz at once so I could color and scent each candle uniquely, which is super fun for personalizing them for your friends, bridesmaids, or yourself!

DIY Scented Soy Wax Wooden Wick Candles

2. Melt the wax over medium low heat until the wax is between 200-220 F. Once it has reached this temperature, add your wax coloring,  mixing with a silicone whisk until it is completely incorporated. Check the color of your wax as you add more dye by letting wax dry on the back of a metal spoon, until it has reached the desired shade. Remove wax from heat.

For my candles, I used a mix of two dyes per candle, one to make a rosy gold shade and one to make a silvery sage shade.

DIY Scented Soy Wax Wooden Wick Candles

Rose Gold: (per 16 oz of candle)

Fuschia Dye: 3g
Gold Dye: 2g

Silver Sage: (per 16 oz of candle)

Dark Green Dye: 2g
Silver Grey Dye: 2g


These were the first candles I dyed, and while I like their darker colors, my scale wasn’t accurate enough to measure these small amounts of grams accurately! If you also don’t have a scale that can measure 1-5 g, I’d recommend adding the dye a few chips at a time and checking the color until it reaches the right shade, which is how I did the rest of my Candle Projects.


3. Let the wax cool to 150 F and then add the fragrance or essential oil of your choice, continuously stirring the wax with your whisk to bond the fragrance and continue to cool for pouring. The fragrances I chose for my candles were:

DIY Scented Soy Wax Wooden Wick Candles

Rose Gold: Candle Fragrance Oils
Rose Fragrance - 15 drops
Vanilla Fragrance - 5-10 drops

Silver Sage: Essential Oils Set
Cedar Essential Oil - 10 drops
Peppermint Essential Oil - 5 drops
Lemon Essential Oil - 5 drops

When the wax has cooled to about 120 F, it is ready to pour into the jars.


4. While the wax is cooling, prepare your wicks and jars. I used to think that you had to soak your wooden wicks in melted wax prior to candle making, but from new research that is not the case, though with soy wax you may want to add a drop or two of fragrance oil to your wicks for easier burning! Taking a wooden wick secured in its iron stand, dip the stand end into the melted wax and place into the candle jar, using the wax to seal it to the bottom of the jar. Once the wicks are dry, use your candle pourer to fill your candles just below the lip of the jar, reserving any extra wax to finish the candle. Now let the candle cool completely.

DIY Scented Soy Wax Wooden Wick Candles

5. Once the candle is cooled, check the top to see if there are any divots or imperfections in the top of the candle, which can happen during cooling. If needed, remelt the remaining wax to 120 F and “top off” any imperfections on the top of the candle, again allowing it to cool completely. Trim the wooden wick with nail clippers, cuticle cutters, or small scissors and you’re done!

DIY Scented Soy Wax Wooden Wick Candles
 

Looking for more DIY Candle Inspiration?

SEE MORE CANDLE PROJECTS HERE


OUR PINS FOR THIS POST: